Roofing is an integral part of your home’s structure. It not only adds aesthetics to your property but also protects your home from external elements.

Installing a new roof is a significant project that requires careful planning and meticulous execution. This guide will provide you with a step-by-step process to help you understand the nuances of roofing installation.
Understand Your Roofing Options
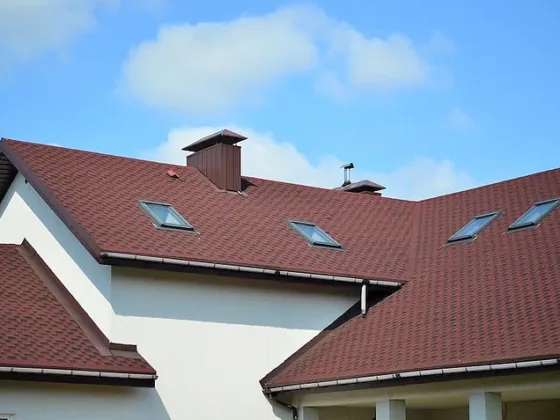
The world of roofing materials is vast, encompassing a diverse range of options that can meet varying aesthetic preferences, budget constraints, and climatic conditions. The first material most homeowners consider is asphalt shingles.
This popular choice is cost-effective, easy to install, and available in a wide range of colors. However, they have a relatively shorter lifespan compared to other materials, typically lasting about 20 to 30 years.
Metal roofing is another option, known for its durability and longevity. It can withstand severe weather conditions and has a lifespan of about 50 to 70 years.
However, it’s more expensive than asphalt shingles and requires professional installation due to its weight and unique fitting requirements.
Tile roofing is renowned for its distinctive aesthetic appeal and durability. Tiles, whether made from clay or concrete, are exceptionally hardy and can last for up to 100 years. However, they are heavier than other roofing materials and may require additional structural support.
Wood shakes or shingles offer a natural and rustic look. They have good insulation properties but require regular maintenance to prevent decay, mold, and insect damage.
Researching these options can be time-consuming, but it’s a critical step to ensure you choose the right roofing material for your home.
Read Also:
Planning and Preparation
Planning for a new roof begins with accurate measurements of your roof’s size to determine the quantity of material required.
This involves calculating the roof’s square footage, including additional material for overhang, cutting, and waste. Roofing materials are often sold by “squares,” where one square equals 100 square feet.
Check local building codes to see if there are restrictions on the type of roofing materials you can use. Some areas have regulations due to climate or fire resistance requirements. Obtain necessary permits before starting work.
Also, inform your neighbors about your project, as it may create noise and temporary inconveniences.
Create a detailed work plan, including a timeline and contingency plans for unexpected weather conditions or the discovery of roof deck damage during the project.
Hiring a professional roofer can be beneficial in this stage as they can help with accurate estimations and provide expert advice.
Remove the Old Roofing
Roof replacement starts with stripping off the old roofing materials, a labor-intensive process that requires protective clothing, gloves, and eye protection.
Using a roofing shovel or pry bar, you’ll begin at the top of the roof and work your way down, prying up the shingles and underlayment. Flashing around chimneys, vents, and roof intersections also need to be removed.
Disposing of old roofing materials is a significant task. Renting a dumpster may be necessary. Many materials can be recycled, so check with your local waste management facility or recycling center. Safety is paramount during this step.
Always secure your ladder, wear a harness, and use roof jacks if necessary to create a safe workspace on the roof.
Inspect and Repair the Roof Deck
Following the removal of the old roof, the roof deck’s condition needs to be inspected. This plywood or OSB (Oriented Strand Board) layer is the foundation for your new roof and needs to be in good condition to support the weight of the roofing materials.
Look for signs of water damage, rot, or mold. Also, check for structural issues like sagging. If any damage is found, the affected areas should be replaced to provide a solid, dry, and level surface for the new roof.
This step is critical for the overall longevity of the roof, and any shortcuts or oversights can lead to problems down the line.
Install the Underlayment
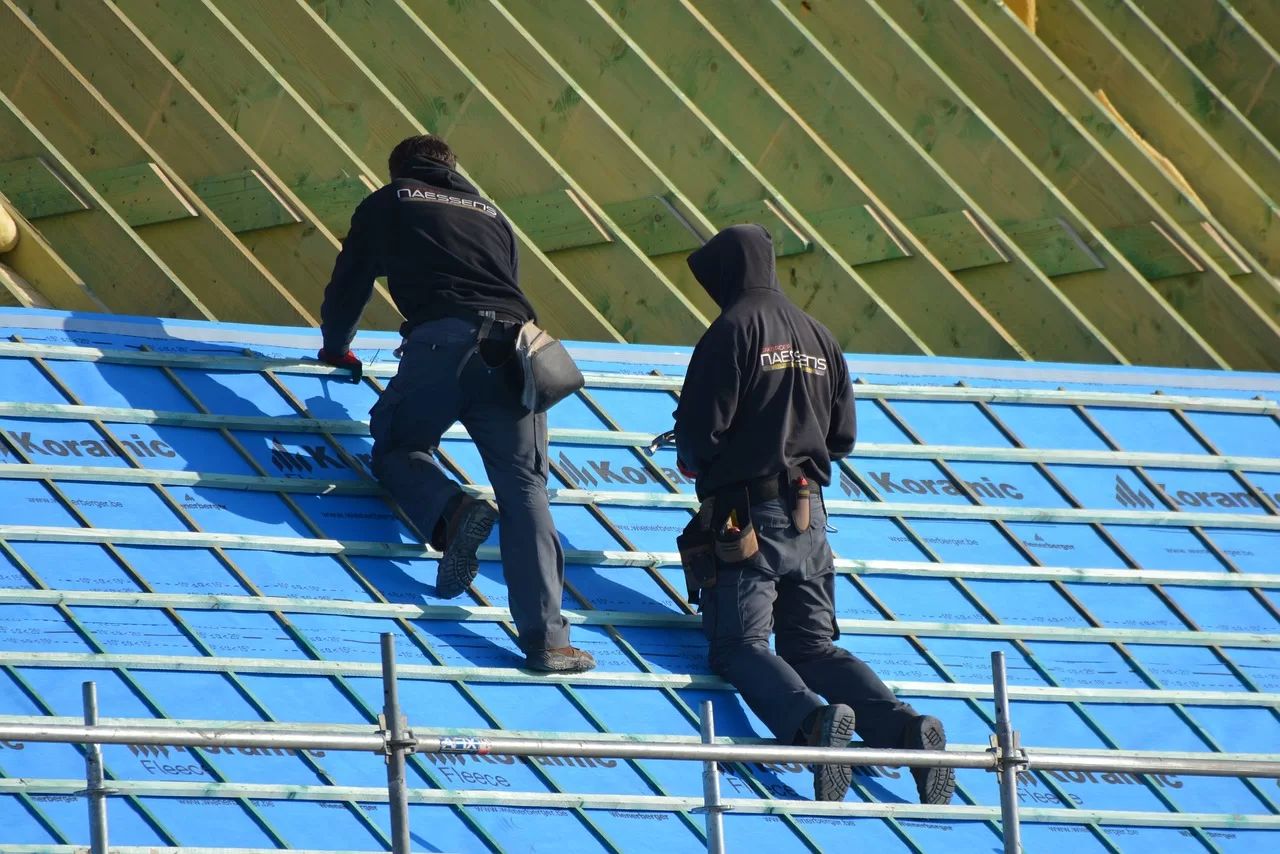
The underlayment acts as a secondary barrier against wind and water. It’s typically a black felt paper that’s laid over the roof deck, before the actual roofing material. Installation starts at the bottom edge of the roof, with each subsequent horizontal layer overlapping the previous one by at least two inches.
This overlapping approach ensures that any water that makes it past the roofing material will run off the roof, rather than infiltrating the roof deck.
The underlayment should be fastened to the deck using roofing nails or staples, depending on the manufacturer’s instructions and local building codes.
Care should be taken to ensure the underlayment is flat and smooth, as wrinkles or bulges can affect the final appearance and performance of the roof.
Install New Roofing Material
Installation methods vary greatly depending on the chosen roofing material. For asphalt shingles, you start from the bottom edge of the roof and work upwards, creating a shingle “row” that spans the roof’s length. Each row should overlap the one below it to prevent water penetration.
Metal roofs, on the other hand, are composed of large panels that are secured to the roof deck with screws. They require more specialized installation, as panels must be cut to fit the roof shape, and screw holes must be pre-drilled.
Tile roofs require a methodical approach as each tile needs to be individually fastened to the roof deck. Despite the tedious process, the final outcome is often worth the effort, as tile roofs are incredibly attractive and durable.
Install Flashing
Flashing is essential for a leak-free roof. This thin sheet of metal is installed in areas of the roof that are prone to leaks, like where the roof meets a wall (like a dormer), around chimneys, and around roof vents or skylights.
The flashing is designed to direct water away from these vulnerable areas and off the roof. If installed correctly, flashing can be one of the most effective defenses against water damage for your home.
Final Inspection and Clean-Up
After all the roofing material and flashing have been installed, a final inspection should be conducted.
Look for loose nails or screws, improperly installed flashing, or misaligned shingles or tiles. Any issues should be addressed immediately to ensure the integrity of the new roof.
Clean-up is an often overlooked but essential part of the job. Old roofing material, nails, and packaging from the new material need to be properly disposed of. The surrounding area should be swept for loose nails or debris.
While this guide provides you with a general understanding of the roofing installation process, it’s recommended to hire a professional roofer due to the complexity and inherent dangers of the work involved.
With careful planning and the right professional help, your new roof will serve as a protective and aesthetically pleasing asset for many years.


