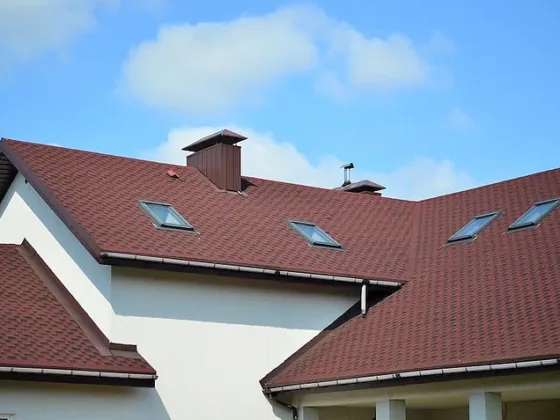
If you’re a homeowner, there may come a time when you need to learn how to shingle a roof. Whether you’re building a new home, adding an addition, or replacing an old, worn-out roof, shingling can be a daunting task.
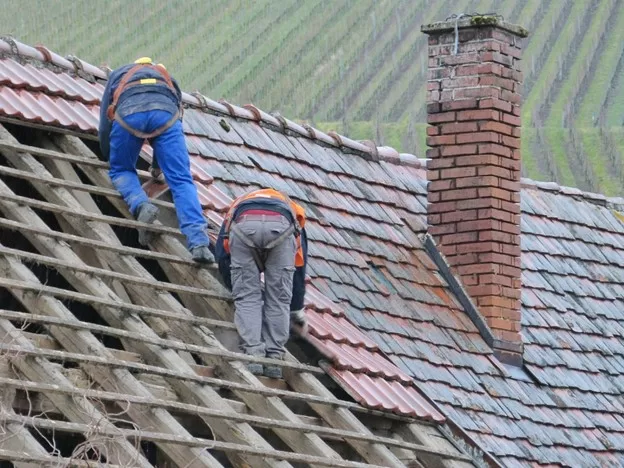
But fear not! With a little bit of know-how, you can do it yourself and save money on costly professional services. In this comprehensive guide, we’ll take you step-by-step through the process of shingling a roof.
From selecting the right materials and tools to preparing the surface and laying the shingles, we’ll cover everything you need to know to get the job done right.
So grab your hammer, climb up on that roof, and let’s get to work!
How to Measure a Roof for Shingles?
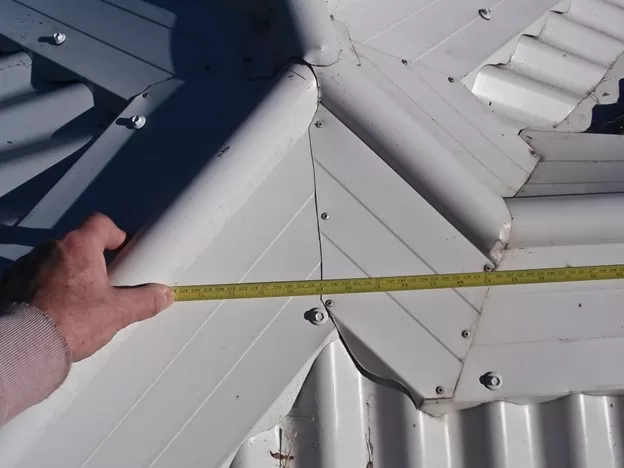
If you’re planning to install shingles on your roof, you’ll first want to know how to measure the area to determine the amount of shingles needed. Fortunately, this is a straightforward process that even a novice DIYer can handle!
- Determine the pitch of your roof: This will help you calculate the total square footage that needs shingles. You can use a pitch gauge to measure the angle, or simply count the number of inches the roof rises per foot of horizontal distance.
- Measure the length and width of each section: Break your roof into sections, and measure the length and width of each one. Multiply the measurements to get the square footage of each section, then add them all together to get the total.
- Add for overhangs: If your roof has overhangs, add the square footage of those areas to the total you calculated in the previous step.
- Factor in waste: You’ll need to purchase extra shingles to account for waste, so add 10-15% to your total square footage to get the final amount you’ll need.
Read Also:
How to Shingle a Roof? A Step-by-Step Guide
Follow the following steps to shingle your roof perfectly. Remember, if at some point you feel the task is too daunting, don’t hesitate to hire a professional roofing service.
Step 1: Gather the Tools and Materials
Before you start shingling, make sure you have all the necessary tools and materials for the job:
– Roofing materials: shingles, underlayment, drip edge, ridge cap, ventilation
– Tools: roofing nails, hammer, roofing knife, chalk line, tape measure, roofing nail gun (optional), ladder, safety equipment
It’s important to use high-quality materials to ensure the longevity of your new roof. Also, make sure you have safety equipment, such as gloves, safety glasses, and a harness.
Step 2: Prepare the Roof
Prepare the roof by removing the old shingles and underlayment, if necessary. Check for any damage or rotten wood, and make repairs as needed. Install new underlayment over the entire roof, followed by the drip edge.
Step 3: Lay Out the Shingles
Start by laying out the first row of shingles along the lower edge of the roof. Use a chalk line to create a straight line to guide your placement. Cut the last shingle in the row to fit if necessary.
Step 4: Nail Down the Shingles
Using a hammer or a roofing nail gun, nail down each shingle along the bottom edge, making sure to place the nails in the proper location according to the manufacturer’s instructions. Install each row above the previous one, staggering the shingles to create a strong, overlapping bond. Trim any excess shingle material as needed.
Step 5: Install the Ridge Cap
Once you’ve installed all the shingles, install the ridge cap along the peak of the roof. The ridge cap is made up of specially designed shingles that fit over the top of the roof to protect against water damage and improve ventilation.
Step 6: Inspect and Clean Up
Once you’ve finished shingling, inspect your roof to make sure everything is secure and properly installed. Also, make sure that your new roof shingles are lying flat. Clean up any debris and tools you use during the installation process, and dispose of old shingles and other waste according to local regulations.
How Long Do Roof Shingles Last?
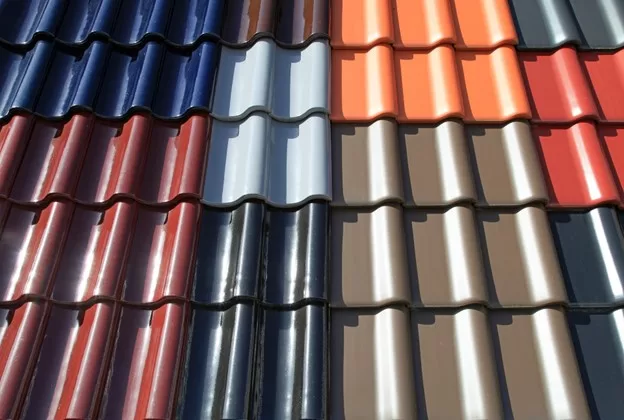
The lifespan of roof shingles can vary depending on the type of material used, weather conditions, and maintenance. Generally, asphalt shingles last around 20 to 30 years, while wood shingles can last up to 50 years with proper maintenance.
On the other hand, metal shingles are known for having the longest lifespan, lasting up to 70 years or more. Regular roof inspections and maintenance can help prolong the life of your shingles and detect any potential damage early. It’s also important to keep in mind that severe weather conditions such as strong winds or hail can shorten the lifespan of your shingle roof.
Ultimately, the length of time roof shingles last will depend on various factors, but with the right materials and professional shingle roofing contractor, you can ensure that your roof remains sturdy and durable for years to come.
Can You Paint Roof Shingles?
Roof shingles play a crucial role in protecting our homes from external factors such as weather, debris, and animals.
However, over time, they may lose their color and luster, making the roof look old and worn. If you’re considering painting your roof shingles, the answer is, YES, you can paint them!
But before you start painting, make sure to thoroughly clean and dry the shingles. Choose a high-quality paint that is specifically designed for roofing materials, and make sure to follow the manufacturer’s instructions carefully.
It’s essential to keep in mind that painted shingles may require more maintenance because they’re more prone to chipping and fading. But if done correctly, painting your roof shingles can give your home a new, fresh look while extending the life of your roof.
Conclusion
Congratulations, you have successfully learned how to shingle a roof step by step. It may seem like a daunting task at first, but with proper preparation and attention to detail, anyone can accomplish this DIY project. Not only will you save money by doing it yourself, but you will also have the satisfaction of completing a challenging task.
It’s important to remember that your roof is the first defense against the harsh elements of nature, so taking good care of it is crucial for the longevity of your home. Properly installed shingles will not only enhance the beauty of your home but also add value to it.


