• DIY
    • Crafts
      • Outdoors & Garden Projects
    • Decorating
      • Exterior Painting & Decorating
      • Painting & Wallpaper
      • Room by Room
    • Furniture
      • Cabinets
      • Tables
    • Woodworking
  • Home Improvement
    • Real Estate
    • Living
    • Entertaining
    • Home Building & Design
      • Home Interior
      • Home Exterior
    • Home Management
      • Home Organization
    • Remodeling
    • Living Areas
    • Bathroom
    • Kitchen
  • Lawn & Garden
    • Lawn Care
    • Vegetable Gardening
    • Landscaping
      • Irrigating
    • Flowers
    • Trees & Shrubs
  • Categories
    • Home Improvement
    • Lawn & Garden
    • Landscaping
    • Real Estate
Housesumo.com
  • DIY
    • Crafts
      • Outdoors & Garden Projects
    • Decorating
      • Exterior Painting & Decorating
      • Painting & Wallpaper
      • Room by Room
    • Furniture
      • Cabinets
      • Tables
    • Woodworking
  • Home Improvement
    • Real Estate
    • Living
    • Entertaining
    • Home Building & Design
      • Home Interior
      • Home Exterior
    • Home Management
      • Home Organization
    • Remodeling
    • Living Areas
    • Bathroom
    • Kitchen
  • Lawn & Garden
    • Lawn Care
    • Vegetable Gardening
    • Landscaping
      • Irrigating
    • Flowers
    • Trees & Shrubs
  • Categories
    • Home Improvement
    • Lawn & Garden
    • Landscaping
    • Real Estate
Featured of Stain Previously Stained Wood, Re-staining Over Stained Woodwork
  • Woodworking
  • DIY
  • Home Improvement
  • Tips

Re-staining Over Previously Stained Woodwork

  • Perla Irish
  • March 8, 2018
Total
16
Shares
16
0
0
0

If you have stained trim or cabinets etc… and you want to stain them a different color there are a couple of ways to go about this.

One method is to use a “shading varnish” which is simply a tinted varnish or urethane which will alter the color of the woodwork much like looking through a shaded lens (“sunglasses” effect). Shading varnishes are transparent colored clear coats that go over the top of the previous woodwork.

Stain Previously Stained Wood
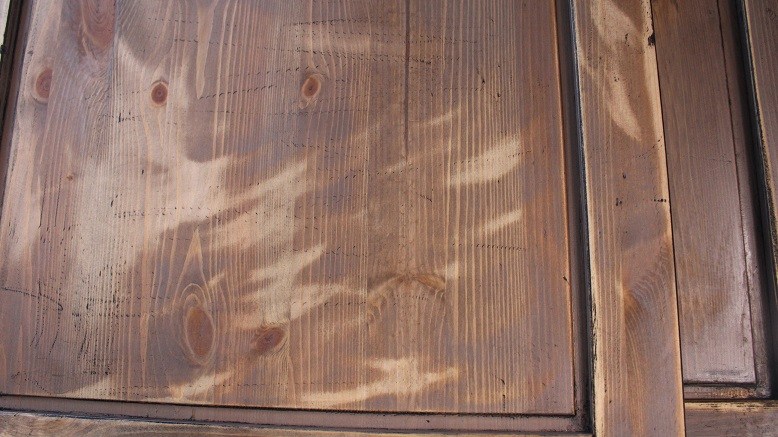
Stain Previously Stained Wood
Re-staining Over Previously Stained Woodwork (Image Source )

Wiping Stains

The second method for changing the color of the previously stained woodwork is to re-stain it. You cannot use a standard penetrating stain for this because the surface is already “varnished” and sealed.

But you can re-stain by using a “wiping stain”. Wiping stains can be applied to sealed surfaces for the purpose of changing the color of previously stained woodwork.

Prepare the Surface

The old varnish/clearcoat will need to be cleaned and dulled first. Clean the surface thoroughly with Krud Kutter. There may be years of “Pledge” or similar types of spray cleaners and polishes on the surface which will need to be removed as these will repel and prevent the wiping stain from adhering to the surface.

Once cleaned, the surface will need to be dull. If your woodwork was installed in 1978 or later, I would sand the surface to dull the old varnish which will give the wiping stain a surface with some “tooth” to it to adhere to.

Sand with 220 grit sandpaper and remove the dust when completed by vacuuming and follow up with a final wipe with a micro-mesh (oil-less) tack rag.


Read Also:

  • Stain Matching a Professional Painters Method, Matching Wood Stain
  • Kitchen Cabinet Refacing, Give Your Kitchen Cabinets a Makeover
  • What is the Difference Between Varnish and Other Clear Coats?
  • Staining a New Wood Door, How to Stain a New Wood Door
  • Learning How to Build a Bookcase
  • Pre-stain Wood Conditioners
  • Varnish, Oil-based-Varnish

Pre-1978 Woodwork

Don’t sand the surface if your trim or woodwork is pre-1978 or older as it may contain lead. If your woodwork is pre-1978, you must do a flawless cleaning job (if you have peeling problems down the road it will most likely be because the surface was not cleaned well).

Once cleaned, prime the woodwork with dewaxed shellac. Zinsser’s Seal Coat is dewaxed shellac. This coat will serve as a “primer” for the wiping stain. Allow this to dry.

Applying the Oil Based Wiping Stain

My strong preference for a wiping stain is Old Master’s Wiping Stain. This stain will have lots of “open time” and has very good adhesion. You will apply the wiping stain with a brush (a rag won’t work for this type of application). I like the white china bristle brushes for this because they are softer.

Apply the stain in the direction of the woodgrain being careful to observe the joints. Do a clean job at the joints, staying with the wood grain direction. Re-brush the length of the stain with a dry white china bristle brush to soften and even out the staining as needed.

Varnishing

You will need to let the stain dry for about 48 hours before you can varnish it. I would seal the surface with one coat of shellac (dewaxed only – Seal Coat), before varnishing or using polyurethane, this will prevent the varnish or urethane from re-wetting or lifting the stain which will still be a bit sensitive to mineral spirits at this point.

0
0
16
0
Total
16
Shares
Pin it 16
Share 0
Tweet 0
Share 0
Share 0
Previous Article
Featured of Pantry Cabinet Organizers
  • Kitchen
  • Home Improvement
  • Tips

Pantry Cabinet Organizers, Organize that Pantry Cabinet

  • Perla Irish
  • March 7, 2018
View Post
Next Article
Featured of Front Porch Christmas Decorating Ideas
  • Exterior Painting & Decorating
  • Decorating
  • DIY

Front Porch Christmas Decorating Ideas

  • Perla Irish
  • March 8, 2018
View Post

You May Also Like

traditional living room interior with symmetrical layout fireplace and neutral tones
View Post
  • Home Building & Design
  • DIY
  • Home Improvement

What to Expect When Working With a Traditional Interior Designer for Your Dream Home

  • Perla Irish
  • April 28, 2026
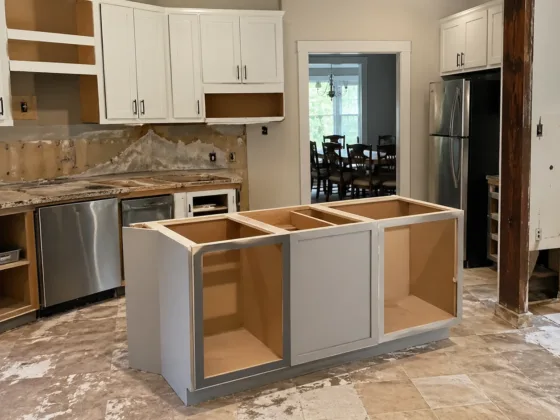
partially completed kitchen remodeling showing different renovation stages in progress
View Post
  • Home Building & Design
  • DIY
  • Home Improvement

Kitchen Remodeling Timeline Explained for Homeowners Planning a Renovation

  • Perla Irish
  • April 28, 2026
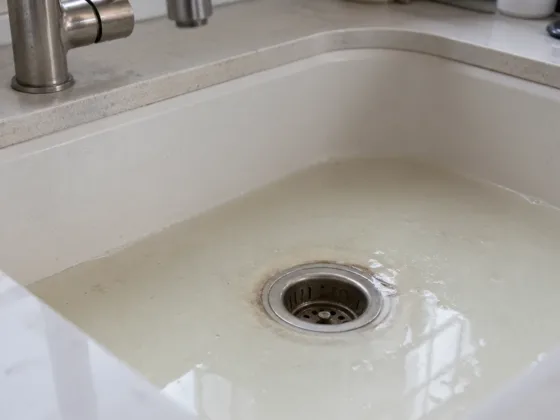
slow draining sink with water pooling and early clog warning signs
View Post
  • Home Improvement
  • DIY

Drain Cleaning Services: Signs Your Drains Need Immediate Attention Before Costly Repairs

  • Perla Irish
  • April 28, 2026
white house exterior with fading paint and visible wear on siding
View Post
  • Painting
  • DIY
  • Home Improvement

What Actually Drives Exterior House Painting Costs (And How to Budget Without Regret)

  • Perla Irish
  • April 28, 2026
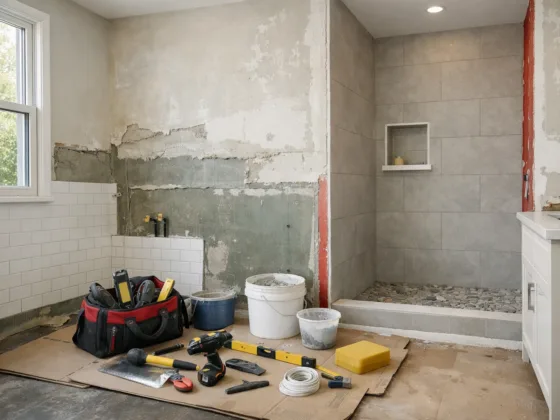
Bathroom remodel in progress showing tile installation and renovation tools during construction.
View Post
  • Bathroom

How Long Does a Bathroom Remodel Really Take?

  • Perla Irish
  • March 11, 2026
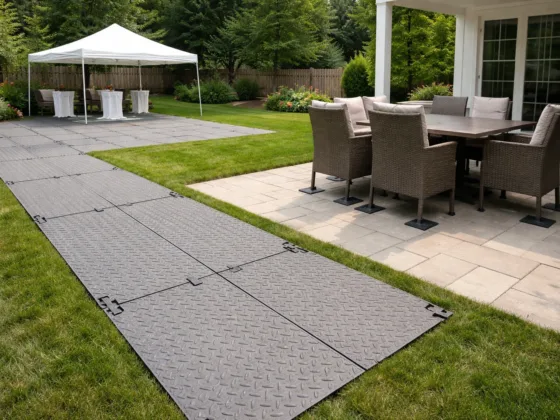
Temporary ground protection panels installed over lawn beside a residential patio to prevent surface damage during an outdoor event
View Post
  • Lawn & Garden
  • Lawn Care

How to Protect Your Lawn and Outdoor Surfaces During Events (Before Damage Sets In)

  • Perla Irish
  • February 23, 2026
Side-by-side comparison of casement and double hung windows in a modern home interior
View Post
  • Remodeling

Replace Casement Window with Double Hung? Structural & Code Impacts

  • Perla Irish
  • February 20, 2026
New residential asphalt driveway with smooth surface and landscaped edges
View Post
  • Home Improvement

Asphalt Driveway Advantages vs Concrete: Cost, Lifespan & Structural Value

  • Perla Irish
  • February 20, 2026

3 comments

  1. Leigh Ann Boggs says:
    February 5, 2021 at 4:28 pm

    I followed these instructions to refinish some honey oak stair treads that were underneath old carpet in our 1950’s built home and it turned out beautifully! So glad I didn’t have to sand them all the way down to the bare wood, we are going to put a carpet runner in the middle and didn’t want to sand more than we had to because of probable lead in the varnish. Thank you for the thorough instructions!

    Reply
    1. Perla Irish says:
      February 6, 2021 at 8:25 pm

      You’re welcome…

      Reply
      1. Myra says:
        December 4, 2024 at 10:27 pm

        Thanks for the instructions. I unknowingly stained an original pine door with golden oak wood stain without any prep and had disappointing results. Therefore I need to re-stain hopefully I will achieve a better outcome with your tutorial.

        Reply

Leave a Reply Cancel reply

Your email address will not be published. Required fields are marked *

Join 13,000 folks!

Get instant access to our weekly newsletter where we share the best! 100% Privacy. No Spam.

  • Disclosure & Affiliate Policy
  • Privacy Policy
  • Terms of Use
  • About
  • Sitemap
  • Contact Us

Input your search keywords and press Enter.