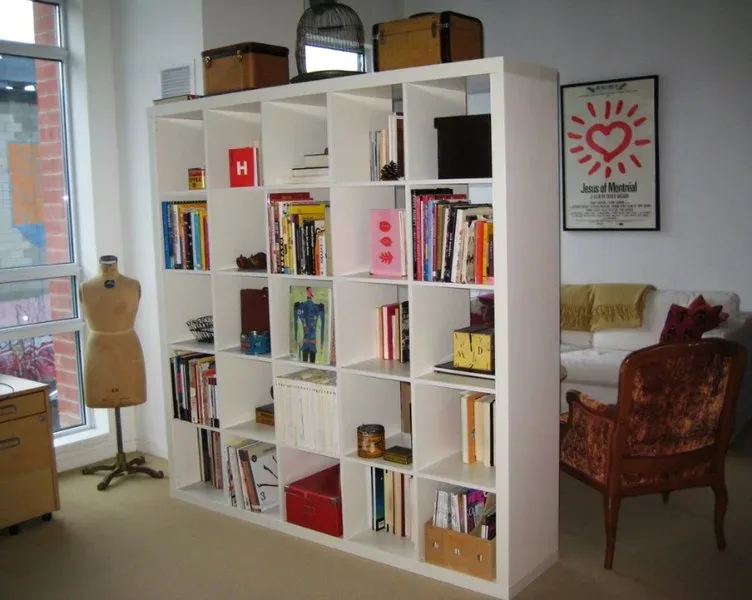
Learning how to build a bookcase is a great introduction to woodworking projects. If you think about it, a bookcase is simply a shallow box laid on its side.
How hard can it be to build a box, right? With a little patience and attention to detail, a wooden bookcase can be a very satisfying woodworking project.
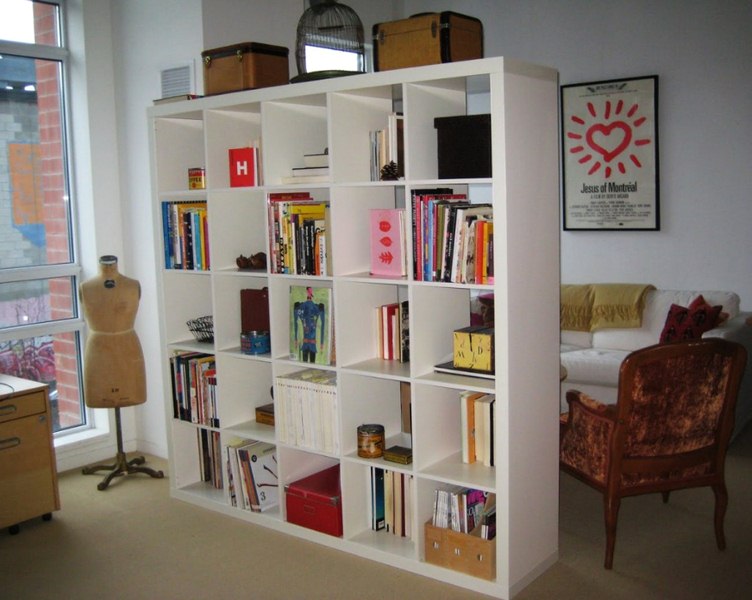
How to Build a Bookcase, The First Step: Design
Before you begin building a wooden bookcase, you’ll need to consider the materials you’re working with.
Hardwood creates beautiful finished projects but can be expensive. Veneered plywood is less expensive but can require special finishing techniques to hide the ends of cut boards.
If you decide to use precut hard or softwood boards, your shelf depth will be limited by the width of boards available. Commonly available 10-inch-wide boards will give you an acceptable shelf depth, but cutting a 48-inch section of plywood into 4 pieces will give you shelves that are almost a foot deep.
The dimensions of your wooden bookcase should be tied to the size of your materials; this will limit the number of cuts you have to make. For instance, a 4′ x 8′ sheet of plywood could be used to create a bookcase up to 96 inches tall, whereas, a 12′ length of wood plank could be cut in half to create a 6′ tall bookcase.
Adding Strength to Your Wooden Bookcase
Whichever type of wood you use, you can make your shelves stronger by adding banding. Banding consists of adding a 1 x 2 strip of wood to the front of your shelf. Banding shelves can almost double their strength while adding an extra inch of depth.
Adding a back to your wooden bookcase will also add strength to the overall design. ¼” plywood is the perfect choice for bookcase backing. Make sure to position the plywood so the side with the better finish faces forward.
You can install fixed or adjustable shelves in your bookcase; each has its own advantages. An adjustable system is perfect if you often add new items to your shelves. A fixed shelf system, on the other hand, adds a lot of strength and rigidity to the construction of your project. Plan at least one fixed shelf for the midpoint of your bookcase.
Must Read:
Building Your Wooden Bookcase
Once you’ve finalized your design, follow these steps to create your bookcase:
Cut Carefully
Measure and cut the pieces of your bookcase carefully. You’ll want two sides, a top and bottom, and the number of shelves you’ve decided on. Cut your backing material ¼” shorter than the width and height of your finished bookcase. If you’re uncomfortable using power tools, you can usually get wood cut at larger home centers.
Account for Shelf Attachments
If you’re using fixed shelves, carefully mark the location of the shelves on the inside of the sidepieces. If you’re using a flexible system, drill two parallel sets of three ½” deep holes at each shelf location. The lines of holes should be about 2″ in from the sides of each side piece. Each hole should be about 1-1/2″ apart.
Assemble the Sides
Using 2″ screws, countersunk to be hidden later, attach the cross pieces (top, bottom, and any fixed shelves) to one of the sidepieces. After all of the crosspieces are attached, screw the other side piece to the crosspieces.
Add Backing
Flip the bookcase so that the back faces up. Check the bookcase using a carpenter’s square. Another way to make sure your bookcase is square is to measure across both sets of opposite corners-if both measurements are equal, the case is square. Once the case is square, attach the backing board by centering it and fixing it to the bookcase with 1″ finishing nails around the perimeter.
Finishing Touches
Fill the sidepiece countersink holes with wood putty, allow the patches to dry and then sand. Your shelf may be painted or stained to match your décor. For flexible shelve, mounting hardware is available at most hardware stores and home centers. That’s how to build a bookcase.
