Your HVAC unit uses ducts that are essentially channels or pipes to haul cooled or heated air from the air conditioning unit to different rooms or spaces within your building. This is done by using vents or registers that are usually located throughout a building.
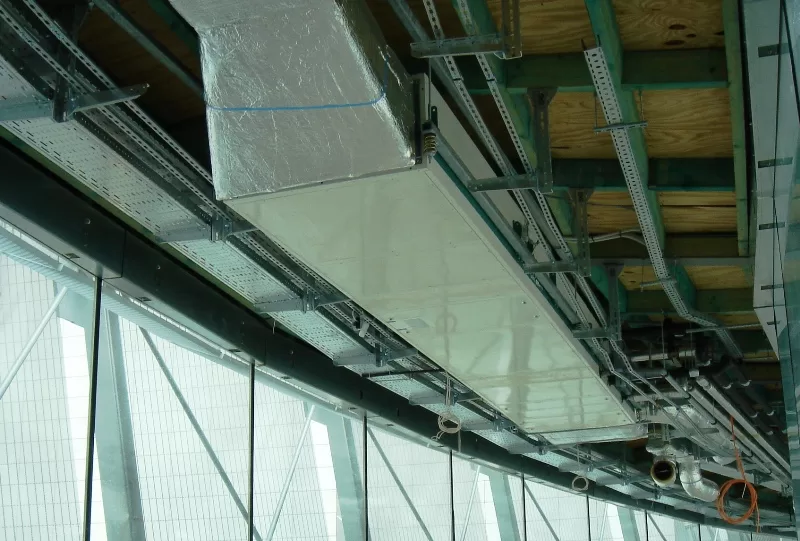
Due to their inherent nature, these ducts are often located in areas that aren’t easily accessible, like the attic, which means you might need professional help to access them safely.
If you’re looking for reliable and cost-effective AC repair in Fort Mohave, AZ, you can rely on trusted contractors such as https://www.rivervalleyac.com/ac-repair to get your home systems back in order.
In this article, we’ll go over the essential steps you can take to repair AC ducts in your attic.
How To Spot Damaged Ac Ducts
As an essential component of an HVAC system, they help maintain a comfortable and consistent temperature throughout your home, remove excess moisture, and improve indoor air quality by filtering out dust, allergens, and other pollutants.
These ducts are typically made of sheet metal or flexible plastic and, over time, may need repairing due to several reasons, including wear and tear, extreme weather conditions, poor installation and/ or maintenance, or extraneous factors such as damage from pests and rodents.
Read Also:
Your AC will give out several indications to inform you that there are possible damages to the ducts. They include:
- Irregular airflow: Notice the quality of the airflow from your vents. If they seem weak or inconsistent, it can be a sign that the ducts are either obstructed or damaged.
- Unpleasant odors: Bad odors emanating from the air conditioning system often come from mold and mildew that grows within the ducts. The underlying reason for them could be leaks within the duct system.
- Dust or debris: An irregular accumulation of dust and debris around the vents is a telling sign of a leaking duct system.
- Inconsistent cooling or heating: If some rooms or areas in your home are consistently cooler or warmer than others, this could indicate leaks or blockages in the AC ductwork.
- Unusual noises: Air conditioning systems can give out a slight but consistent noise. However, strange noises like banging or rattling from your air conditioning system are often a sign of ductwork damage.
- Higher power bills: Significantly higher power bills are a sign that your air conditioning system is working harder than usual. Poor airflow due to damaged ducts is one of the most common reasons for this.
If there are any such signs, you should check for damages to your ducts, including in your attic, and make the necessary repairs.
Steps On How to Repair Ac Ducts in The Attic
At the very first glance, repairing AC ducts in the attic can seem like a challenging task. However, with the right tools and knowledge, homeowners can easily get the job done on their own. Simply follow our step-by-step guide on repairing AC ducts in the attic:
- Switching off your AC unit: As a primary precautionary measure, turn off the AC unit to ensure your safety before you start any work on the ducts.
- Accessing your attic: If you can already access your attic, move ahead. However, if you don’t have access to your attic, you’ll need to create one. This can be as simple as cutting a hole in the ceiling or through the roof, depending on your attic’s location. Depending on the architecture of your home, you may need to arrange external access to the attic as well.
- Locating the damaged ducts: Once you’ve reached the attic, the first job is to locate the damaged ducts. Look for any tears, holes, or disconnected joints along the pipes. If they are damaged, they should be fairly easy to spot.
- Cleaning near the damaged area: Once you have located the damage, don’t jump straight into repair. Before you start, make sure to clean the area around the damage to ensure a good seal. You can remove any dirt, dust, or debris around the damaged area using a vacuum cleaner or a damp cloth.
- Making a patch: Depending on the material of your AC vent, you may need a piece of sheet metal or duct tape to seal the damage. Cut a patch that’s slightly larger than the damaged area. The patch should at least be big enough to cover the hole or tear but, ideally, extend a few inches beyond it.
- Applying the patch: Next, place the patch over the damaged area so it’s no longer visible from the outside, and then secure it using metal foil tape. Take special care to ensure that the edges of the patch are sealed tightly to prevent any air leaks.
- Dealing with disconnected joints: Look for additional damages, especially around the joints. If you find that any joints are disconnected, simply use metal foil tape to seal them securely. Again, take care to ensure the tape is applied tightly to prevent air leaks.
- Re-insulating the sealed ducts: Once you’re done repairing all the damaged ducts, it is critical that they be covered with insulation to prevent any heat loss or gain. For this, you can use foam insulation or fiberglass insulation board.
- Testing the AC unit: Now that you’re done, it’s time to turn on the AC unit and test it. This is to verify whether the repairs have been successful or not. Once the AC is running again, check carefully for any air leaks or strange noises coming from the ducts, especially around the repaired areas.
- Closing access to the attic: Optionally, you can close access to the attic once you’re done. Properly sealing the attic is crucial to preventing any air leaks in the future.
Conclusion
An efficient and effective HVAC system is critical for any home. Damaged AC ducts can not only be expensive and cumbersome but also pose a health challenge in the long run.
Even though the majority of your AC system isn’t always apparent and easy to access, homeowners can follow this guide to make it simple. A well-maintained HVAC system will help you reduce energy bills, stay comfortable, and maintain the health and safety of your family for years.


