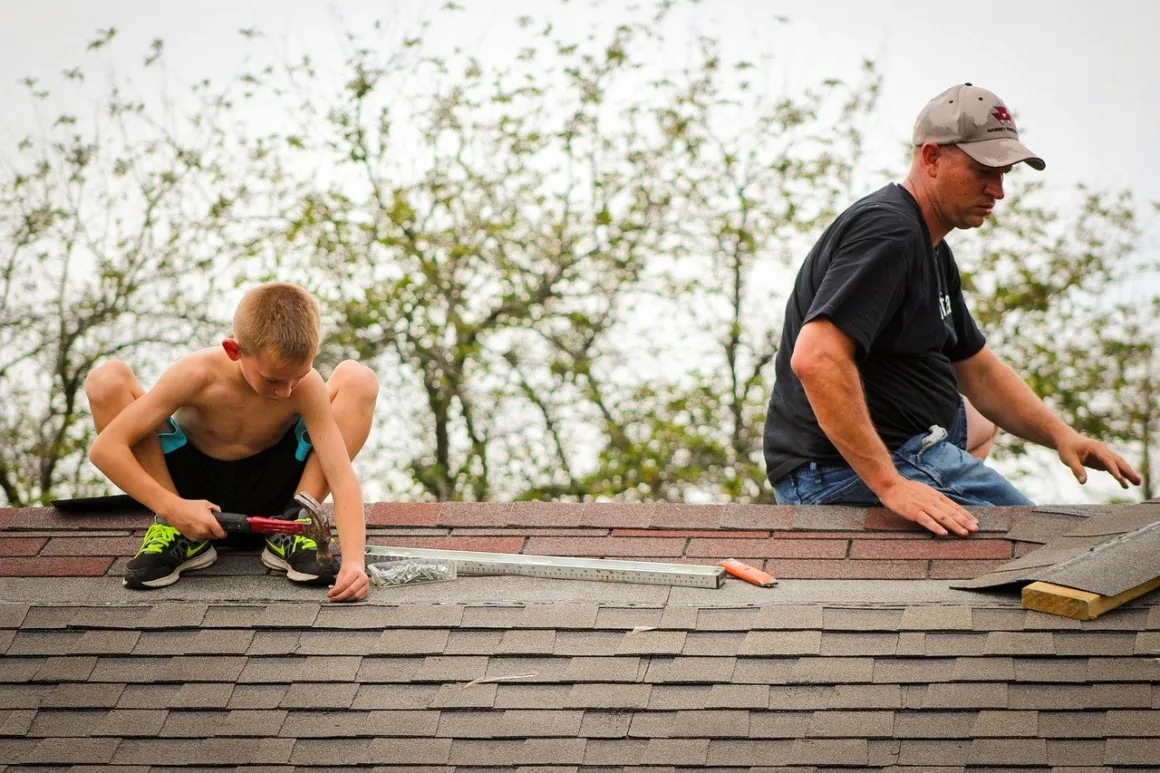
If there’s something people hate the most, then it’s living under a leaky roof; it’s disgusting. You will see some homeowners panicking or shudder once they hear the words “leaking roof”. Yeah, it is scary because repairing or replacing the broken will has never been cheaper.
However, there’s nothing to worry about anymore because you can still have the problem fixed by looking for a roof repair company. Our guide is handy to equip you with salient information for repairing your roof.
Let not that small soul-breaking leak scares you anymore; just follow the following guide. The materials to use depend on the type of your roof. If you want to repair your roof you can contact this roof repair in Littleton.
Let’s dig deeper!
Ultimate Step by Step Guide on How to Replace a Leaking Roof

1. Repairing Asphalt Shingles
Step 1: Inspect for Broken Area on the Water Marks on Your Ceiling
This step is simple as you can spot the roof damage once it rains. Molds and water stains are signs of the damaged roof. Get into the ceiling and use the flashlight to search for the leak.
Step 2: Check the Roof for Massive Wear and Tear
Try to inspect for curled, missing, or cracked shingles near the leak area. You will then be required to evaluate the entire condition of your roof. Check if there’re more missing or failing shingles.
More so, try to look for gaps where the roofing material connects a chimney or vents. Repairing a few shingles is easy by resealing the gaps, but if they show signs of massive wear and tear; replaces them.
Step 3: Reattach and Straighten Curled Shingles
Usually, the asphalt corners are associated with premature curling. In such scenarios, use a caulking gun and carefully dab the smooth-out cured-back shingles with a suitable roof sealant.
Apply the sealant at the corners and then press down the curled parts. Cover the edges of the shingles using a trowel.
Step 4: Use a Roof Sealant to Fix a Clean Crack
This step involves repairing a shingle with fresh/clean tears. You don’t have to replace them, just use a thicker sealant bead under the crack with the aid of a caulking gun.
Ensure the bead is spread entire over the edges; a putty knife is the best tool here.
Step 5: Replacing Missing or Broken Shingles
Replacement is necessary when the shingle is totally worn out or it’s missing. Once you get perfect shingles use the pry bar to remove the damaged shingle. Remember to remove all the nails holding the four corners of the broken shingle.
Slide-out the damaged material and scrap the place; doing so will remove all roofing cement leftovers.
Read Also:
2. Repairing Broken Wood Shakes
This is another form of repairing a leaking roof, and it involves the following steps;
Step 1: Check the Leaky Roof for Traits of Damage
Just like in any roofing material, you are expected to carefully inspect your roof for any sign of damage. Search for leaks in the exterior parts of your roof, corresponding to the internal leaking part.
Split the slate shingles and saw off all the nails; replacing them is simple.
Step 2: Use a Chisel and a Hammer to Split the Broken Shakes
You need to carefully place the chisel on the broken shake, and then don’t use too much effort to hammer the chisel. Furthermore, you will have to remove the shakes using a pair of pliers.
Step 3: Cutting Off the Nails
Here, you will have to use a hacksaw and cut down the nails securing the damaged shake. Ensure any protruding nails are entirely removed.
Step 4: Cut a Sizeable New Shake to Perfectly Fit the Gap
On your new shake, take the right measurements into the damaged place. The edge of the new shake should be trimmed to about 3/8 inches, less than the width of the gap. Doing so will allow it to expand and contract freely.
Step 5: Fixing the New Shake
The step is straightforward since it involves sliding in the trimmed shake. Use two galvanized nails to hold the shake into place; hammer them down. There’s nothing much about this step; what you only need to do is to be careful while fixing the issue.
Step 6: Seal Any Protruding Nail Heads
Use dabs of cement on the nail heads using a small trowel or a putty knife.
3. Repairing Broken Roll Roofing
This is another method of repairing a leaking roof; it involves the following steps;
Step 1: Check for Blisters or Cracks on the Roofing Material
Just like in a shingle roof, you will have to inspect the suspect leaky area to spot the damage. Carefully inspect for small cracks in places like joints, chimneys, vents, etc.
Leak signals include blisters, open splits, or bubbles where water is accumulated. Use a sealant to fix small gaps at a joint, chimney, or vent. Patch the broken parts that are widely damaged.
Step 2: Cut Any Bubbles or Blisters to Release Water and Air
Make sure the damage is clean, free from gravel. Use a utility knife to slice into the blister (at the center). Remember, you should only cut into the top roofing top layer. Use a dry piece of cloth to soak the existing water in the blister; ensure it’s completely dry before any repair.
Step 3: Apply Reasonable Roofing Cement Beneath the Split
Check the fiberboard substrate under the tear into the asphalt or rubber. Use enough cement on the sound substrate beneath the tear edges. Press the edges down and use galvanizing roofing nails to hold down the edges; replace any unsound substrate.
Step 4: Protecting the Repaired Area
Use a patch of Roll roofing to cover the repaired area. You can also use a piece of tar paper to do the same. Ensure the cover material is longer and wider than the place being protected.
Tack the protecting materials with roofing nails on its corners.
FAQs
Is it Possible to Use Flexi Seal on Roof Leaks?
Yes, but only as a temporary remedy, depending on the roof type.
How Can I Fix a Leaking Roof Temporarily?
It’s very simple; just use the Roof Mastic to stop running water.
Final Words
Hopefully, the above guides help you repair a leaking roof. The report contains various methods of repair based on the type of your roof material. What you only need is to assemble the necessary materials and tools then you’re ready to go with this article.
If you find it difficult to repair a leaky roof, don’t hesitate to seek the help of an expert.