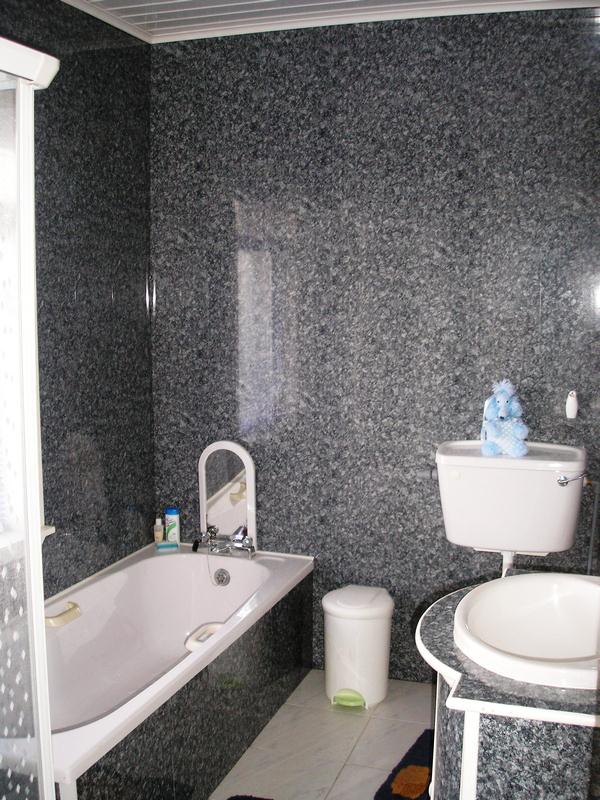
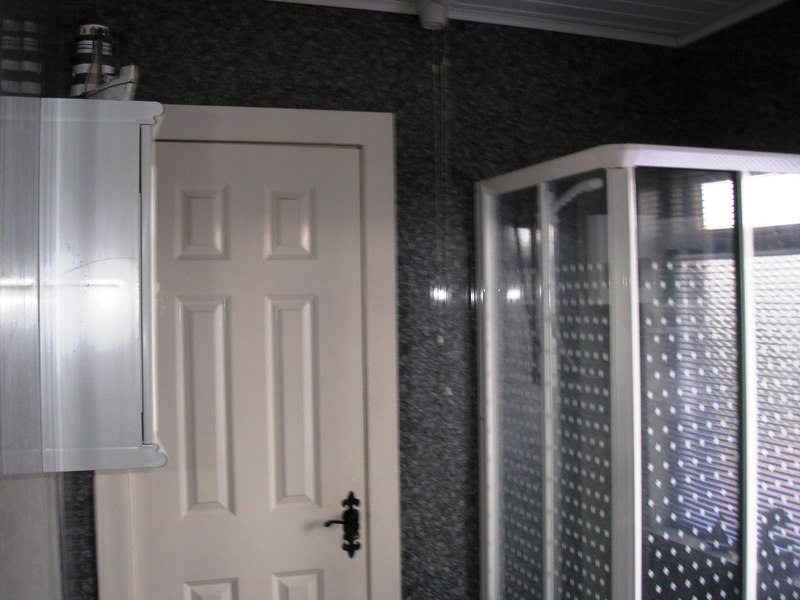
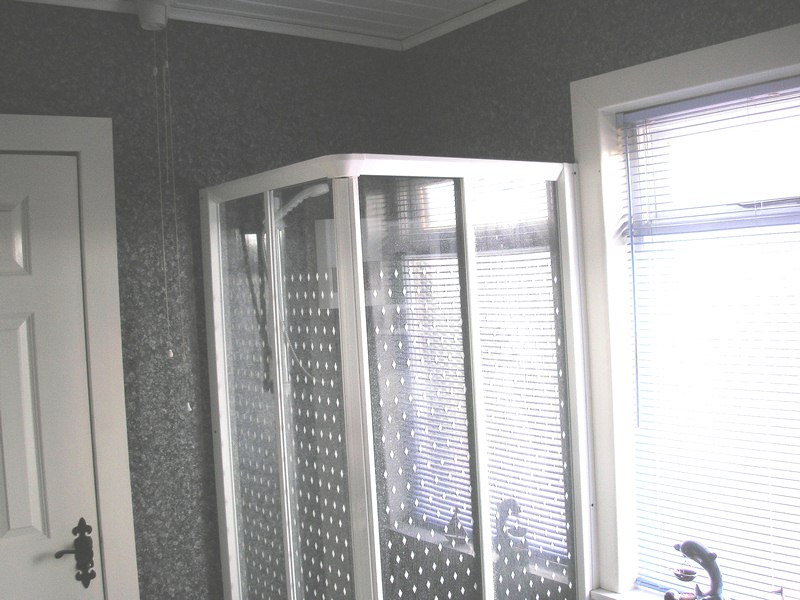
Bathroom tiling or plastic paneling. Pros and cons and why plastic paneling is easier and virtually maintenance-free.
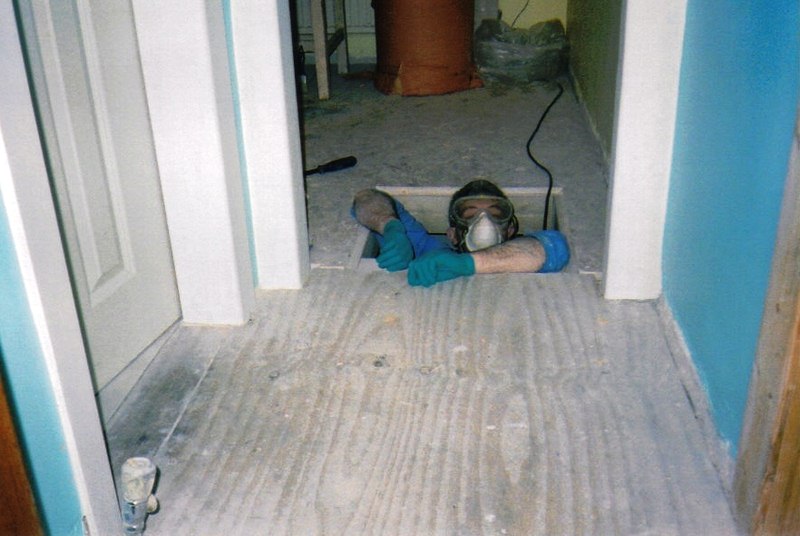
Always remember to wear your safety equipment. Especially when you are hiding your money under the floors.
Wall Construction: DIY Repairs for Bathroom Shower Walls
Bathroom shower walls are for the most part finished with tiles, large and small. This is the finished surface of the wall.
The construction of the walls ranges from a timber frame with wooden lathes and plaster, a timber frame with plasterboard and a skim coat of plaster and any range of brick and block, cement and plaster.
The one constant in the various constructions of the walls is the final plaster coat and the last line of defense against water and moisture ingress.
The reason for mentioning the construction of the walls is to make you aware of what is behind your tiles and how strong it is.
The most common construction is the timber frame with lathes and plaster or the timber frame with plasterboard and plaster.
While these are perfectly acceptable forms of internal wall building they do not respond well to being pounded with hammers or frustrated fists.
It is worthwhile to note now that should either of these happen you will have to call in professional builders and then the bank manager.
Noting that these walls have a degree of delicacy and treating them with a little respect will help you repair or refinish your shower to a very high standard.
Remember:
If you have to drill holes, ensure that you fill them with silicone or similar to maintain the waterproof seal of your shower faucet area.
Tiling
Tiling for the first time is one of those things that need patience and a fair degree of self-control because no matter how good you think you are you will make some errors.
Some will be minor and only noticeable to you while others will require you to remove a tile or tiles and start again.
Tiling is one of those jobs like plastering were you have to do it and do it again before you start to get good at it. Watching professional plasters or tilers is a joy to behold.
They are so fast and make it look so easy that you can be forgiven for thinking “I could do that”. The real answer is yes you can but it takes years of doing these things every day to get to their level of skill.
Can you achieve the same results, unlikely, but you certainly can get within 95-99% of their standard which is more than acceptable for most of us. The main difference is that it will take you an awful lot longer but with patience and care you can get there.
Before I give you some tips on tiling I’d like to mention 2 alternatives that I have come across. One I have used and the other I saw used and at that time it was genius and in some ways paved the way for the modern plastic alternatives.
Bathroom With Plastic Panelling
Plastic Panelling
I was working at plumbing on a new shower block for a caravan park and noticed that the shower cubicles had round curved corners.
I didn’t pay them too much attention as it didn’t interfere with my plumbing but thought the plasters are going to love this, not.
What happened next was the trimmers came in with what looked like a roll of the carpet but turned out to be a roll of what we call lino.
An inexpensive vinyl type of cover for concrete floors.
They covered the shower cubicle walls with glue, held the lino roll up vertical and ran round the area in under half an hour, job done and in fairness what a job.
With a square pattern, it liked every bit like tiles and was in effect one huge waterproof sheet.
The finish was very impressive, but the beauty was in maintenance. It required very little other than washing down.
Read Also:
The plastic panel system that I used consisted of 8′ to 10′ high 10” wide panels that were stuck to the wall with silicone.
Each panel simply clicks into the next, just like modern laminate floor covering. I did one of my bathrooms with this system 10 years ago and it still looks every bit as good as it did the day it was done.
The major advantages these plastic systems have over tiles is easy installation and maintenance-free. Yes, I did say maintenance free.
These systems can be installed over already tiled shower walls without the need to remove the tiles.
Now back to tips I said I would mention on tiling. At the end of the day, nothing can beat the finish and gloss of tiles, granite, and marble in bathrooms. If you are a novice I strongly suggest you get a professional in if you are using these materials.
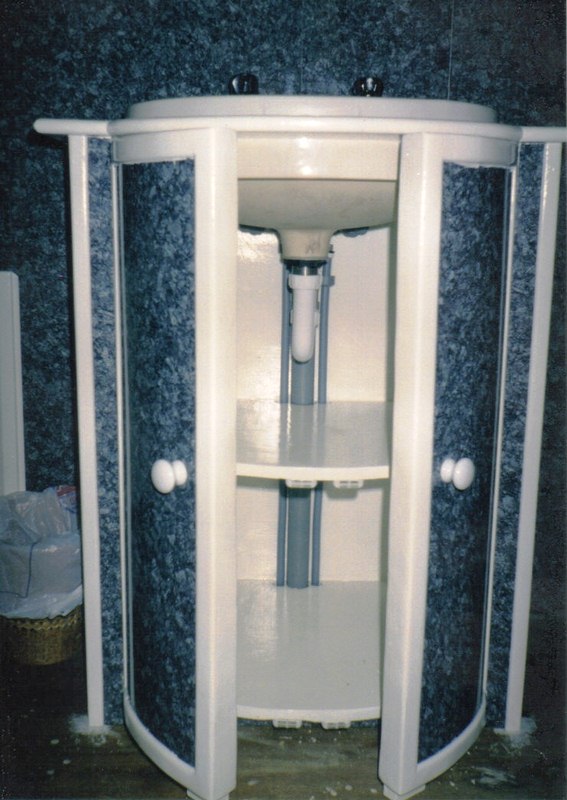
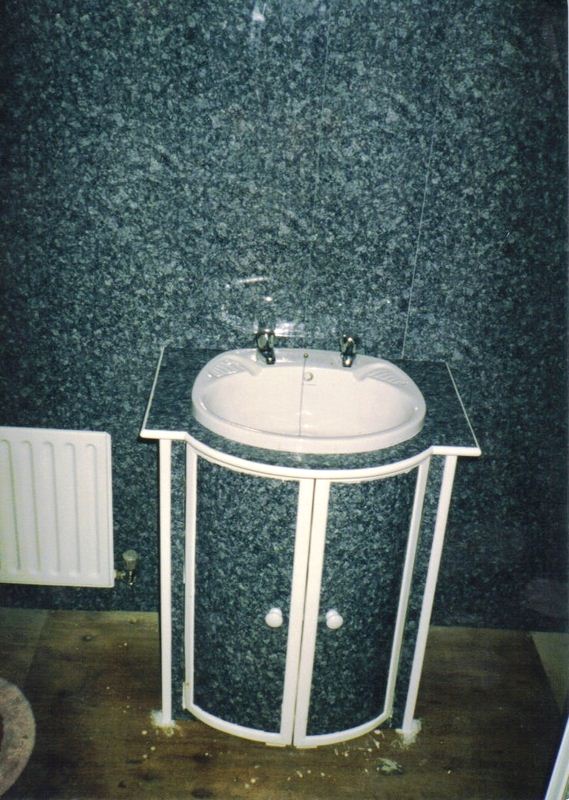
You Can Get Creative With This Material and Make Curved Doors
If you have decided that you want to retile your shower walls then have a go, take your time and you will get great results.
The first job is to remove the old tiles. You will need to remove one or two to give you room to use something like a paint scraper to remove the rest.
Remember tiles are thin so be careful removing the first couple of tiles as you don’t want to damage the plastered wall behind. With one or two removed the rest will more or less fall off.
With all the old tiles off you can inspect the shower walls for flatness. The flatter the walls the easier they are to tile.
Take a length of timber or any straight edge, slightly shorter than the width of the wall and holding it more or less level/horizontal move slowly up and down the wall.
Low spots show up as a gap between the straight edge and the wall and high spots will cause the straight edge to rock. Mark all spots with a marker.
Now you have two choices, you can spend time making the walls flatter by adding or removing plaster or you can sort this out as you tile by adding or removing the tile glue/grout. I suggest you spend the time trying to flatten the walls thus making the tiling job easier.
I’m not about to explain how to tile as that would be a whole new hub in itself, except to say that before you start, have everything you will need to hand, the correct number of tiles for the area of the wall you are going to tile. The spacers that you are going to use between the tiles and damp cloths or sponges.
You Can Also Use This Material to Cover Your Cabinet
The trick to good results is to move fast. Overcome the urge to place the first tile and play with it. Spread the glue on the wall and then simply place the tile, then the spacer, then tile, then spacer and so on.
The main problem with tiling is the glue/grout between the tiles. It is this that dries out with time, cracks, attracts mold, discolors and allows the ingress of moisture leading to damp in the main wall.
It is the glue/grout that requires the maintenance and it is the lack of maintenance that causes a bathroom to look tardy and uninviting.
The plastic panel systems are so easy for the novice to install, maintenance-free and the finish is stunning that I wouldn’t advise anyone to tile these days.
