Your bathroom is a sanctuary—a place where you start and end your day. It deserves to be a space that reflects your style and provides comfort and functionality. If you’re looking to give your bathroom a makeover, you don’t necessarily have to break the bank or hire professionals.
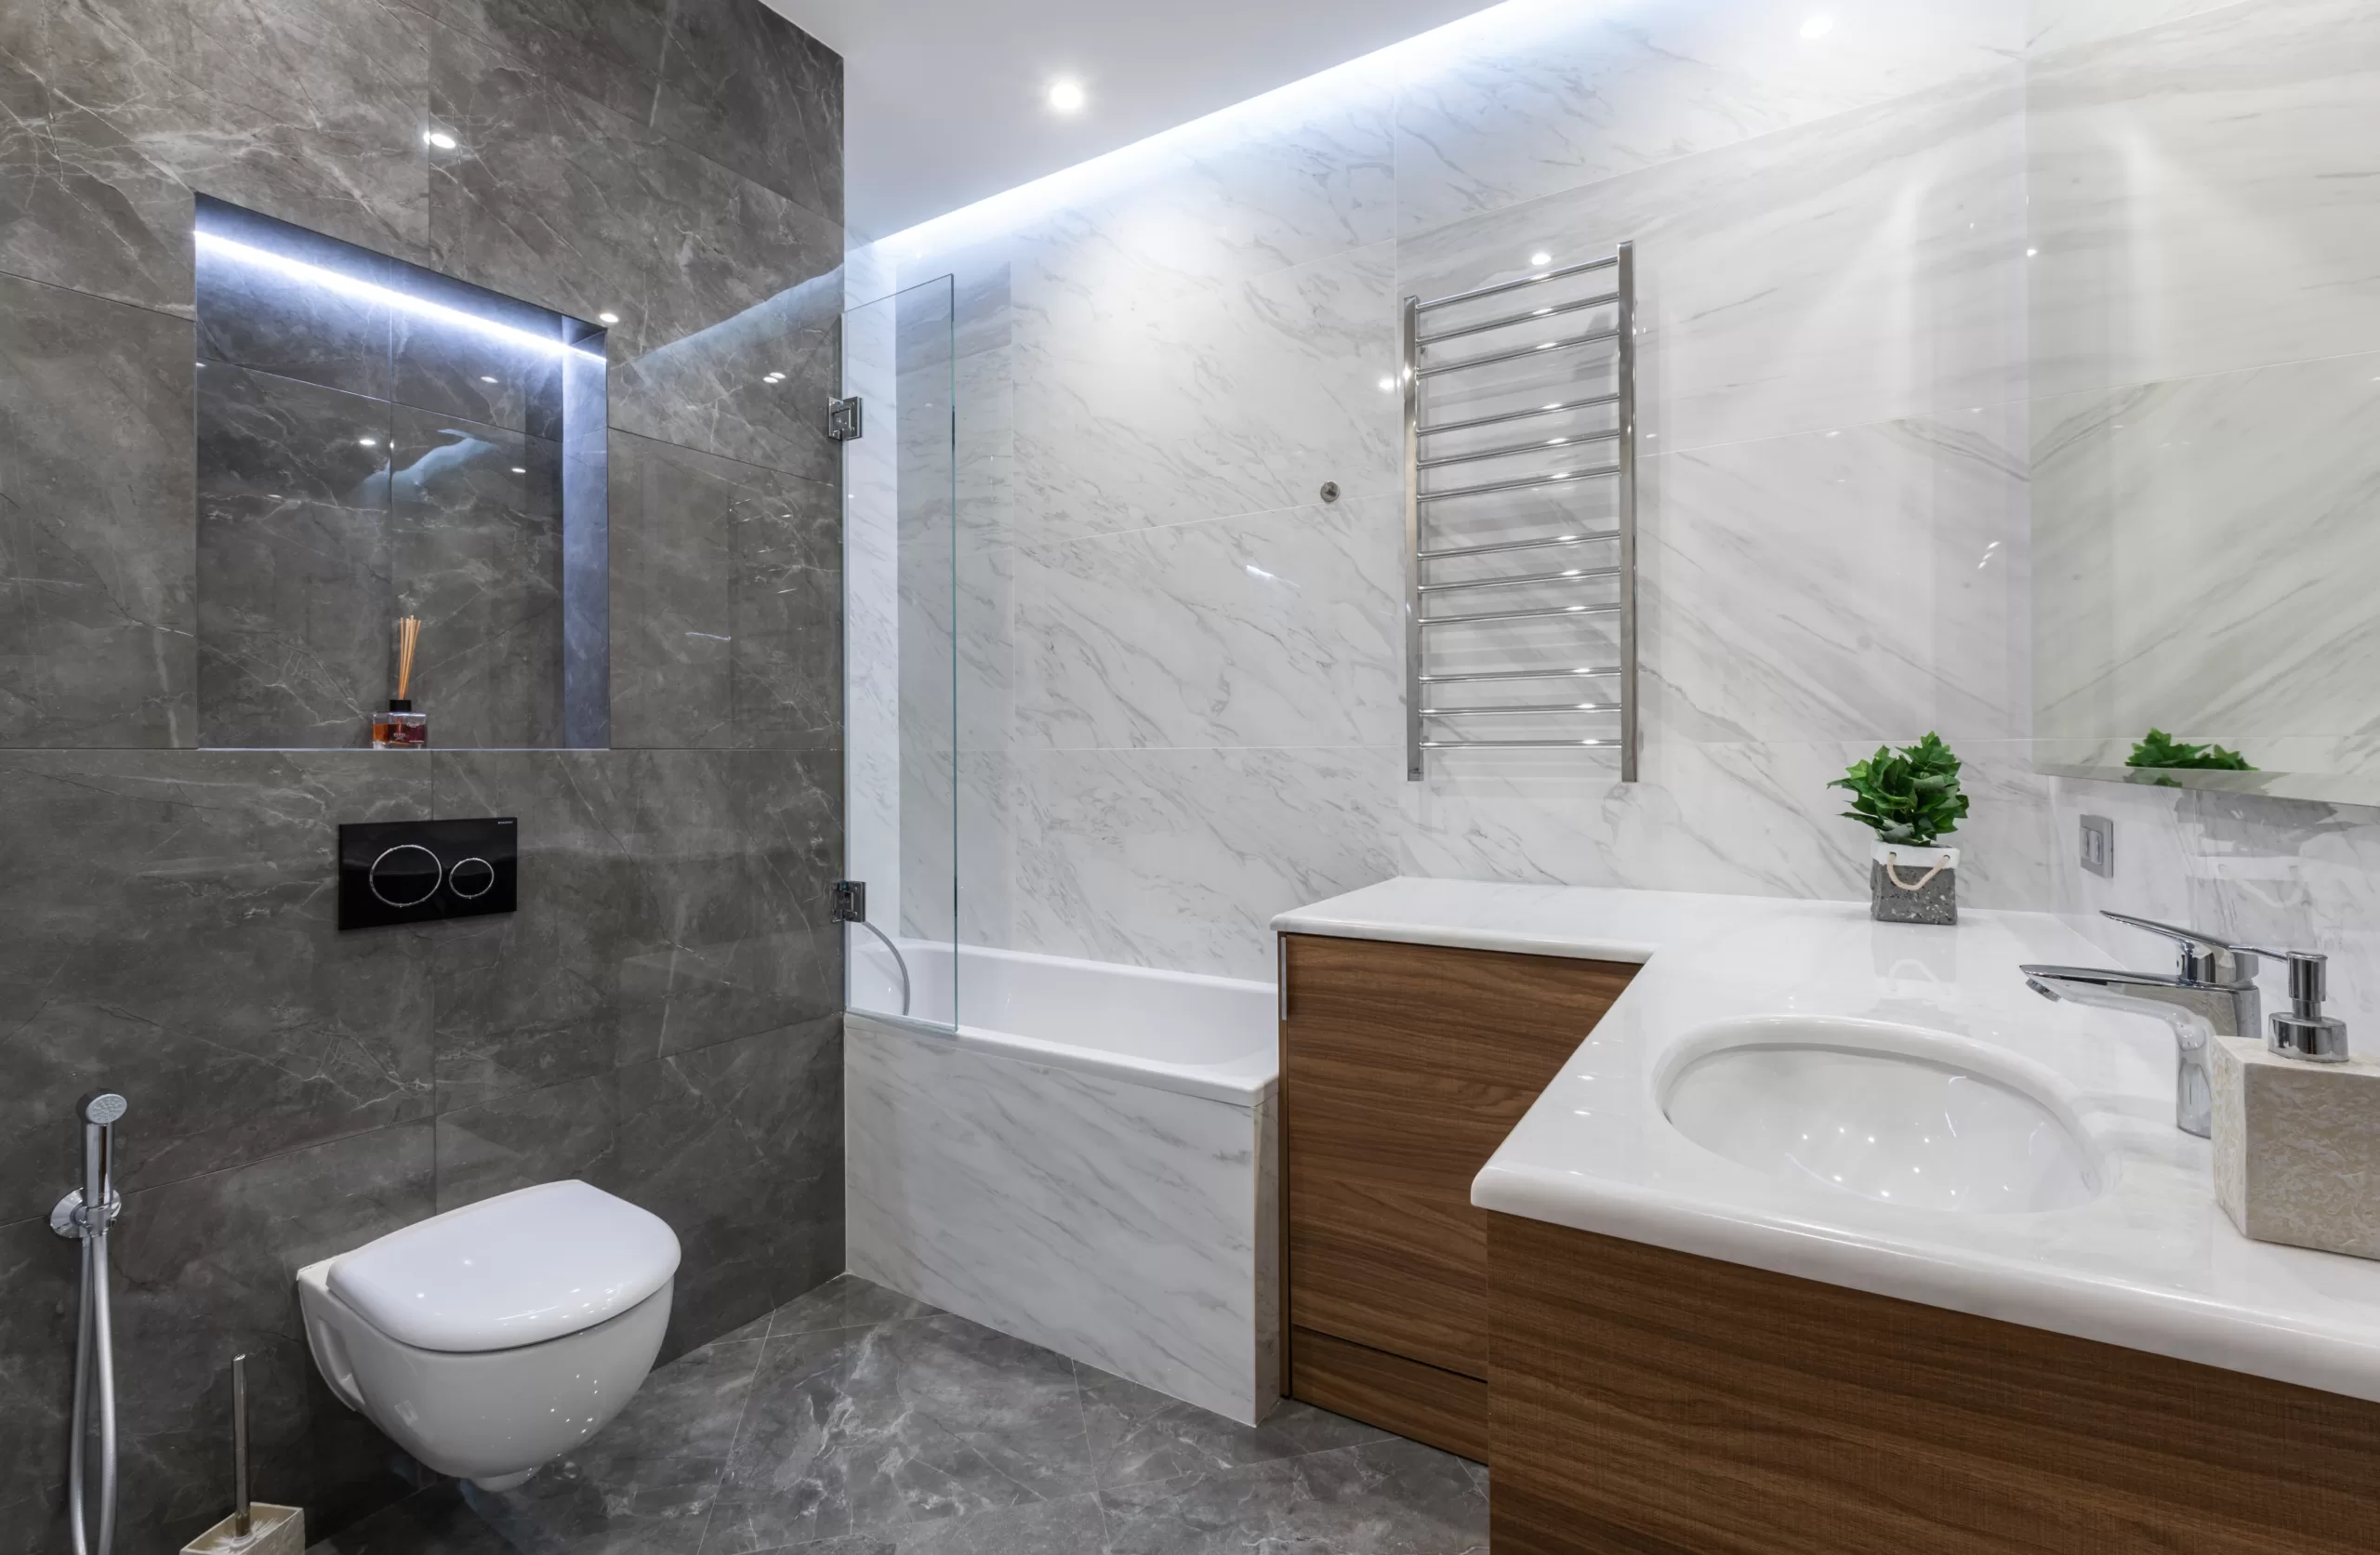
With a DIY approach and the right bathroom supplies, you can transform your bathroom into a stunning and personalized oasis. In this step-by-step guide, we will walk you through the process of revamping your bathroom, from planning and preparation to the finishing touches. Let’s dive in!
Step 1: Plan Your Makeover
Before diving into your bathroom makeover, it’s essential to have a clear plan in place. Consider the following factors:
Budget: Determine your budget for the project. This will help you make decisions on what areas to focus on and allocate funds accordingly.
Style and Theme: Decide on the style and theme you want to achieve in your bathroom. Whether it’s modern, rustic, minimalist, or eclectic, having a clear vision will guide your choices regarding colors, materials, and fixtures.
Space Assessment: Assess the current layout and functionality of your bathroom. Identify any problem areas that need improvement or potential changes you’d like to make.
Timeline: Determine a realistic timeline for your project, considering the complexity of the changes you plan to make.
Step 2: Gather Bathroom Supplies
Once you have a plan in place, it’s time to gather the necessary bathroom supplies. These may include:
Fixtures and Fittings: Consider upgrading your faucets, showerheads, towel bars, and other fixtures to refresh the look of your bathroom. Look for high-quality, stylish options that match your desired style and budget.
Lighting: Lighting can dramatically enhance the ambiance of your bathroom. Consider replacing outdated light fixtures with more modern and energy-efficient options. Don’t forget to choose lighting that complements your chosen style.
Tiles and Flooring: If you’re up for a more extensive makeover, consider replacing old tiles or flooring. Look for durable, water-resistant materials that are suitable for bathrooms. Consider options like ceramic or porcelain tiles or vinyl flooring.
Paint and Wallpaper: A fresh coat of paint or new wallpaper can instantly transform the look of your bathroom. Choose colors or patterns that align with your desired style and create a soothing and inviting atmosphere.
Storage Solutions: Evaluate your storage needs and invest in practical storage solutions such as wall-mounted shelves, cabinets, or vanity units. These will help declutter your space and keep essentials within reach.
Accessories and Décor: Enhance the aesthetic appeal of your bathroom with carefully chosen accessories such as mirrors, artwork, rugs, and towels. These small details can add personality and tie the entire look together.
Read Also:
Step 3: Prepare the Space
Before starting the makeover, it’s important to prepare the space:
Clear the Area: Remove all items from your bathroom, including toiletries, towels, and décor. This will give you a clean canvas to work with.
Protect Surfaces: Cover surfaces and fixtures that you’re not planning to replace or paint to protect them from accidental damage.
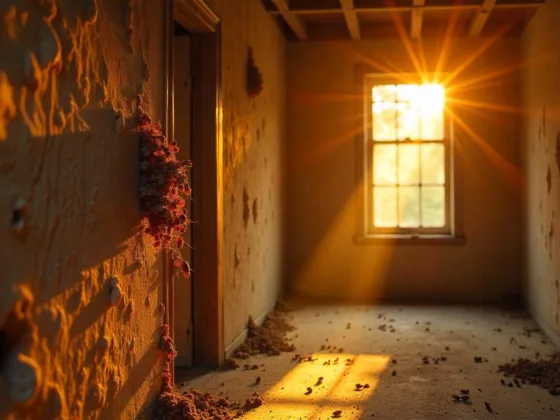
Repair and Clean: Address any repairs or maintenance issues in your bathroom, such as leaky faucets, cracked tiles, or mold. Thoroughly clean the space to create a fresh starting point.
Step 4: Make Changes to the Infrastructure
If you’re planning to make significant changes to the layout or infrastructure of your bathroom, this is the time to do it:
Plumbing and Electrical Work: Consult professionals if you’re planning to relocate plumbing or electrical fixtures. This includes moving sinks, toilets, and showers, or adding new electrical outlets. It’s crucial to ensure that any changes comply with building codes and are done by licensed professionals.
Structural Changes: If you’re considering structural changes such as knocking down walls or installing new windows, consult with a contractor to ensure proper permits and structural integrity.
Step 5: Install Fixtures and Fittings
Once any necessary infrastructure changes are completed, it’s time to install your new fixtures and fittings:
Follow Instructions: Carefully read and follow the manufacturer’s instructions for each fixture or fitting you’re installing. This will ensure proper installation and functionality.
Plumbing Connections: If you’re replacing faucets, showerheads, or toilets, connect them to the existing plumbing lines following plumbing guidelines. If you’re unsure, consult a professional plumber.
Securely Mount: Use appropriate tools and techniques to securely mount towel bars, shelves, and other fixtures to the walls. This will ensure their stability and durability.
Step 6: Upgrade Lighting and Electrical Fixtures
Next, focus on upgrading your lighting and electrical fixtures:
Turn Off Power: Before working on any electrical fixtures, turn off the power to the bathroom from the circuit breaker.
Replace Light Fixtures: Follow safety guidelines and install new light fixtures, ensuring they are properly wired and securely mounted.
Install Electrical Outlets: If you need additional electrical outlets or USB ports, consult an electrician to install them safely and according to electrical codes.
Step 7: Refresh Walls, Floors, and Ceilings
Now it’s time to refresh the surfaces of your bathroom:
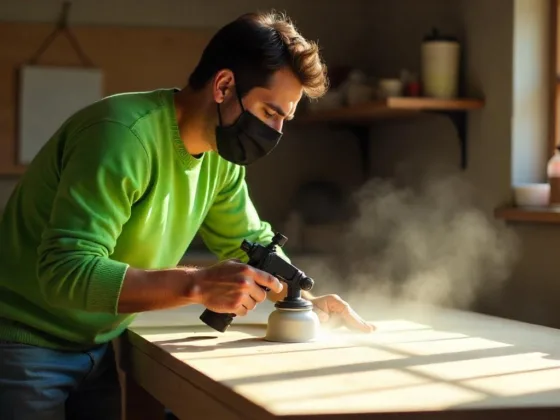
Paint or Wallpaper: Apply a fresh coat of paint or install new wallpaper following the manufacturer’s instructions. Use painter’s tape to create clean lines and protect surfaces.
Tile Installation: If you’re replacing tiles, start by measuring and planning the layout. Apply adhesive and carefully lay the tiles, allowing for proper spacing. Once the adhesive has dried, apply grout to seal the gaps.
Flooring Update: If you’re installing new flooring, follow the manufacturer’s instructions for your chosen material. Ensure proper underlayment and adhesive application for a sturdy and waterproof result.
Step 8: Add Storage and Accessories
Now it’s time to add the finishing touches to your bathroom:
Install Storage Solutions: Mount shelves, cabinets, or vanity units to provide storage space for toiletries, towels, and other essentials. Ensure they are securely anchored to the walls.
Hang Mirrors and Artwork: Install mirrors and artwork to enhance the visual appeal of your bathroom. Use appropriate hooks or hanging systems to ensure stability.
Place Rugs and Towels: Add softness and color to your bathroom by placing rugs and towels that complement your chosen style.
Decorate with Plants and Décor: Introduce plants or other decorative elements to add life and personality to your bathroom. Just ensure they are suitable for humid environments.
Step 9: Clean and Inspect
Once your DIY makeover is complete, take the time to thoroughly clean your bathroom:
Clean Surfaces: Wipe down all surfaces, including countertops, sinks, and mirrors, using appropriate cleaning products.
Inspect for Defects: Carefully inspect your newly renovated bathroom for any defects or issues. Fix any loose fixtures or address any imperfections promptly.
Test Functionality: Test all plumbing fixtures, electrical outlets, and lighting to ensure everything is functioning properly.
Conclusion
Revamping your bathroom doesn’t have to be a daunting task. With a well-thought-out plan, the right bathroom supplies, and a DIY approach, you can transform your bathroom into a space that reflects your style and meets your needs.
Follow this step-by-step guide to navigating the process successfully, from planning and preparation to the finishing touches. Remember to prioritize safety, consult professionals when necessary, and follow manufacturer instructions for installations.
By taking the time and effort to revamp your bathroom, you can create a space that you’ll enjoy for years to come.
