Are you in the market for a new roof? If so, you are probably wondering what to expect from the process of replacing your old roof with a brand-new one.
Replacing a roof is not an easy job, but if done correctly it can provide long-term protection for your home and save you money in the long run. Let’s take a look at the step-by-step process, from removing the old roof to installing the new one.
Remove Old Roofing Materials
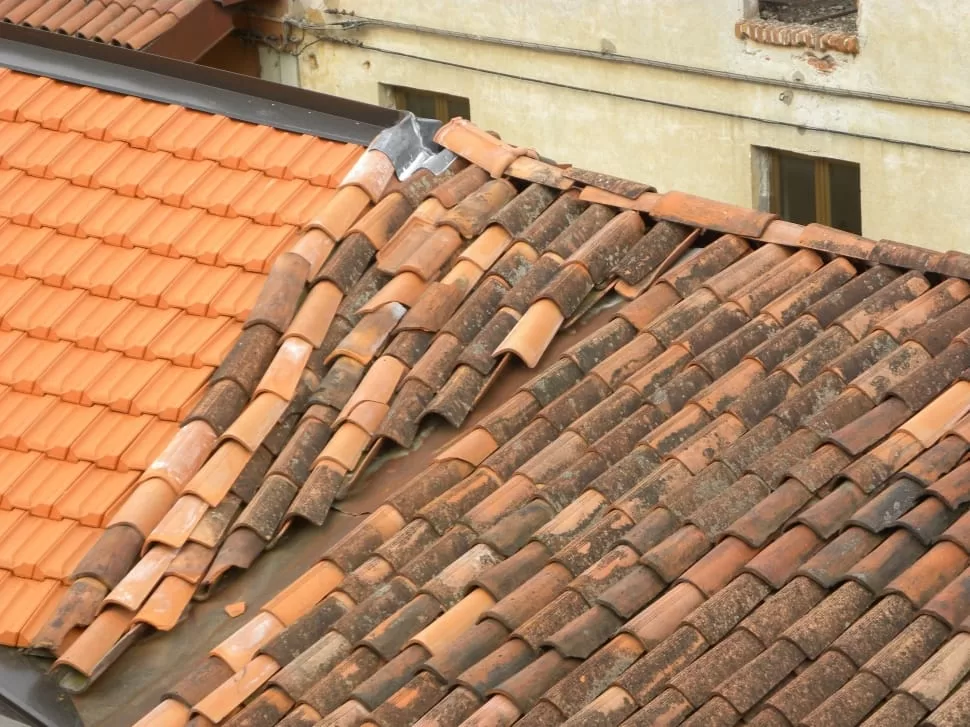
The process of removing existing roofing materials, also known as “tear off” or “stripping,” is a critical step in the process of re-roofing a home. This step ensures that the new roofing materials will have a clean, smooth surface to adhere to, improving the overall quality and longevity of the new roof.
During the tear-off process, the old shingles are removed, along with any nails or other debris that may be present on the current roof. This can often be a time-consuming and labor-intensive process, depending on the size of the roof and the condition of the existing shingles.
It is important to make sure that all of the old shingles and debris are removed completely, as any remaining materials can cause problems with the new roof installation.
It is also important to pay attention to the condition of the underlayment, which is the layer of material installed between the roof deck and the shingles.
If the underlayment is in poor condition, it will need to be removed and replaced before installing new shingles. If the underlayment is still in good shape, it can be left in place, depending on the specifications of the new roofing materials being used.
Read Also:
Inspect the Roof Deck and Install Felt
Once all of the old roofing materials have been removed and the roof deck is exposed, it is important to thoroughly inspect the deck for any damage or issues.
This inspection should include checking for any signs of rot, mold, or water damage, as well as evaluating the overall structural integrity of the deck. Any issues discovered during the inspection should be addressed and repaired before moving forward with the installation of the new shingles.
The next step is to install felt paper, also called underlayment, over the entire surface of the roof deck. The purpose of the felt paper is to provide an additional layer of protection against water damage.
Felt paper is made from a thick, porous material that will help to prevent water from penetrating the roof deck, in the case of any leaks or other issues with the new shingles. It also serves as a slip barrier for the shingles.
It is important to make sure that the felt paper is installed correctly and in accordance with the manufacturer’s instructions. It should be rolled out on the roof deck, with the tar-coated side facing down.
The paper should be overlapped at the edges, and all seams should be sealed with a roofing cement to ensure a waterproof barrier. Once the felt paper has been installed, it will be ready to receive the new shingles.
Install New Shingles
Once all of the preparation work, including the removal of old materials, an inspection of the roof deck, and installation of felt paper, has been completed, it is finally time to install the new shingles.
This is the final step in the re-roofing process and the most visible, as it will give your home a brand new and attractive look. The installation of the new shingles will depend on the type of shingle you have chosen.
Asphalt shingles, which are the most common type, are relatively easy to install and can be done by experienced DIY homeowners or by a professional roof replacement contractor. Metal and tile shingles require specialized skills and tools, so it is best to hire a professional contractor for their installation.
When installing new shingles, it is important to follow the manufacturer’s instructions carefully. This includes making sure that the shingles are properly aligned, that the nails are placed at the correct location and at the correct angle, and that the shingles are properly sealed along all edges and corners.
This will ensure that the new roof will provide maximum protection against wind and weather-related damage over time.
Install Ice & Water Shield
To further protect your home from water damage, it is recommended to apply a specialized roofing material called ice & water shield along the edges of your roof, including around chimneys, valleys, vents, and plumbing stacks.
This material is a self-adhesive, rubberized asphalt membrane that is designed to provide an extra layer of protection against water infiltration in areas that are particularly vulnerable to leaks.
When applied around the edges of your roof, an ice & water shield creates a barrier that helps to prevent water from seeping into small gaps or cracks that may develop in your new roof system over time.
This is particularly important in areas that are prone to heavy rain or snow, as well as in areas that experience freezing temperatures, as water can expand and contract as it freezes, causing small leaks to become bigger ones over time.
The process of applying ice & water shield is relatively simple, it is a roll-on product that will be installed in the areas mentioned before. The material should be applied to a clean, dry surface, and should be overlapped at the edges to ensure a complete seal.
It is also important to use the correct type of sealant when applying the material, as this will help to ensure that it stays in place and remains effective over time.
Conclusion
Installing a new roof is no small task but can provide major benefits when done correctly.
From removing old materials carefully to making sure that everything is properly sealed before completion; taking each step seriously will ensure that you get years of use out of your new roof without having to worry about costly repairs down the road due to improper installation or lack of attention during construction.
By following these steps closely you can rest assured knowing that once complete, you have a safe and secure home with a reliable and beautiful-looking rooftop!

