The freshest trend in our fair share of gardening paradise in the US is artificial
grass. No dirt, no mud, no watering required, and the grass will always be greener on your side now.
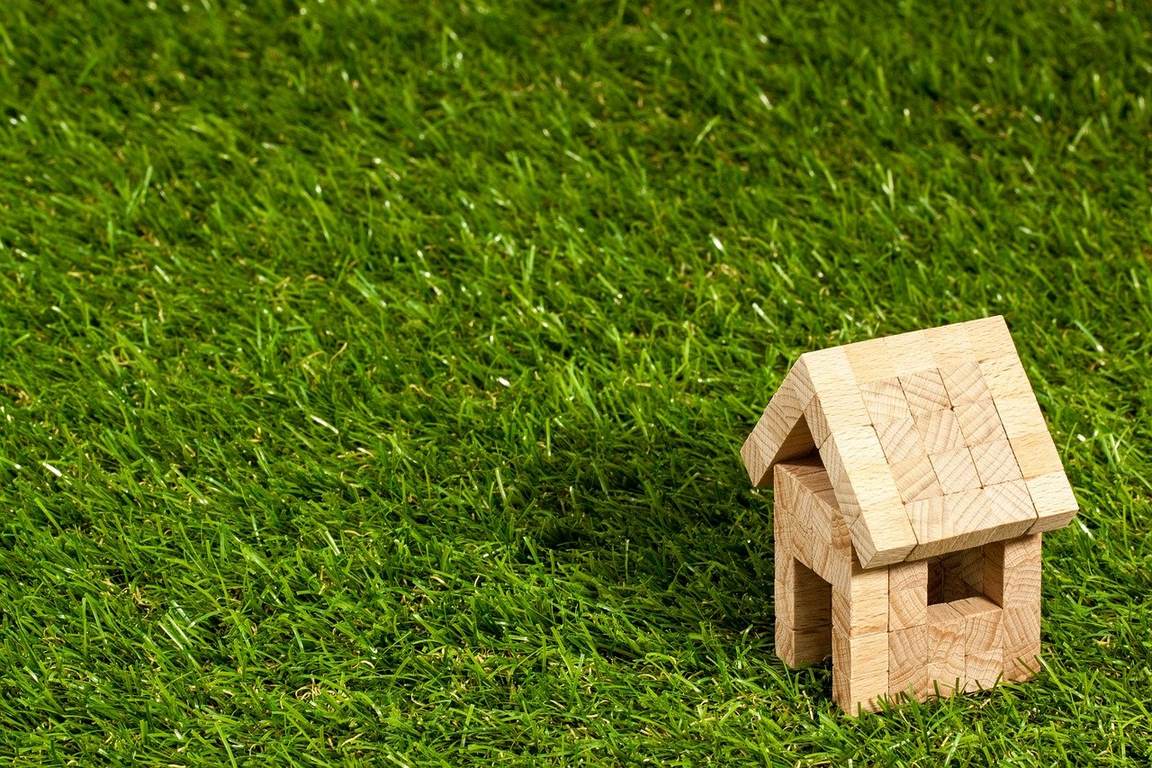
When it is highly recommended that one should always go to professionals when it comes to laying the fake grass, if you are wondering to give it a go yourself and have dirt in your way, this blog may help you.
First thing first, you have to level the ground, so that you are not leaving any area for the water to accumulate. Afterward, you can follow these steps below:
Laying a Strong Foundation
It is something that you may want to get in the rightest of the forms. Once installed we are looking for at least seven years of peace, however, if you are not paving the way for the top, you might end up digging up the whole turf after the first rain or snow.
Do not be fooled by the ground, it may seem leveled, nice, and ready to go on the surface but once you bring out that leveler, you will know the real deal.
You should just add an extra layer of sand over the already sitting basic layer. A centimeter of sand should do the trick.
You can use a piece of wood to even out the sand. Nonetheless, if you have a rather bumpy yard, you can always call the pros in.
Now that you have a smooth, leveled surface, a solid foundation, if you may, we can move forward to the harder tasks.
Get Rid of any Existing Grass
When you are going for the artificial turf, you must get rid of all the real grass or weed that your turf already has. The synthetic grass turf needs a plain surface to get a proper grip.
Any existing weed roots or grass will only make things harder for your lawn in the coming years. If there has been some rain in your area, then you first have to let the soil dry off. The artificial grass will need solid and dry ground to get a solid grip.
Read Also:
The Real Deal
Your yard is ready for work. You should now measure it and note down how much grass sheet you may need to cover your lawn.
When measuring the area, it is always safer to add a few inches to cover up any mismeasures. Also, we are bound to lose some inches in the process of cutting and fitting.
If measuring is not your cup of tea, ask someone professional to do so for you, because it is a key part of the whole task.
Cut the Grass According to Your Lawn’s Size
We have leveled the ground, we have measured it up, and you are now all ready to order the sheets. Once the grass arrives the real part begins.
Ensure that you have measured the ground correctly the last time and then you can cut the grass accordingly.
It is a rather easy job to accomplish but you have to take your time in the task because if you won’t pay proper attention you might end up with a slobby-looking lawn.
When you are done with the cutting task, you can proceed to the next step which is laying down a shock-absorbing layer.
If you have gone with the premium quality grass then there are chances that the sheet might already have come with the cushion layer, nonetheless, it is always safer to lay a shock absorber.
You can keep the turf in check for any mismeasures by laying it on the ground after cutting every side.
Now the Good Part!
We are going to do the best part of the whole program, laying the synthetic green turf. While laying down the grass you have to push the grass snugly into the corners so that there will be no gaps left and it fits perfectly.
Once you are satisfied with the fit, it is time to make arrangements permanent. So, pick up a hammer and some nails, start swinging.
Many people use the ‘a nail every foot’ method and others go for two feet, depending on the weight and quality of your artificial grass turf.
Do not forget to use the perfect kind of adhesive to help your turf in holding the ground. A single thin layer of adhesive will do the trick for you. It will help you in adjoining two different pieces of turfs.
And the Final Touch!
Your beautiful lawn is all ready to operate, all you need to do now is to sprinkle some silica sand over it. A very thin layer will most certainly do the trick.
Just keep in mind that you don’t want patches of it, so hand this task to a person who can sprinkle the sand evenly all around your fresh turf.
This last ritual will help your grass in settling accurately into the ground. It is not a necessity, but I will highly recommend it because this is almost a one-time thing, you don’t have to do it ever again.
It enhances the beauty of your lawn for sure. The sand will also give your turf some extra grip. If you have kids or pets who like to spend time in the garden, you should go for the sand.
Rise and Shine
So, this is how a layperson can lay his/her own artificial grass turf on dirt. You will have a calming green turf on your lawn, in no time. Sure, it will take some hard work, but you know what? It is going to be worth it all.
I mean it is not as easy as redoing your basement, but it is quite easy. Here are a few tricks and tips by the way if you are thinking about renovating your suite’s basement.
You want to build a synthetic lawn, but you don’t want the hassle of maintaining it. Synthetic grass is expensive and requires regular cleaning and maintenance. Use tekno-step artificial grass product, which requires no maintenance!
It is easier said than done. But, if you are the DIY master you think you are, I think this blog will definitely help you.
Happy turf-ing!
