Tile installation is a complex process that can be completed in several ways. There are plenty of tips and techniques available that can make the process easier, and this article will explore some of them.
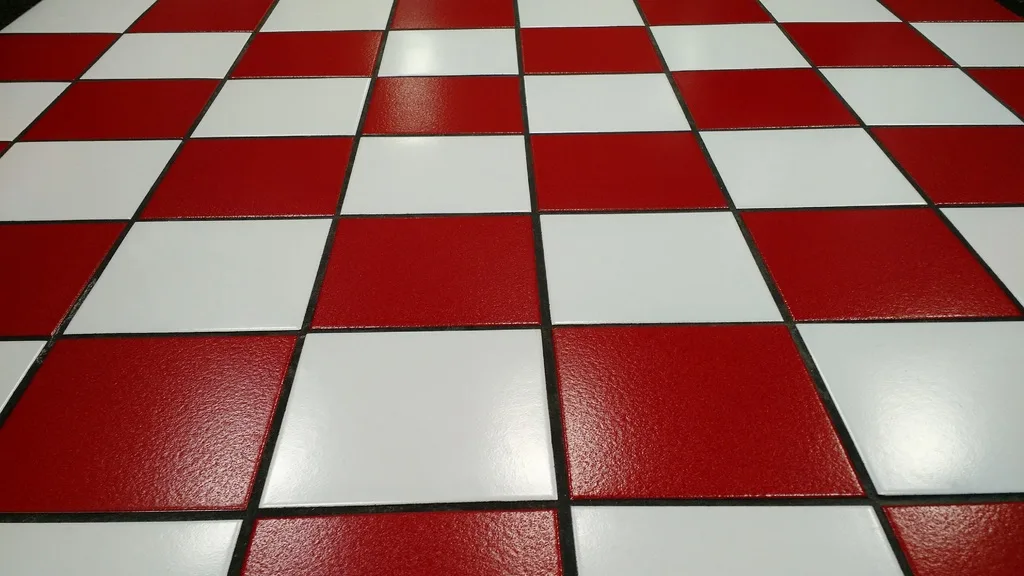
Tiles are always a popular choice for floors, walls, and countertops because they are durable, easy to clean, and come in various colors, styles, and sizes.

You might also consider commercial tiling services to speed up the process and ensure a high-quality finish. Having your tiles installed by a professional can save you time, money, and frustration in the long run.
If you decide to tackle the project yourself, do your research and consult with an expert before getting started. These tips will help you complete your tile installation quickly and easily, from understanding the layout to using the correct adhesive.
The following tips will make sure you get the most out of your tile installation project:
1. Plan Your Layout Carefully
This is perhaps the most important part, as a well-planned layout will make the installation process much more manageable. You should take into account the size and shape of your room and the size of the tiles you are using.
2. Use the Correct Adhesive
Not all adhesives are created equal, and using the wrong one can cause serious problems. Make sure to read the labels carefully and choose a bond designed for use with ceramic or porcelain tiles.
Read Also:
3. Cut Tiles Accurately
One of the most frustrating things about tile installation is dealing with poorly cut tiles. To avoid this, make sure to measure twice and cut once. Use a sharp knife or tile cutter to ensure clean, straight cuts.
4. Dry Fit the Tiles Before Applying Adhesive
This will help you avoid any unexpected problems with the placement of the tiles. Once you are happy with the layout, apply a thin layer of adhesive to the back of each tile before pressing it into place.
5. Use a Level When Installing Tiles
This will help ensure that your tiles are installed evenly and correctly. Place a level against the wall and make sure each tile is level before moving on to the next one.
6. Wipe Away Any Excess Adhesive
If you get any adhesive on the surface of the tiles, be sure to wipe it away immediately. Allowing it to dry can cause problems with the finished product.
7. Use a Tile Spacer
A tile spacer is a small plastic device that helps you space tiles evenly. This is particularly important when using large tiles or when creating complex patterns.
Tile spacers can be found at most hardware stores. There are various sizes available, so be sure to choose an appropriate one for your project.
8. Apply Grout Carefully
Grout can be difficult to apply, but it’s essential to take your time and do it right. Work in small sections and use a rubber float to spread the grout evenly across the surface of the tiles. Grout can be tricky to clean up, so be sure to have a damp cloth on hand to wipe away any excess.
9. Wipe Away Excess Grout
As with adhesive, any excess grout should be wiped away immediately. Again, this will help ensure a clean, professional finish. Use a damp cloth and brush in a circular motion to avoid damaging the tiles.
10. Allow the Grout to Dry Completely
Do not attempt to clean the tiles until the grout has had time to set and dry thoroughly. Depending on the type of grout you are using, this can take 24 to 48 hours. Check the manufacturer’s instructions for specific drying times.
Once the grout has dried, you can clean the tiles with a soft cloth and mild soap.
11. Seal the Grout
Once the grout is dry, you should apply a sealer to help protect it from stains and other damage. This is an important step, particularly in areas with a lot of traffic or moisture. Sealing the grout will also make it easier to clean in the future.
12. Clean the Tiles
After the grout has dried and been sealed, you can finally start cleaning the tiles. Use a mild soap and warm water to avoid damaging the tile’s surface. Ensure to rinse the tiles thoroughly after cleaning to remove any soap residue.
13. Remove Any Tile Spacers
If you used tile spacers during the installation process, remove them before grouting. Otherwise, they will be permanently stuck in place. Remember to wear gloves to avoid getting any grout on your hands.
14. Inspect the Tile Installation Regularly
Even after the tiles have been installed, it’s essential to check on them from time to time. Look for any cracks or chips and repair them as soon as possible.
15. Hire a Professional if Needed
If you’re not confident in installing tiles correctly, it’s always best to hire a professional. This will ensure that the job is done right and that your tiles will last for many years.
A high-quality tiling installation is key to having a beautiful, long-lasting finished product. By using the correct adhesive, tiles, and grout and following these simple tips, you can ensure that your tiles look great for years to come.
If you’re not confident in installing tiles correctly, it’s always best to hire a professional. This will ensure that the job is done right and that your tiles will last for many years.
Some tiles are more difficult to install than others. If you’re not sure how to install a particular type of tile, research it thoroughly.
You can find a lot of helpful information online or ask around for help. Whichever route you choose, make sure you understand the process entirely before beginning the project.
Installing tiles is a significant investment, so make sure you do it right. With a little bit of planning and these simple tips, you can ensure that your tile installation will be beautiful and long-lasting.


 7")

 9")
