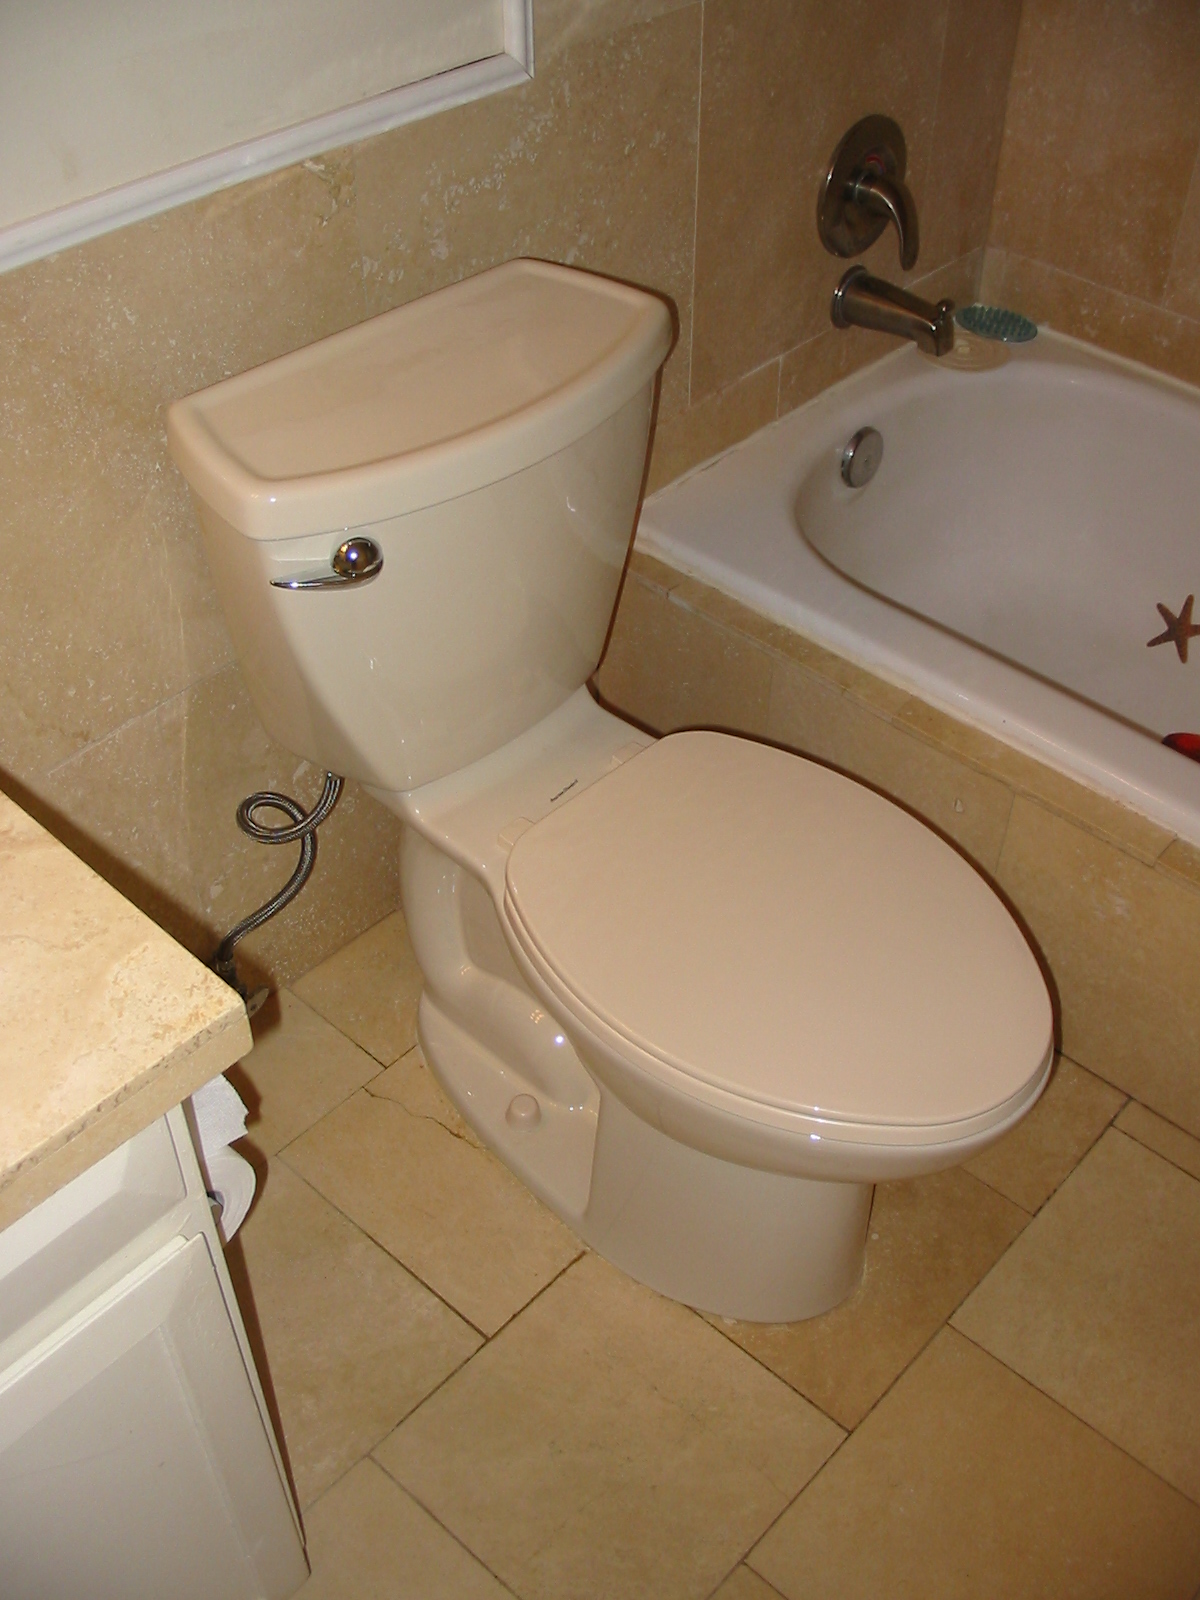
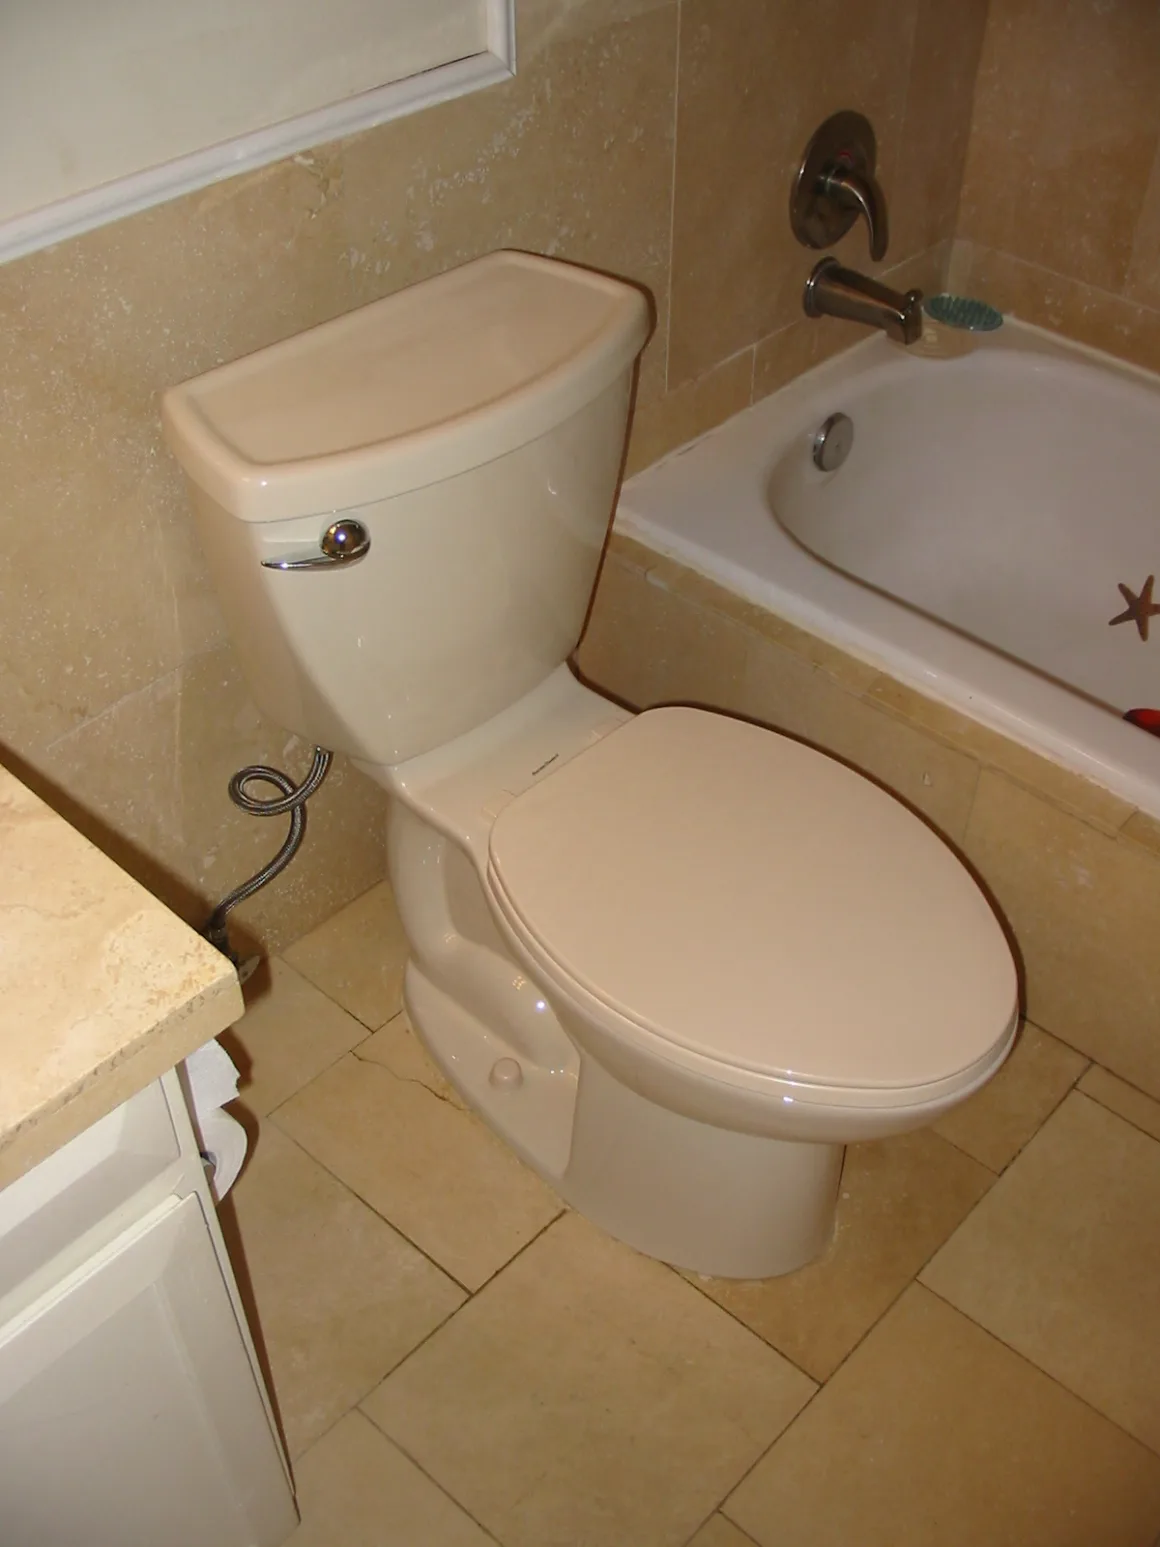
There are many reasons why you may need to replace an old toilet, ranging from the need to upgrade an existing broken one, that you just feel like making it be in tune with time.
No matter the reason why you want to remove and replace an old toilet, it’s quite simple to do, just make sure you have the right tools and you’re patient enough to follow the right steps.

In this post, you will get to see a step-by-step guide to removing and replacing old toilets. Also, you can learn more about toilet plumbing repair.
Get Your Tools and Materials Right
Before you start the process of removing and replacing, you must have the necessary tools and materials handy, this is to prevent mishaps.
The following are tools you may need; 4-in-1 Screwdriver, adjustable wrench, pipe wrench, caulk gun, box spanner, cordless drill, hacksaw or pipe cutter, hammer, locking pliers and/or adjustable pliers, rubber gloves, bucket, measuring tape, utility knife, drill, wet vacuum, rags or towels, and slip-joint pliers.
While for the materials, you need to get a new toilet, toilet seat, toilet shims, bolts for the toilet seat, two types of wax ring (with flange and no flange), penetrating oil, Teflon tape, and silicone caulk which may be optional.
Read Also:
Removing The Old Toilet
The next thing is to remove the old toilet. To do this, follow the following step:
Drain The Toilet
To drain the toilet, you must first turn off the water valve and then drain the toilet by flushing out the content in the toilet cistern.
There may still be some water left in the cistern, make use of a sponge, clothes, or foam to absorb the remaining water.
Disconnect The Water Supply
The next thing to do is disconnect the water supply so that you can work in a water-free environment. Find the water supply valve in your home and disconnect it temporarily for the moment of your working.
Remove The Screw
Gently remove the cistern or water tank by first lifting the lids off and then removing the screw that may be holding it to the wall. If the bolts are hard to unscrew, make use of pliers to wrench them out.
Make sure you unscrew all mounting nuts that are used in holding the toilet down to the floor.
Cut The Caulk
Many plumbers make use of silicone or caulk to hold toilets. Make use of your putty knife or utility knife and scrape off the material very carefully. After you’ve done this, then your toilet is ready to be removed.
Pull Out the Toilet
Now wipe the bottom of the toilet clean and pull gently. As you’re pulling, you will need to remove the old wax ring which was used as a sealant in connecting your toilet with your sewage line.
Scrape the material with your putty knife. When you are done pulling, take the toilet out of your home immediately and place it on a thick rag to absorb any leaking content.
Also, block the hole with a rag to prevent sewer gas from entering your home.
Fixing The New Toilet
For every new toilet, there is an installation manual but then, it wouldn’t hurt reviewing those here. Here is the following guide:
Installing The New Mount and Wax
Your new toilet must come with new mounting bolts. You must secure the mounting bolts onto the previous hole properly.
Also, you need to fix the new wax into the pipe hole, you should understand that this is a sticky material and must be handled properly to prevent your toilet from leaking.
Fix The Toilet
Gently place the new toilet over the hole and make sure that all the holes align with the mounting bolts. Then tighten the screws or nuts.
Fix The New Cistern
Now is the time to install the new cistern to the toilet. If your toilet is a one-piece toilet you don’t need this step as the cistern and the toilet bowl are already attached.
Gently pick up the cistern and fix it to the toilet with the necessary tools required.
Check for Leaks
The next step is to connect the water supply line and then turn on the water. Now flush the toilet several times to make sure the toilet is not leaking water to the floor.


