Refacing kitchen cabinets is a practical and stylish solution for homeowners looking to revamp their kitchens without undergoing a full renovation. With its affordability, efficiency, and ability to provide a fresh aesthetic, it’s no surprise that this technique is becoming a popular choice.
What is Kitchen Cabinet Refacing?
Kitchen cabinet refacing involves updating your cabinet exteriors without replacing the entire framework. It’s a simple process where old cabinet doors are replaced or refaced, surfaces are given fresh veneers, and new hardware is added. This method keeps the cabinet structure in place while giving your kitchen a completely new look.
For more insights, you can explore the detailed guide on Better Homes & Gardens.
Understanding the Refacing Process
The refacing process is straightforward but requires careful execution:
- Preparation: Remove cabinet doors, drawer fronts, and any hardware.
- Veneer Application: Laminate or wood veneers are applied to the cabinet surface. This step ensures a uniform and polished look.
- Hardware Installation: New knobs, handles, and hinges are installed for functionality and style.
- Final Touches: Additional adjustments or refinishing ensure the cabinets look as good as new.
This process typically takes just a few days, making it a time-efficient solution.
RELATED: Refacing Cabinets: An Easy Kitchen Update That Saves Thousands
Key Materials Used in Refacing
Several materials are commonly used for cabinet refacing, each with its own advantages:
- Laminate: Durable and affordable, laminate is available in various patterns and colors to match your kitchen’s style.
- Wood Veneers: These thin slices of real wood add an authentic and warm look to your cabinets.
- Rigid Thermofoil (RTF): A mix of affordability and moisture resistance, RTF is easy to clean and maintain but may not handle heat well.
You can read more about material choices and their pros and cons on The Spruce.
RELATED: 4 Types of Cabinet Materials That Look Great and Are Durable
When is Refacing a Good Option?
Refacing isn’t suitable for all kitchens. Here are situations where it’s ideal:
- Cabinets are structurally sound but look outdated.
- The kitchen layout works perfectly, and no structural changes are needed.
- Budget constraints make full replacement impractical.
- You aim to reduce waste and adopt eco-friendly practices.
If your cabinets meet these criteria, refacing could be an excellent choice.
How Much Does Kitchen Cabinet Refacing Cost?
The cost of refacing typically depends on the design, material, and labor. On average, refacing costs range between $4,000 and $10,000, with most homeowners spending about $7,000. Costs per linear foot can range from $90 to $150, based on material and customization options.
Factors Affecting Cost
Several factors can influence the total expense:
- Material Choice: High-end materials like hardwood veneers will cost more than laminates.
- Labor Costs: Hiring professionals can significantly add to the bill but ensures quality results.
- Customization: Decorative moldings, custom finishes, and upgraded hardware can increase your budget.
Cost Comparison: Refacing vs. Replacement
Refacing is less expensive than completely replacing cabinets, which often costs $12,000 to $20,000. Refinishing, a simpler job than refacing, averages around $3,000 to $4,000, but it doesn’t allow for extensive updates. Refacing strikes a balance between cost and transformation.
RELATED: Is it Worth it to Reface Kitchen Cabinets?
DIY Kitchen Cabinet Refacing
Many homeowners opt for DIY refacing to cut labor costs. Kits with veneers, adhesives, and instructions are available. However, DIY projects require patience and attention to detail. If done properly, you can save several thousand dollars.
The Benefits of Choosing Cabinet Refacing
Environmental Benefits
Replacing cabinets generates significant waste, while refacing minimizes demolition. By choosing refacing, you help reduce the need for new resources. It’s an eco-friendly option that supports sustainable living.
Learn more about the benefits of refacing from Wood Reface.
Customizing Your Refaced Cabinets
Refacing allows plenty of customization options. You can select modern or classic door styles, vibrant or neutral colors, and sleek or vintage hardware. This level of personalization ensures your kitchen reflects your style while staying functional.
Time Efficiency Compared to Replacement
Refacing typically takes 3 to 5 days to complete, compared to several weeks for full cabinet replacement. If you need a quick transformation, refacing could be your best bet.
DIY Kitchen Cabinet Refacing: What You Need to Know
Tools and Supplies Required
For a DIY project, you’ll need:
- Veneer sheets and adhesive
- Sandpaper or sander
- Measuring tape
- Paint brushes or applicators
Prepare your cabinets by cleaning and sanding surfaces before applying a new veneer. Follow detailed steps to avoid costly errors.
Common Challenges in DIY Refacing
Refacing isn’t foolproof. Many DIYers face issues like misaligned doors, peeling veneers, or hardware installation difficulties. The key is precision and understanding the process.
When to Hire Professionals Instead
If your project requires intricate finishes, custom designs, or a more polished result, hiring professionals is wise. While it costs more, professional installation guarantees quality and durability.
Conclusion
Kitchen cabinet refacing is an affordable and efficient way to upgrade your kitchen. By preserving the existing structure, you save time, money, and resources. Before committing, evaluate your kitchen’s needs and your budget. Whether you choose to DIY or hire professionals, this makeover technique can transform your kitchen into a space that feels brand new.

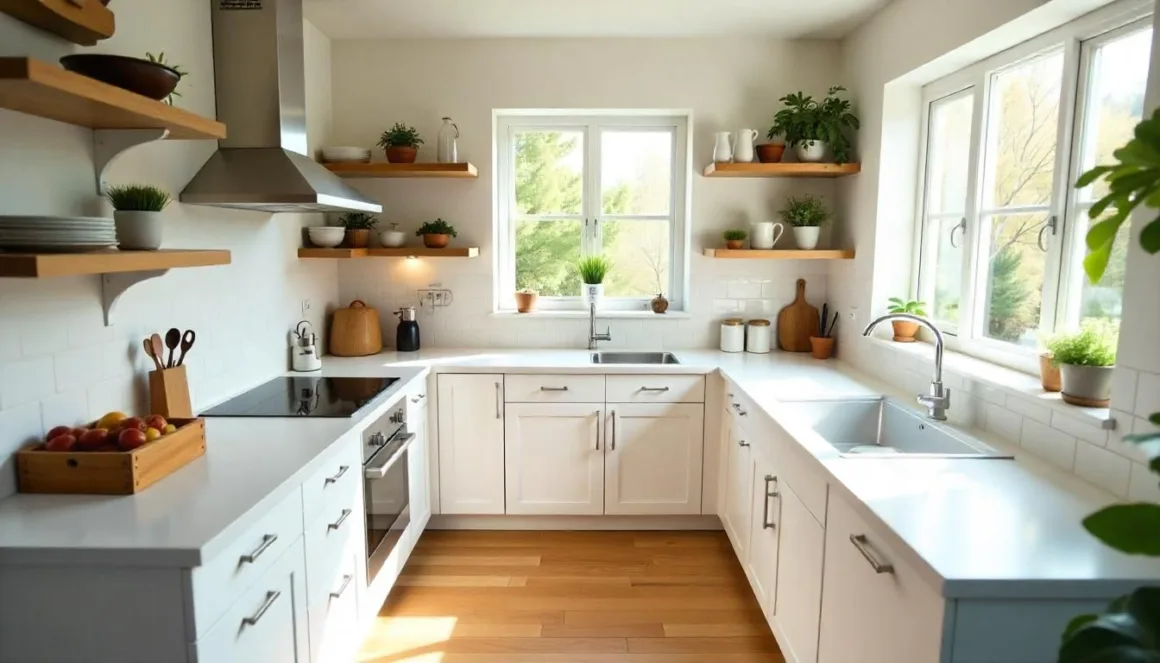
Photo by Max Vakhtbovych.
FAQs:
What does kitchen cabinet refacing typically cost?
On average, kitchen cabinet refacing costs range from $4,500 to $11,000 depending on the kitchen size, the number of cabinets, materials used, and labor rates. Smaller DIY projects can cost as little as $200 to $600, while high-end professional refacing can exceed $13,000 for larger or more complex kitchens.
How does refacing compare to full cabinet replacement?
Refacing is significantly cheaper and less disruptive than replacing cabinets entirely. A full replacement can impact flooring, plumbing, and countertops, usually costing 40-60% more than refacing. With refacing, cabinet boxes remain intact while only visible components like doors, veneers, and hardware are updated.
What materials are commonly used for cabinet refacing?
Popular materials include laminate veneer ($50-$100 per sheet), vinyl wraps ($40-$80 per roll), and ready-to-assemble (RTA) doors ($5-$30 per door). Solid wood and rigid thermofoil are premium choices with higher durability but increased costs.
Can I reface cabinets myself, or is professional help required?
DIY refacing can save 50-70% on labor costs, with an average price of $200-$600 for materials. However, it requires meticulous measurements, surface prep, and proper tools. For larger projects or intricate designs, hiring a professional is advisable to prevent costly mistakes.
How long does cabinet refacing take?
Refacing typically takes 2-5 days for professionals, depending on the kitchen size and the complexity of the layout. DIY timelines may extend to 1-2 weeks due to the learning curve and slower material application.
Are there any hidden costs associated with refacing?
Additional costs may include cabinet hardware upgrades, hinge replacements, countertop refinishing, or lighting adjustments. Failure to measure accurately or prep surfaces correctly during DIY projects can also lead to unforeseen expenses.
What’s the cost per linear foot for cabinet refacing?
Costs range from $100 to $1,000 per linear foot, depending on materials. For example, laminate and vinyl wraps are on the lower end, while wood veneer and solid wood are higher.
Is refacing environmentally friendly?
Yes. Refacing generates less waste compared to full replacements, as existing cabinet boxes are reused. This makes it a sustainable way to upgrade your kitchen’s look without contributing significantly to landfills.
Can existing hardware and hinges be reused?
Absolutely. Reusing functional hardware like handles and hinges can reduce costs. However, upgrading to new hardware can enhance the overall appearance for an additional $100-$500.
Are there any maintenance tips to extend the life of refaced cabinets?
Yes. Clean surfaces regularly with a damp cloth and mild detergent. Avoid excessive moisture and handle cabinets gently to prevent veneer or laminate from detaching.
How can I save money on a refacing project?
Choose budget-friendly materials like laminate veneer or vinyl. Undertake parts of the project as a DIY effort, such as removal and prep work. Get multiple contractor quotes to compare rates and options. Reuse existing hardware if it’s in good condition.
Does location affect refacing costs?
Yes. Urban areas often have higher labor and material costs than rural locations due to demand and higher operating expenses for contractors.
Are additional upgrades worth considering during refacing?
Upgrades like countertop refinishing, new hardware, and under-cabinet lighting can dramatically enhance the final look. Factor these into your budget if your goal is a cohesive kitchen update.
How do I know if refacing is right for my cabinets?
If your cabinet boxes are in good condition and structurally sound, refacing is an excellent option. For poor-quality or heavily damaged cabinets, replacement may be the better choice.


 5")


1 comment
This is an amazing article, thank you for sharing. Keep up the good work.