Building fence panels made easy. Discover why pros make pre-built panels ahead of time, then put the fence together.
But make sure your plan is in place and you have made all the calculations.
How to Build a Fence Using Pre Built Panels
Build great-looking, uniform fences by building the panels separately from the fence.
You’ll have to do a little more prep work, but when you’re ready to start assembly you’ll find it was worth the few extra minutes of time you spent with a calculator to plan it out.

Read Also:
- Advice on Fence Building, with 14++ DIY Fencing Ideas to Build Yourself
- Installing a Fence around the Property: Reasons to Consider
- How to Choose the Right Type of Fence for Your House?
- DIY Chain Link Fence: What Everybody Ought to Know
- Using Outdoor Lattice as a Privacy Screen or Fence
- How to Build a Fence Using Pre Built Panels
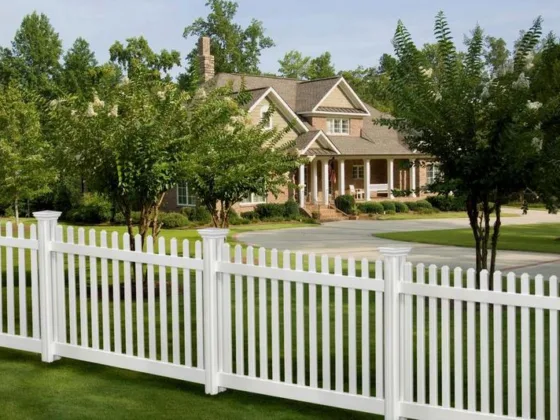
Fence Panels
If you’re building a fence, you want each section to look the same. The best way to do that is to build the fence in sections or panels and then install the panels on the posts.
You can build the panels in your garage or shop and if you take a little time to make a setup, the fence construction goes faster and easier.
Here’s how to pre-build fence panels.
Panel Size
Determine the best size for your panels. Choose a size that minimizes the number of posts and maximizes your material usage.
Panels from 6 to 8 feet long are good lengths, but generally, you won’t want to make them longer.

You’ll want to make sure you don’t end up with one very short panel and the rest are long. If necessary, shorten the length of the panels to make them come out even.
If your run is 60 feet long, making the panels 8 feet long results in making one panel 4 feet long. But making them all 7 1/2 feet long uses the same material and makes it all even.
Don’t forget to include the post width in your calculations. Panels can install between posts, or on the faces of the posts.
Building Fence Panels
Take the time to make spacing blocks or jigs that let you make repeatable panels. You should also calculate the spaces between boards or pickets.
Start with the panel length and add the width of one picket. Divide the result by the number of picket spaces for the center to center spacing between pickets.

Cut all your stock at the same time. The horizontal rails and pickets should all be the same size, so cut all those at one time. By clamping a block to your miter saw table, you can make accurate, repeated cuts.
Layout the first panel on a large work surface, get it square, and ready to assemble. Mark the locations on of the horizontal rails on the work surface and then complete the assembly.
On the next panel, all you have to do is lay the rails down on the marks and start screwing the pickets to the rails. Use the spacing blocks you made to keep picket spacing perfect.
Repeatable setups like this make panel building much easier and faster. You don’t have to figure out what you’re doing on each panel since you already know.
Tip: Clamp a block to your miter saw table to make locating the boards on the saw fast and easy. This way you won’t have to measure each board.
Fence Posts
You don’t get a lot of leeway for error with this method of fence building, but usually, that is not a problem.
One way to give yourself a little breathing room is to make the holes slightly larger–instead of a using 6-inch auger use an 8-inch That way you can move the post a little in the hole.
Auger your first hole, set a post in it, and have someone hold it plumb while you measure for the next hole. The auger that hole, move your post into it, and measure for the next one.

When it’s time to set your posts, do them one at a time in order from start to finish and measure for each one. Set a post, plumb it, and pour your concrete if you’re using it.
Measure for and set the next post and keep moving down the line. As long as you keep the spacing correct, you won’t have any problems.
Building and using pre-built fence panels takes a little more time when planning and setting up, but the finished fence looks like a pro did it and you’ll save yourself time and headaches by doing it this way.
Credits and Resources
- White Picket Fence Photo By Laura D’Alessandro at Flickr.com
- Fence Photo By Melissa Bridgman at Flickr.com
- Resource: How to Build a Classic Backyard Fence