Many homeowners would love to enjoy some extra space in their homes. It is especially true if their household is growing or they have in-laws, friends, or relatives coming in to stay and vacay for a few weeks.
When you need extra living space, there are only two ways you can attain this: build a new room or convert your attic. But since building a new room can take a lot longer and require more money and land space, your next best option is to remodel your attic and make it into a reusable and livable space.

This option may be less costly than the former, but that doesn’t mean it’s a simple task that you can quickly pull off without a plan. Like any remodeling project, converting your attic can be a massive undertaking that requires proper planning and thorough inspections.
On top of that, you need to confirm that your current attic passes your state’s building code requirements, configurations, and other structural factors.
But don’t get discouraged just yet, as this article aims to help you convert your attic into a habitable space in the best way possible. To start, here are nine tips for transforming your attic into a functional and aesthetic living space.
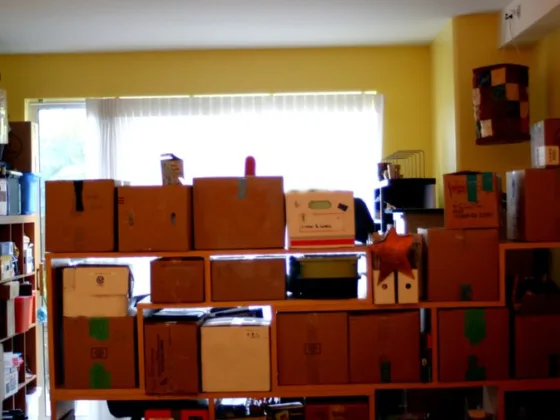
1. Clear Your Attic
First and foremost, if your current attic looks like one of those creepy rooms in the horror movies, you’ll need to clear it and get rid of all the things you’ve kept in there for years. It is true, especially for people who’ve been using their attics as a storage room for old, broken, and rarely used items.
So, schedule at least two to three days to clear out your attic, eliminate the excess things, and find a free junk removal service to collect your junk at no cost.
If you have some baby clothes or old toys tucked away in your attic, you may also donate them to charity. It’s up to you how you’d like to get rid of your attic’s junk as long as you do it responsibly.
Once the attic’s clear of any stuff, it’s time to thoroughly inspect the area and see if any issues need fixings, such as mold growth, water leakage, or remnants of rodents. Make sure you tackle and deal with these issues before revamping the space.
Read Also:
2. Confirm If Your Attic Complies with the Building Codes
Before starting any construction, confirm if your attic complies with your state’s building codes. Each country may differ in their building requirements, but generally, they may require the following:
- One full-size staircase
- 70 sq. feet floor space
- 7 ft. wide and 7 ft. vertical clearance
- An easy-access window for emergency exit
If your attic only has a pull-down staircase, you’ll be required to build a full-size permanent staircase before you can utilize it as a functional room.
Meanwhile, if your attic ceiling does not reach a minimum of 7 ft. tall, you’ll need to hire a contractor to build a dormer for additional room height. The same contractor will also be in charge of securing the proper building permits required for your attic conversion.
3. Check if Your Attic Has Rafters or Trusses
Your roof’s framework will also help determine if your attic is convertible into a livable space or not. Roof rafters are the long, sloping pieces of lumber positioned on each side from the roof’s peak. It’s designed to support it and the ridge beam (the wooden board covering the entire roof length).
Meanwhile, roof trusses are a prefabricated framework intended to connect the space above the room. Some homeowners would prefer trusses over rafters as they’re known to be more affordable and more versatile.
However, roof trusses can significantly reduce your attic’s vertical height, making it challenging to transform into code-compliant space. That’s why it’s imperative to check first if your attic has roof rafters or trusses to ensure that your attic’s ceiling height is tall, accessible, and complies with the building codes.
4. See to It That Your Attic is Easily Accessible
What’s a nice room if you can’t access it in the first place? Thus, when converting your attic, you must provide a functional stairway other than the pull-down ladder or narrow stairway you got going on. To meet the standard requirements, your attic’s stairwell must be:
- Minimum of 36 – 40 inches wide
- 6 ft. by 8 inches of headroom
- Minimum of 10 inches stair tread
Complying with the minimum stairwell requirements won’t only elevate your attic’s aesthetic but also ensure the safety of the household every time they climb and use the stairs.
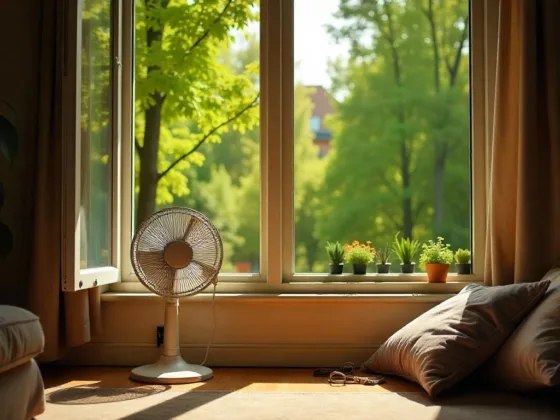
5. Add New Insulation
Typically, the attic is only for storage purposes, which means the house contractors didn’t consider the room’s temperature control. Since you’ll be converting it into a habitable space now, you must add new insulation (and remove the old ones, if there’s any) to make it easier to control the room’s temperature, especially during the summer and winter season.
You can also hire a company specializing in attic insulation to help make your attic have a comfier and more acceptable temperature.
6. Provide Proper Ventilation
Along with temperature control, ventilation is vital in achieving a comfy attic living space. Keep in mind that your attic is located in the highest part of the house, which means it collects all the hot temperatures from the lower rooms.
To provide proper ventilation, make sure you leave an inch of air space between the roof’s underlayment and the insulation to prevent heat build-up. Meanwhile, you may also consider adding an HVAC system and vents to create a well-ventilated attic room for your family and guests.
7. Upgrade Your Attic’s Flooring

It’s no surprise if your current attic now only has exposed floor joists. After all, they were initially designed to hold and endure unmoving objects. In short, they were not made to be stepped on by people or pets.
When converting your attic, you’ll have to upgrade your flooring by sistering the joists and adding subflooring. This is to ensure that your attic can safely hold and support people without cracking or damaging the floor.
Furthermore, adding insulation under the subflooring will also reduce the sound from traveling down into the rest of the house.
8. Soundproof Your Attic Floors
Besides the insulation, you can further tamp down the noise of your attic floors by adding carpet flooring to minimize footstep sounds. It is vital, especially if the rooms under your attic (e.g., bedrooms, home office) are areas where silence is demanded.
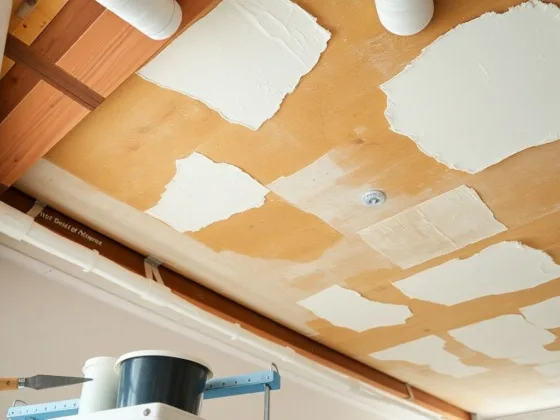
9. Install Drywall and Ceiling Before Painting
Once you’ve completed insulating your walls, ceilings, and flooring, finish by hanging drywall to give your attic more shape and definition. You can also add a dropped ceiling but make sure you still have enough space and height between the floor and ceiling.
Otherwise, you may not be able to meet the building codes. If you’re working on a limited space, you can hang drywall directly into the ceiling instead.
For the most exciting part, you can start painting your walls and ceilings after installing the drywall. From there, your attic will start looking like a real living space. If your attic has limited windows, go for lighter and brighter colors to help lighten up the room.
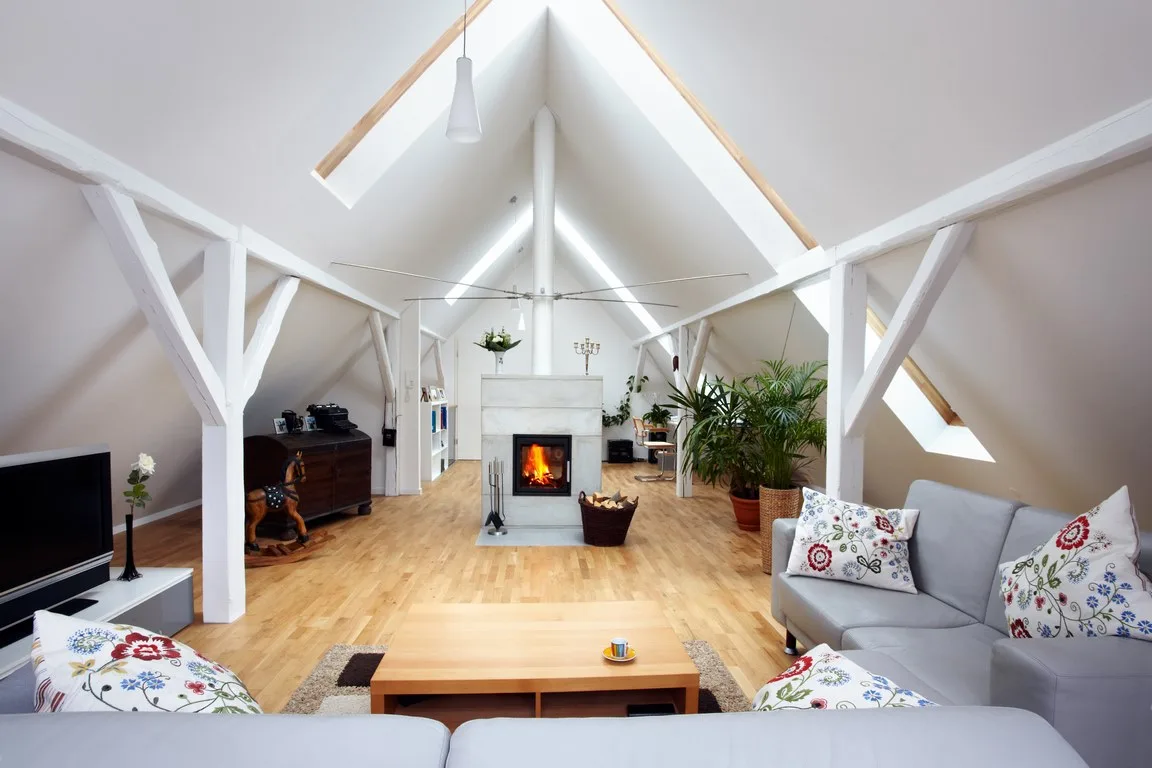
Enjoy Your Finished Livable Attic
There you go! Now that you have finally converted your attic into a living space, finish your project by decorating it to your own accord. You can start moving in some furniture and adding some decoration to transform your attic into the functional room you need it to be.