You only have one chance to get it right, if you blow it, you have a colossal mess. Staining a new door is not hard.
The things you need to be careful with are the stain match or color, pre-sealing the door, and using the right stain and varnish for the door.
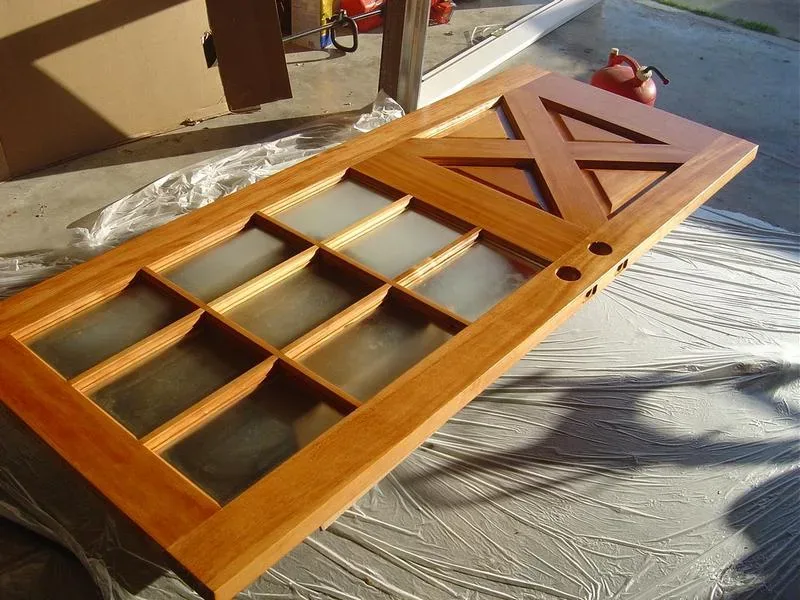
Staining a New Wood Door, How to Stain a New Wood Door

Sand the Door
Start by sanding the door in the direction of the wood grain with 220-grit sandpaper. This will even out the porosity allowing for a more even appearance. Sanding will also clean off any smudges and marks out of the wood. Vacuum off the dust before proceeding.
Staining the Door on its Hinges
The easiest way to stain the whole door at one time is to stain it on its hinges.
Mask off the hinges and doorknob (or remove it) Put down a strip of carpet shield plastic film, this will allow you to swing the door to do both sides without the stain ruining your carpet.
Be sure to make the film big enough to cover the carpet for the full swing of the door.
Staining the Door Horizontally on Saw Horses / Work Table
You can do one side at a time or attach a 2×4 to the top and bottom of the door with screws which will allow you to do both sides. The 2x4s extend beyond the face of the door, holding the door off of the tabletop.
If you are doing multiple doors, you can lean the door against a plastic-draped wall to dry. The door will make contact with the wall only on the top edge and the floor with the bottom edge.
Staining a New Wood Door: What Stain to Use?
You can use either a penetrating stain or a heavy-bodied wiping stain. See Interior Wood Stains below for comparisons of the two types of interior stains.
Interior Wood Stains
There are two basic types of interior wood stains: wiping stains and penetrating stains.
The wiping stain is a highly pigmented stain that allows the wood finisher the ability to control the amount of stain color better than with a penetrating stain. The wiping stain usually uses weaker solvents.
The downside of the wiping stain is that they lay on the surface of the wood and the built-up stain will show brush marks or rag marks rather easily if you are not careful. Wiping stains can be used to re-tone clean and dulled previously stained woodwork.
Penetrating stains are often combinations of dyes and pigments.
Penetrating stains have much better clarity than wiping stains. These stains penetrate the wood so that there is much less a problem with brush marks.
Because they soak right into the wood they are not as controllable as wiping stains and can be more blotchy than wiping stains.
My favorite penetrating stain is the Minwax Wood Finish line of stains. These come in a variety of pre-mixed colors which can be intermixed to produce almost any color you’ll need for your finishing.
Do you Need to Pre-seal?
Pine, softwoods, and veneer doors will stain a bit more evenly if pre-sealed – but don’t overdo it or the door won’t take any stain. See Pre Sealing Wood.
Six Panel Doors
Apply the stain to the panels first, you will need to use a brush to get the stain into the grooves and corners. Wipe the stain on with a rag, and brush it into the corners and grooves. Brush in the direction of the grain.
After the panels are done, do the rails and stiles. You can use a clean white china bristle brush to soften out any rag wipe marks that don’t soak in and disappear on their own
Flush Doors
Here is a situation where you can roll the stain on with a roller. Use a foam roller and work out of a roller pan. Roll the stain on, and follow up with a brush in the direction of the wood grain this will even out the stain and work it into the wood.
Allow the stain to dry (see label), and proceed to varnish or polyurethane. On interior doors, you must use interior stain and varnish. On the exterior side (of an entry door for instance), you must use an exterior stain and exterior varnish. See below.
Staining an Exterior Front Entry New Wood Door
Exterior Semi-Transparent Stain
You need to use an exterior stain for the outside – side of an entry door. Interior stains will fade badly if used on the exterior. The best thing to use is a semi-transparent exterior stain.
Apply this thinly, so that it doesn’t obscure too much of the wood grain. Semi-transparent stains are always going to be a bit more opaque than an interior penetrating stain, you just have to live with that.
Spar Varnish
Again, you cannot use an interior varnish for the exterior side of an entry door either. they won’t last outdoors. You will need to use a spar varnish or spar urethane.
These clear coats contain UV inhibitors (that is why they are not as clear as an interior varnish) and are more flexible for substrate movement that occurs on exteriors.

Rag warning:
Rags saturated with solvent are a fire hazard and can be spontaneously combustible. Never clump or bunch saturated rags with solvent or stain when done staining.
Hang rags used for staining and rags used in solvent singularly on a metal (coat hanger(s)) to air dry – outside away from the house. Make sure air can get to all parts of the rag so that the heat can dissipate. Let the rags totally air dry. Dispose of rags by local ordinances.


 3")


