Drywall ceiling water damage includes structural weakening and the consequent possibility of mold growth. Therefore, getting it fixed promptly will keep your home safe and aesthetically pleasing. In this guide, you will find easy-to-follow steps to fix ceiling water damage on drywall with no hesitation, even if you are not the best handyman.
Related reading: Reasons Why You Might Want to Use Drywall
Assessing and Preparing for Drywall Ceiling Water Damage Repair
The next step will be to assess the damage and check its source. Finally, preparation occurs. If these three steps are not done correctly, you will save yourself a headache somewhere along the line.
Identifying Signs of Water Damage on Drywall Ceilings
Look for these water damage indicators:
- Water stains or discoloration – yellowish, brown, or dark patches.
- Sagging or bulging drywall – moisture has softened the drywall.
- Peeling or blistering paint – paint doesn’t adhere well in damp conditions.
- Mold or mildew spots – The small spots of mold or mildew may be tiny black or green dots with a fuzzy appearance.
- Soft or crumbly drywall – If the softness becomes crumbliness, then press it firmly, and it is already damaged if it dents or cracks.
Finding these early helps you catch the issue before it gets worse.
Locating and Stopping the Water Source
Fixing the ceiling comes second. The priority is to stop the leak. Common causes include:
- Roof leaks from damaged shingles or flashing.
- Plumbing leaks in pipes beneath the ceiling.
- Condensation due to poor ventilation.
Turn off the water if needed and inspect your roof or pipes. Repairing the source ensures your ceiling won’t get damaged again. For guidance on fixing leaks, Home Depot’s guide to water-damaged ceilings offers useful tips.
Safety Precautions and Preparing the Work Area
Water damage makes ceilings unstable. Always:
- Wear protective goggles and gloves.
- Turn off the power if water’s near electrical outlets or fixtures.
- Cover floors and furniture with plastic or drop cloths.
- Keep fans running to dry the area.
Taking these steps keeps you safe and makes cleanup easier.

Effective Drying and Removal of Damaged Drywall
Drying your ceiling properly stops mold and paves the foundation for repairs. Then it’s time to remove drywall that’s beyond saving.
Drying Techniques and Tools
Use these tools and tips for good drying:
- Fans were directed at the damage to increase airflow.
- Dehumidifiers reduce moisture in the air.
- Moisture meters are used to check if the drywall is fully dry.
- Drying can take a day or two, depending on the damage.
Checking dryness before repairs prevents hidden mold growth.
Removing Water-Damaged Drywall Sections
Cutting away damaged drywall may feel drastic, but it’s necessary.
- Use a drywall saw to cut damaged parts back to the nearest ceiling joists.
- Remove wet insulation behind drywall and replace it.
- Dispose of damaged drywall and insulation carefully.
This clears the way for fresh drywall that stays sturdy.
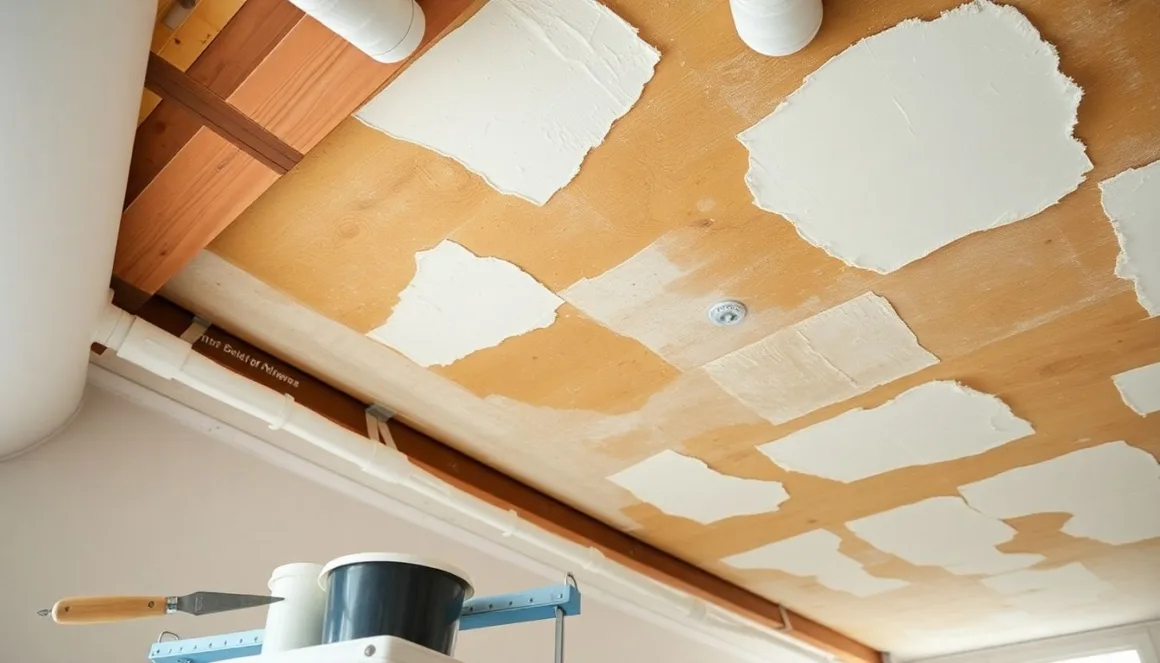
Repairing and Finishing the Drywall Ceiling
Once everything’s dry and clear, you can fix the ceiling with new drywall and a smooth finish.
Installing New Drywall and Securing It
- Measure the hole and cut a drywall piece slightly smaller.
- Screw drywall into the joists securely, so it doesn’t sag.
- Make sure the patch fits snugly with no gaps.
Proper fitting is key to avoiding cracks later.
Applying Joint Compound and Taping Seams
To hide the patch lines:
- Apply joint compound (mud) over the seams.
- Embed drywall tape over the wet mud.
- Smooth with a putty knife and let dry.
- Apply a second coat of mud, feathering the edges.
- Let dry fully before sanding.
This helps your ceiling look seamless and strong.
Sanding, Priming, and Painting the Repaired Area
Finish by:
- Sanding the patched area until smooth and flush with the ceiling.
- Use a stain-blocking primer to seal any water marks.
- Paint the ceiling with a matching color for a clean, uniform look.
Taking time on prep work pays off in a flawless finish.

Conclusion
The very first phase of repairing water-damaged drywall ceiling will be immediately stopping leaks and drying out the ceiling completely. Removing damaged drywall and carefully patching it up restores both strength and beauty. Speed helps avoid mold and larger repairs later on. With that clear step, it will be easy to face the water-damaged ceilings and work on bringing the home up.
For real-life advice and tips from people who tackled similar repairs, here is a helpful discussion on Reddit concerning drywall ceiling repair. This is one great way to learn from people’s experiences.
When you require detailed information on fixing water-damaged ceilings, read a complete guide on Home Depot with steps and supplies. Taking your time with each of these stages will give you a ceiling that is safe, clean, and lasts.


 6")


