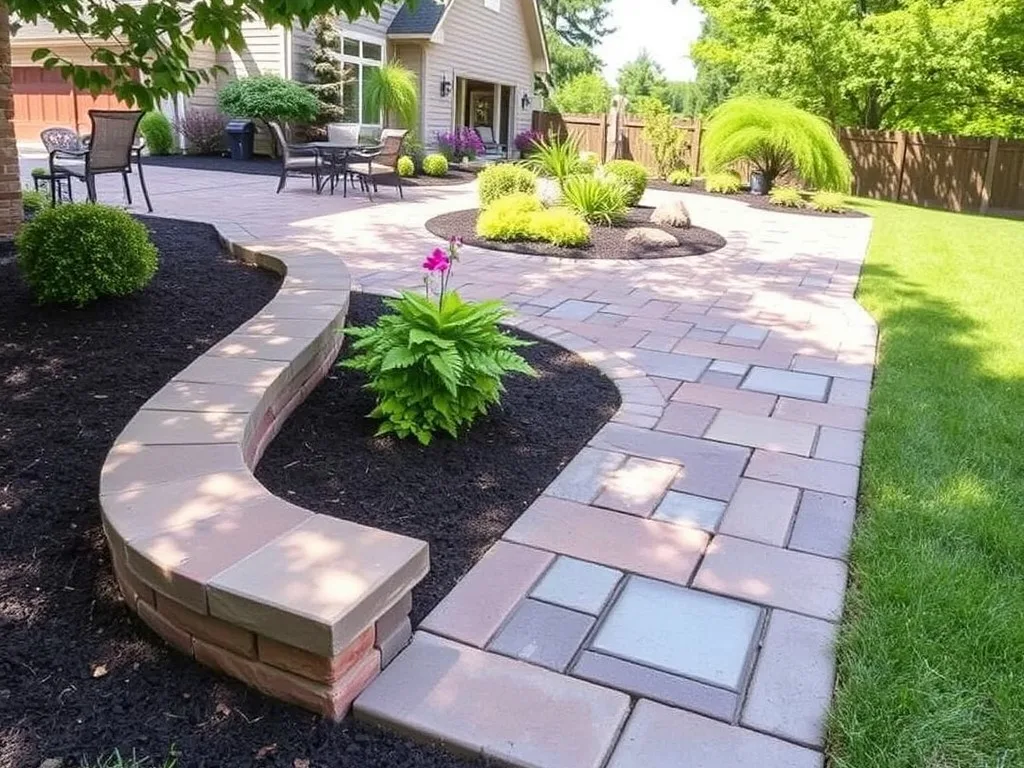
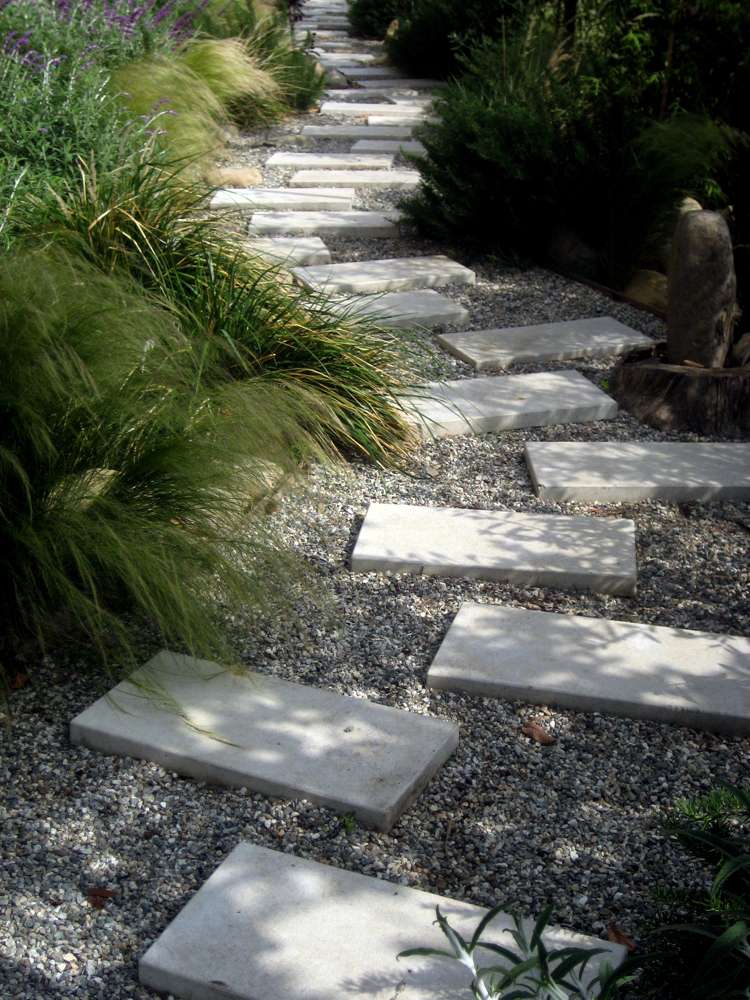
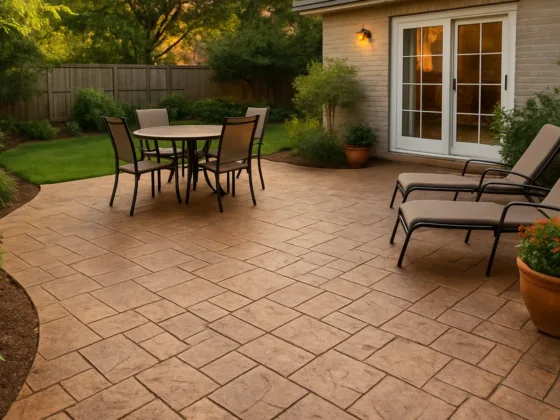
Learn how to make molds for pavers and blocks for patios, edging, and walkways. Step-by-step instructions, materials required, and assembly drawing.
Concrete molds are easy to make and use. Make molds easy to reuse and make multiple molds for greater production. Use molds of different sizes to create patterns for walkways and patios
Introduction – How to Make Concrete Molds
Make your custom concrete pavers and blocks. Concrete has been called one of the most versatile building materials available. But its use isn’t limited to buildings and structures. It has many other uses including sidewalks, driveways, and walkways.
Because concrete is essentially fluid (albeit a chunky fluid) before it hardens, it is usually poured into a mold and allowed to set (cure).
In foundations, these molds are called forms. But for simple patio or walkway blocks, we just call it mold. This process describes how to make concrete molds for patio or walkway blocks.
Project Supplies
- 3/4-inch thick Medium Density Overlay (MDO) Plywood
- Oil-based primer and paint
- Paraffin
- Concrete edging trowel
- 1-inch hinges (3)
- Hasp Latch
- 1 1/2-inch wood screws
Cut the MDO Plywood
Decide what size you will make the mold;
- Cut a square or rectangular piece of MDO for the base, 3 1/2 inches longer and wider than the desired block size.
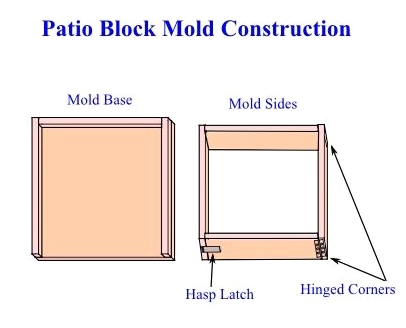
- Cut three 1-inch wide pieces of MDO to use as side supports. Make the rear piece 2 inches shorter than the width of the base, and the two side pieces each as long as the base sides.
- Cut four more pieces of MDO, 1 to 2 inches wide to make up the walls of the mold.
The edges of the MDO will absorb water from the concrete. Seal all the edges (not the faces) of all the MDO pieces with an oil-based paint primer with a brush and let it dry. Apply two coats of oil-based paint to the edges.
Assemble the Mold
To create molds for concrete, you need to start by attaching the side support pieces to the base. Follow these steps:
Position and align
Carefully position the side support pieces, ensuring they are aligned properly.
Drill pilot holes
Use a drill to make pilot holes in the support pieces, which will help guide the screws and prevent the wood from splitting.
Secure the support pieces
Once the pilot holes are prepared, secure the support pieces around each edge of the base using wood screws. This will create a sturdy frame that keeps the mold in shape.
Next, to add extra stability to the mold, place a screw along the centerline of each support piece. Space these screws evenly, placing them every 4 to 6 inches. It’s important that the sides of the support pieces are flush with the edges of the base to ensure that the corners of the mold remain square. This squareness is crucial for producing concrete items that are uniform and fit well together.
After securing the support pieces, you will need to position the mold side pieces. Place these pieces at the edge inside the support pieces to form the walls of the mold. Once in place, take the back piece of the mold and attach it to the two side pieces using 1-inch hinges. This setup allows for easy access when removing the mold after the concrete has set.
Next, attach one side of the mold to the front using a hinge, while securing the other side with a hasp to provide an extra layer of security. This combination makes it easy to open and close the mold as needed.
Finally, drill pilot holes for all the remaining screws you will use to fasten the mold pieces securely. Use a screwdriver to carefully seat the screws in the pilot holes, making sure they are tight and hold everything in place. Following these steps will help ensure that your concrete molds are sturdy and reliable for your projects.
Using the Mold
Preparing the Mold
Before starting the pouring process, it is essential to always apply a coat of paraffin to the mold. This coating helps to ensure that the concrete does not stick to the mold when it is time to remove it later.
- Remove the sides: First, take the sides off from the base.
- Unfold and lay flat: Unfold the sides carefully and lay them flat to get ready for the next steps.
- Apply paraffin wax: Next, take paraffin wax and rub it across the sides, bottom, and top edges of each piece of the mold, being sure to cover the entire inside surface completely. This step is very important, as a good coating of paraffin will make it easier to remove the concrete later without damaging it.
- Repeat on base: Repeat this same process with the base of the mold, ensuring that the paraffin is smooth and covers every part of the inside surface.
Mixing Concrete
Once the mold is properly coated, you need to figure out how much concrete to mix. This can be done by measuring the volume of the mold. Make sure to follow the manufacturer’s directions when mixing the concrete. It is important to aim for a mix that is somewhat liquid, rather than dry, so that it can be easily poured into the mold.
Assembling and Sealing the Mold
After mixing, position the mold sides back in place and secure the front with a latch. Use the paraffin to seal the corners, keeping everything tightly bound.
Pouring and Finishing
With everything set up, pour the prepared concrete into the mold. To achieve an even surface, use a flat board or trowel to screed the top of the mold. Additionally, take a sander without sandpaper and gently rub it against the side of the mold. This will help to eliminate any air pockets or bubbles trapped in the concrete, leading to a smoother final product.
Shaping and Curing
As the concrete begins to set, take an edging trowel and form smooth, rounded edges along the sides. Allow the concrete to set for another hour until it becomes firmer and more resilient. After this period, you can carefully turn the mold over; however, be cautious, as the concrete is still quite fragile at this stage. Gently lift off the base to reveal the concrete.
Next, open the hasp-latch and remove the sides from around the newly formed concrete walkway or patio block. It is important to let the new blocks cure for seven days before installing them or walking on them. This curing time is crucial for ensuring strength and durability ofthe concrete.
Potential Output
Each mold has the potential to produce 25 blocks or more, depending on how well the mold was coated with paraffin and how effectively it was sealed during the pouring process. Following these steps carefully will lead to successful concrete blocks that can be used in various projects.
Conclusion
Creating your own custom concrete pavers and blocks is a rewarding project that showcases the versatility of concrete as a building material. The steps outlined—from crafting your molds to the final curing of your blocks—ensure that you can achieve beautiful and functional results. Whether enhancing your patio or pathway, these DIY concrete blocks can transform your outdoor space, making it uniquely yours. Embrace your creativity and start your concrete project today; the possibilities are endless!
FAQ:
You’ll need 3/4-inch thick Medium Density Overlay (MDO) plywood, oil-based primer and paint, paraffin, a concrete edging trowel, 1-inch hinges, a hasp latch, and 1 1/2-inch wood screws.
Cut a square or rectangular piece of MDO for the base, making it 3 1/2 inches longer and wider than your desired block size. Then, cut three 1-inch wide pieces for side supports and four more pieces, 1 to 2 inches wide, to create the walls of the mold.
Sealing the edges of the MDO plywood with oil-based paint primer prevents the edges from absorbing water from the concrete, helping to maintain the integrity of your mold and prolonging its usability.
Always coat the mold with paraffin before pouring concrete. This ensures that the concrete doesn’t stick to the mold, making it easier to remove the finished blocks later on.
It’s recommended to let the new concrete blocks cure for at least seven days before installing or walking on them to ensure they reach full strength.
