You probably have a lot of time on your hands currently because lockdown restrictions are keeping you away from work and school.
During this period, a lot of people are getting artsy and crafty to help pass the time by. If you’re going to do the same, you might as well do a project that helps you be more inspired and organized for your school and work tasks that you now do at home?
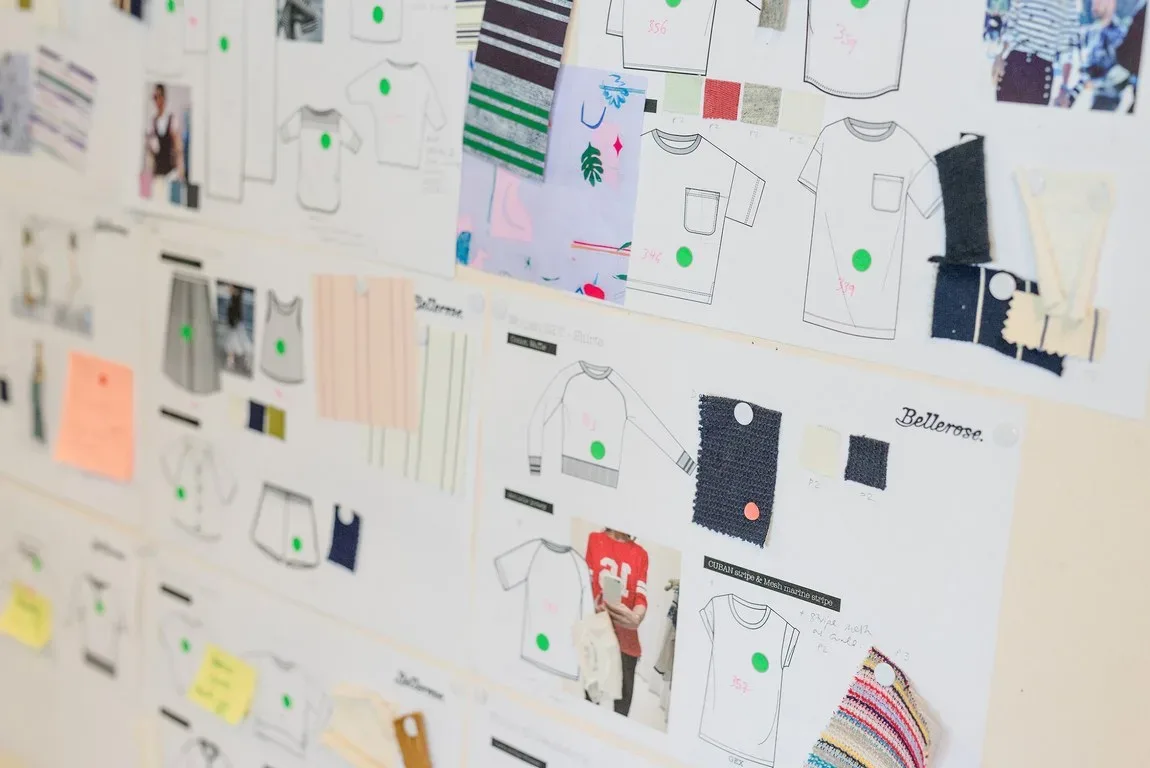
You might’ve heard about it before but we are talking about the majestic mood board. To put it simply, a mood board is a visual arrangement of images, materials, pieces of text, and many others that are used to help you communicate concepts and ideas. It can be used for school work or even things you do for work.
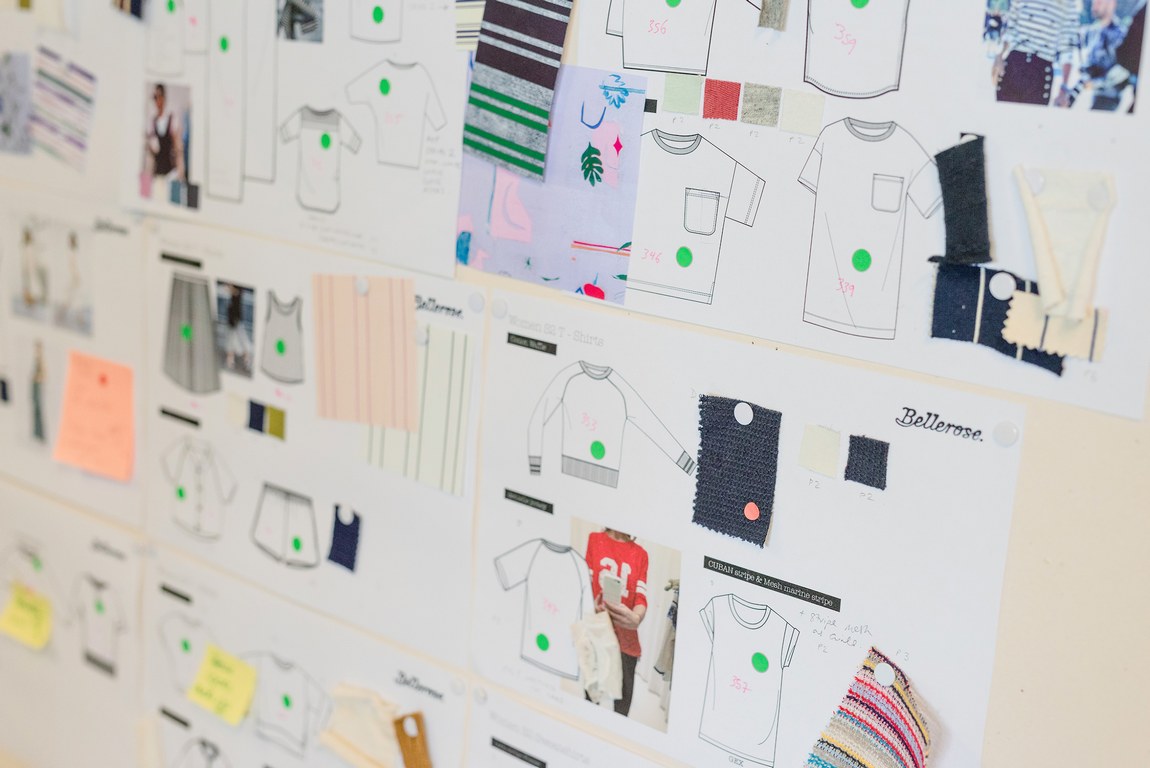
The mood board isn’t just for you, it’s your groupmates, workmates, or basically just anyone else you are working the project with. A mood board is a visual representation of your ideas which means it’s a great way to let others know your plan if you are having trouble putting it into words.
Of course, creating a mood board is a project in and of itself. It requires careful planning too. As such, we’re here to guide you towards making the perfect mood board.
Visualize
People use mood boards for a lot of reasons. At the very least, a mood board can help you plan ahead. It’s always easier to create something if you have a visual aid to guide your decision process. Others use planners, sticky notes, and smartphone apps to stay inspired, You should try a mood board next.
In truth, there’s no one way to create a mood board. What you end up with entirely depends on your creativity and choices. However, when creating one, it would be much better to at least have an idea of what you want in the first place.
Without visualization, you’ll end up creating something that others won’t understand immediately.
The best way to visualize is to simply grab a piece of paper and a pen and just got at it. Make a rough draft of what you want to see. It doesn’t have to be detailed, but you do need to draw what it is that you want to see exactly. This part of the process helps you a lot as it’s also crucial for the next step.
Buy What You Need
With a plan in mind, the next step will be much simpler. It’s important that before you begin making your mood board, you already have all of the items you need for the project.
Getting the materials as you go could result in you ending up with something that’s far from what you visualized in the first place.
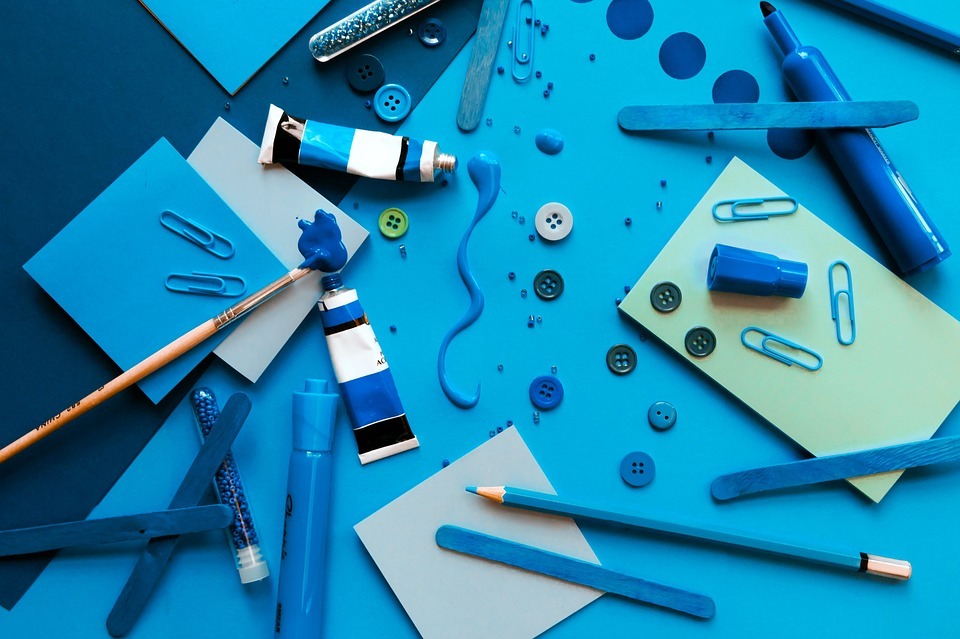
What’s great about a mood board is that you don’t have to spend a lot on the materials you need. Some are even able to create a mood board only with the materials they have lying around the house.
You need to have as many visuals as possible to get your idea across so stock up on everything you need or might eventually need during the project.
As for the visual materials that you need, don’t limit yourself to simple cut-outs from magazines and photographs. Explore your imagination.
Food wrappers, cut-outs of texts, and even toys can be a part of your mood board. The possibilities are near limitless. So long as it helps you get your point across, then it has a place in your mood board.
Keep in mind that the more visuals there are, the easier it will be to have your mood board explain your idea. Mood boards are all about showing people what you want to see in your project so it shouldn’t be surprising that more visuals are helpful for mood boards.
Read Also:
Add Your Personality to It
A mood board isn’t just about your point or idea, it’s also about you and your personality. The best mood boards are those that people can relate to you. Just one look at it, they’ll immediately recognize that it’s your work they are seeing. This part of the project is all on you as you know yourself better than anyone else.
If you are having trouble thinking about what it means to add personality to your mood board then you need to ask yourself a few questions.
What are the common things you’d find in your office or room? The clothes you wear, do they have a certain pattern to them? Your posts on your social media channel, are they upbeat, lively, or serious?
People see you regularly and they know what makes you tick already. It will be easy for them to associate the mood board with who you are so long as you add your own touch to it.
This is an important step of the process for also the reason that seeing your own mood board come to life will inspire you to keep going.
Making the Mood Board
The base of the mood board needs to be sturdy especially if you have a lot of visuals to add to it. Make sure that what you are using can hold the weight.
Most mood boards are plastered on your wall so this shouldn’t be a problem. Start by layering a base color that helps set the tone of the entire project.
Begin putting your visuals one by one. As you go, you’ll probably be making a lot of changes to the project which is normal. Don’t be afraid to go beyond your plans for the mood board as sudden bursts of creativity do help in making your mood board better.
This is one of those DIY projects that can help you do things more efficiently be it at work or at school. What’s the most important when making a mood board is that you enjoy yourself. It isn’t supposed to be a stressful project after all and it’s something you do for fun.
