It may seem daunting to move a light switch (or another electrical connection, such as a receptacle).
However, if you take necessary safety precautions and follow instructions carefully, you can do it yourself in eleven easy steps.
This article is for you if you want to learn how to move a switch from one side of the wall to the other- for example, from one room to the next.
You can do the same for stuck light bulbs and whatnot. Let’s start off with getting to know the different types of switches.
Types of Switches
Knowing what kind of light switch you’re moving to another location is essential before you open your light switch.
The type of light switch you have will determine how many terminals you need to connect to the wires, as well as how you should connect it to the main power supply.
Switches can be Classified into the Following Types:
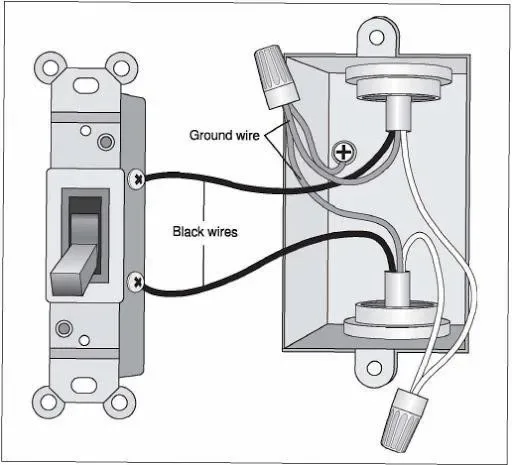
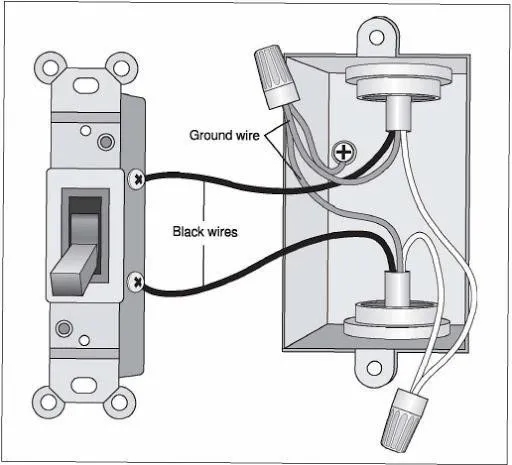
- The single-pole switch allows you to control the light from one location. The switch has two terminals: one for the power wire and another for the outgoing wire. A ground wire is also provided.
- Unlike the single-pole switch, a double-pole switch has an additional two hot terminals because it can handle more loads of electrical charges than a single-pole switch. It can handle 30 amps of electricity and is commonly used for powering heavy-duty equipment and motors.
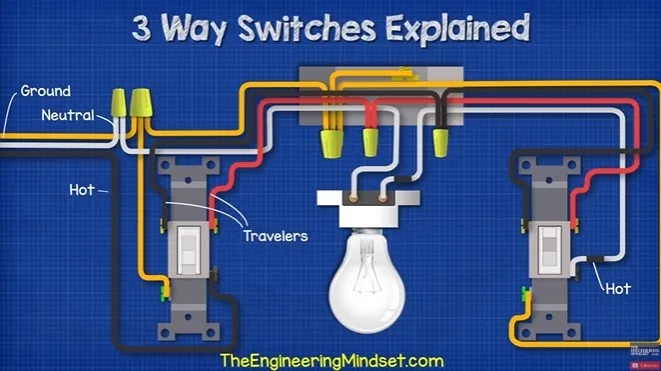
- A three-way switch is used when the light can be controlled from two different locations. The switch has three hot terminals; one is for the common terminal, the other two are for the traveler terminals that sync with the other switch.
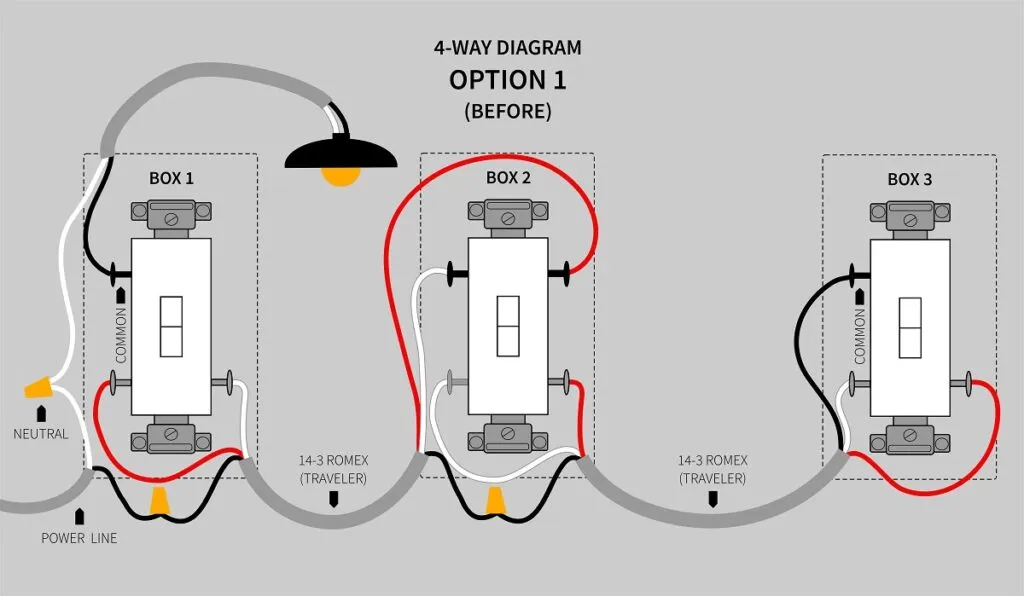
- The four-way switch is used to control lights in three or more locations at the same time. Commonly found in homes with long hallways or in large conference rooms with a lot of lights, it is usually used with a three-way switch.
Read Also:
How to Move a Light Switch?
As soon as you start removing the switch plate, everything will make sense. Make sure you have the right tools before starting. The tools you require include:
- Wire strippers or pliers
- Screwdrivers from Phillips
- Electrical tape
1. Shut off the Power at the Breaker
When you turn off the circuit breaker, keep the light switch on to ensure that you have turned off the right one. If your lights stay on, you’ve missed the right circuit breaker. Keep trying until you find it.
2. Take a Photo of the Wiring
Attach a note to each wire before you unscrew and detach the light switch. As a result, you will remember how to connect all the right wires to their respective terminals later. Take a picture of the wirings and terminals before you unscrew everything.
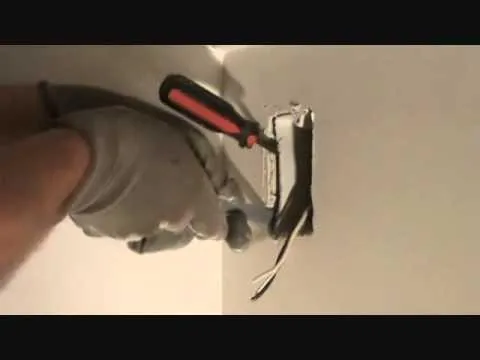
3. Take off the Switch Plate
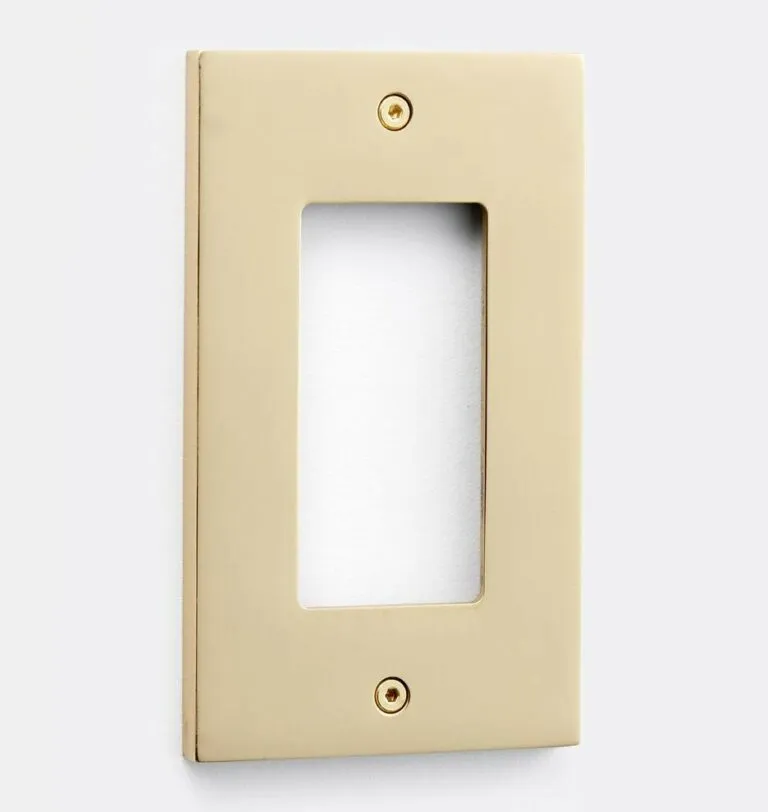
The switchplate is the outer layer of your light switch. The cover protects the internal components and is usually locked with four snaps on each side. Otherwise, it’s secured with screws.
4. Locate the Electrical Wiring That Connects Your Light Switch to the Wall
Due to the fact that you are moving the light switch, you must check the length of the wires connecting the light switch to the circuit breaker.
The next step will help you check how far the wires can run to the desired light switch location.
5. Remove the Switch and Wires
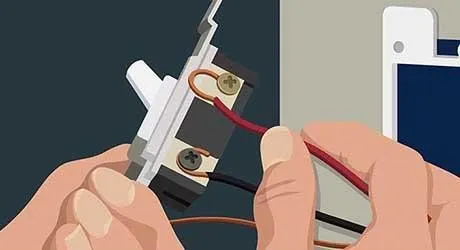
There will be two to four screws that secure the light switch to the switch box. Pull the switch out once it has been unscrewed so you can loosen the screws properly. Wires are tied around screws for safety, so you can loosen the screws and rotate the wires to untie them.
6. Take Out the Box
Some people buy a new switch box and leave the old one at the old location. If you wish, you can unscrew the switch box from the drywall if you wish to use the same switch box.
To remove the switch box from concrete walls, use a flat nose screwdriver and hammer. With the flat-nose screwdriver, push it deeper into the wall using the hammer.
7. Make a Hole in Your Preferred Switch Location
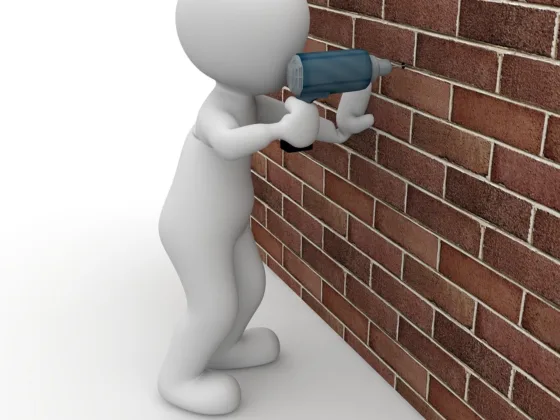
Cut a hole in the drywall with the flat nose driver and hammer. A drill may be needed to make room for the wires and cut a hole for the light switch if your wall is cemented.
Another option is to expose the wires and switch box on the wall and use wire covers to make it look neat.
8. Connect the Wires to the Switch and the Box
We need to assemble the light switch at the new location now. Make sure you put the right wires to the right terminals by using your notes or the pictures you took.
If the bare wires are not long enough, you can remove a part of the insulation to extend the bare wires that you can tie around the screws.
9. Examine the Wiring and Look for Exposed Wires
Be sure to double-check your work for safety precautions. Check for exposed wires that may touch other components. Ensure that all wires are connected properly. Alternatively, you can cover each terminal with electrical tape to ensure safety.
10. Test the Light Switch
After you’ve checked everything, turn on the light and then turn on the circuit breaker to see if it works.
If it doesn’t work, close the circuit breaker again and make sure the terminals of the switch are tightly positioned. Now that the light is on, you can close the switch and screw the switch plate on.
11. Fix the Old Location of the Light Switch
Use wall sealants or cement to repair the hole in your wall. Be sure there are no more exposed wires in the area before you work on it.
Summary
Electrical wiring is one of the most dangerous components of our house. Electrical circuits can be damaged or left unfixed, leading to fires and electric shocks.
When you secure the wires properly, connect the wires to the right terminals, and use the right tools, you can safely move your light switch. We hope this article has helped you!
Conclusion
While this guide provides insights into moving electrical components, unrelated to “office furniture Sydney,” if you require assistance with office furniture needs, consider reaching out to professionals in “office furniture Sydney” to help furnish your workspace efficiently and professionally.
