Save your money anytime you need to get a concrete cutting job done around your home by doing it yourself.
Concrete cuttings that are less than 6 inches are tasks you can do once you have the appropriate equipment gear, the right guide, and are willing to expend a bit of effort.

In this article, I will show you the simple step-by-step guide to cutting concrete that is less than 15 cm.
It is recommended you hire the service of a professional concrete cutting company for anything over and above 15cm, so let’s get started.
Step 1
The first thing you need to decide is the type of blade you will use to get your job done. While concrete cutting may be somewhat stressful, you can carry out this task with ease using quality blades.
From my observations, diamond saw blades have proven to be the best for making neat and professional concrete cuts.
Diamond saw blades are of 2 types, the dry-cutting blade, and the wet-cutting blade. The former is suited for dry working conditions, it is resistant to heat but you may need to get a dust extractor to collect dust while cutting.
The other blade requires that the concrete surface is constantly wetted while cutting.
Regardless of your choice of blade, you will need a machine to mount it on as they cannot work independently.
In this case, you should consider getting a walk-behind saw, this will save you from the stress of using a chisel or sledgehammer to force your way through the rest of the concrete slab.
Read Also:
- The Secret Tool You Need to Overcome the Logistic Challenges of Ready-Mix Concrete
- 6 Ways to Incorporate Nature into Your Home When You Live in a Concrete Jungle
- How to Make Concrete Molds for Patio Blocks and Walkway Pavers
- A Step-by-step Guide to Building A Residential Driveway
- All You Need to Know About Concrete Grinding
Step 2
The next step is to put yourself and the workstation in a condition fit for work. There will be lots of dust with concrete cutting, therefore wear a nose mask, protective eye goggles, close the windows and any air inlet if there are any near your workspace.
Step 3
Mark off the area to be cut with chalk. You may use set squares to make your lines as precise as possible.
For concrete cutting that requires a few days to complete you should make the marks very thick so they don’t disappear and consider mixing chalk colours to make your job easier.
Step 4
If you are using an electric saw make sure it is plugged in a safe place. You may also want to get a water source handy for wetting the concrete slab to reduce dust while cutting at this stage.
Step 5
It is impossible to cut the whole concrete at a go. You need to cut slowly to avoid making costly mistakes.
Hence you have to set the cutting depth of the blade before cutting begins (preferably at 1 inch or less than 2 inches).
Shallow cuts are relatively safer for you and keep you on top of the situation.
Step 6
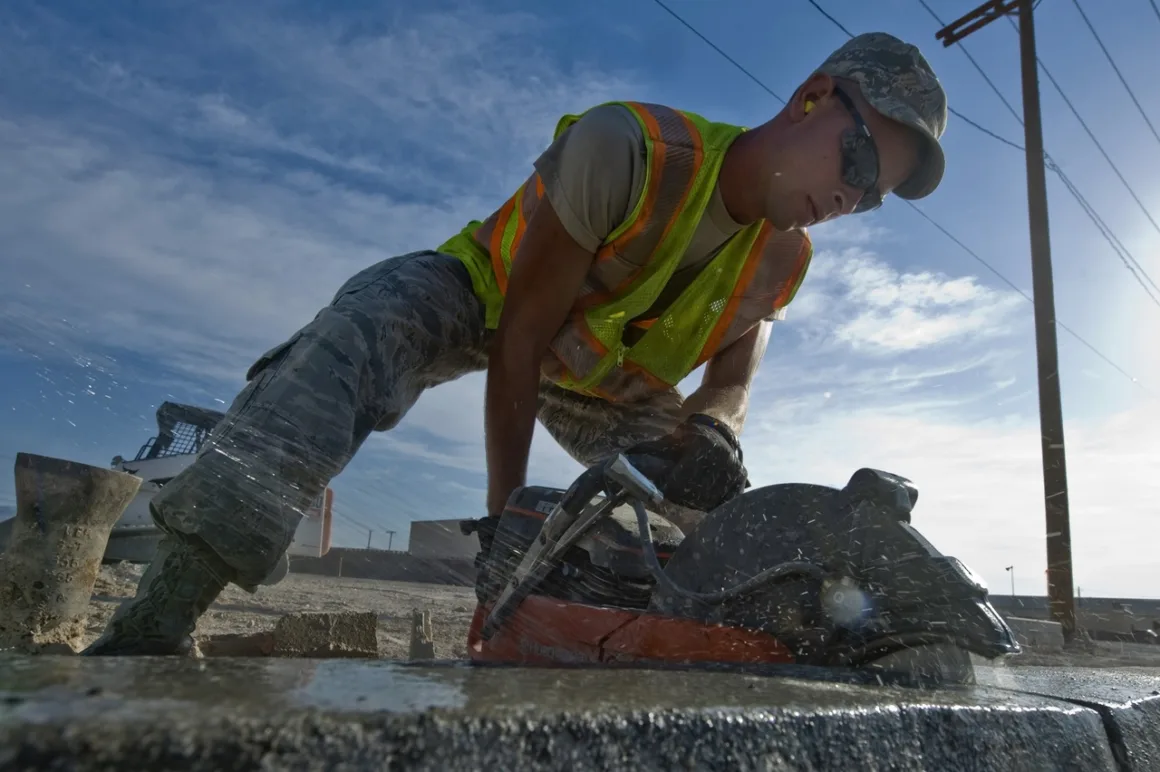
Get on your hands and knees (don’t forget to use a knee-pad) and let the cutting begin. Cut for 45 seconds max per time, then allow the saw to cool off. Repeat this process until you achieve your result.
Step 7
Regularly sweep away the dust that results from cutting. You can also use a vacuum extractor to pack it.


