Did you know that the national average for a window replacement is $650? Replacing windows in an entire 3-bedroom house costs between $3,000 and $10,000. But broken glass doesn’t have to break the bank for homeowners.

Do you currently have a broken window in your home? Are you looking for window solutions other than full replacement?
The following guide will explain 7 steps to take when your window cracks. Read on to learn the basics of glass repair and how to save money.
1. Examine the Damage
First, determine if the glass is eligible for a DIY window repair. Make sure that it’s just a crack and that no glass is shattered or completely missing. Also, ensure that only one pane is cracked for double-pane windows.
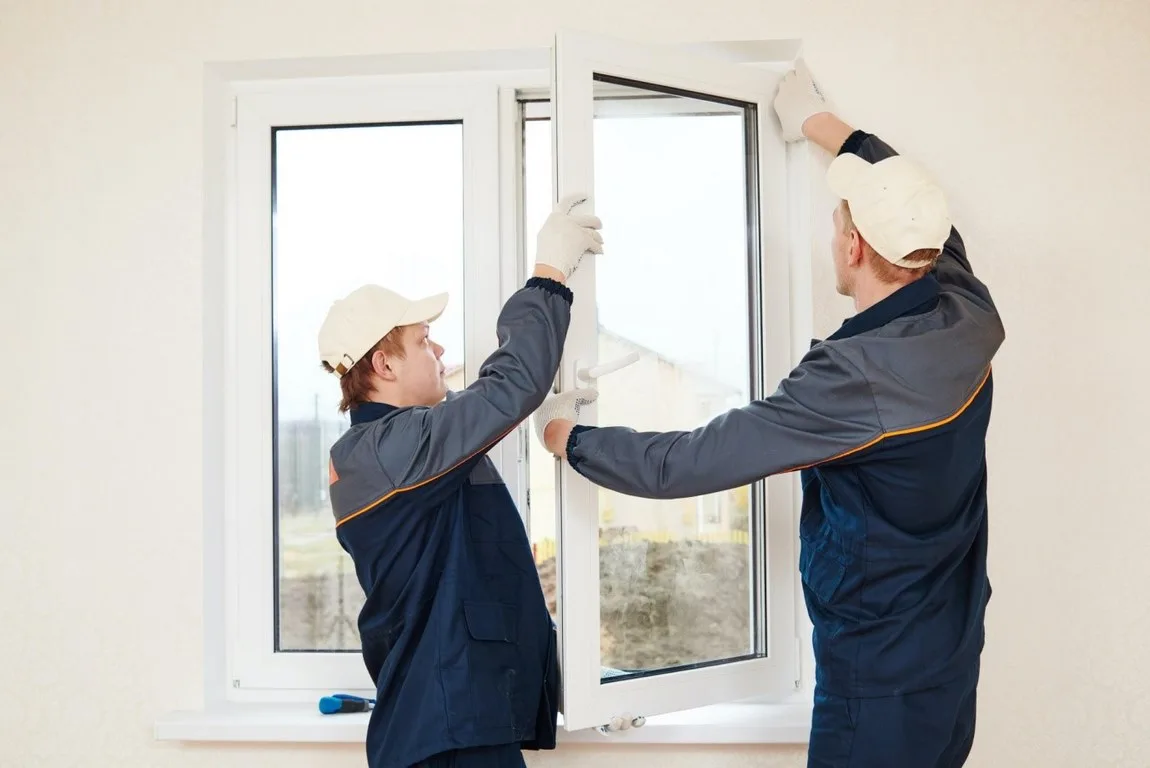
If you determine that the damage is too severe to fix yourself it’s time to search “glass company near me” to make professional repairs.
2. Clean the Glass
Clean the glass around the cracked area with a few drops of dish soap. Use a damp cloth to apply the soap.
Make sure to remove any dust, oil, or fingerprints from the area. Then, wipe away any remaining soap residue with a second damp cloth. Allow the glass to dry completely before moving on to the next step.
Read Also:
3. Mix an Epoxy
Choose a well-ventilated area to mix a two-part epoxy. Use a piece of cardboard or a paper plate for a mixing surface. The two-part system uses a separate resin and hardener that you mix together right before use.
Mix the epoxy with a toothpick for about 20 seconds. Use the epoxy mixture immediately because it thickens and hardens quickly.
Expect to have five to ten minutes of time to work before the epoxy is too thick for the crack. You can easily find these adhesives in craft stores, home improvement stores, or online.
4. Apply the Epoxy Mix
Work the epoxy all over and into the window crack using a putty knife. Gently press and spread the mixture back and forth across the crack until it’s filled. Allow the epoxy cure for a minimum of five minutes after applying it to the crack.
5. Remove Excess Epoxy
Use a razor blade to scrape away any excess epoxy. Next, use a clean rag dampened with acetone to remove any remaining epoxy that’s raised above the crack. Allow your repaired glass to cure for a full 24 hours.
6. Clean the Surface
The glass will be safe to clean about a day after you complete the repair. Polish the glass using a fresh rag and any standard glass cleaner.
7. Monitor Your Repair
Monitor the repaired area by checking for moisture buildup, leaks, drafts, and further cracking. Also, make sure you’re satisfied with how your repair looks aesthetically.
Ready to Repair Window Cracks?
Now you know the basics of repairing window cracks. The whole process takes about a day and is very inexpensive.
Remember this guide and consider fixing minor window damage yourself to save money in the future. Please check out the rest of our site for more great home improvement and DIY tips.