If you’re looking for tips on staining lattice for an exterior home improvement project, these ideas for selecting a wood stain and a staining tool can help you get the job done well.
Staining porch lattice or deck lattice involves three main steps:
- Choosing your stain
- Preparing your lattice
- Staining your lattice
Should you use a sprayer, roller, or brush? Any of these methods will work — read on and decide which is best for your needs.

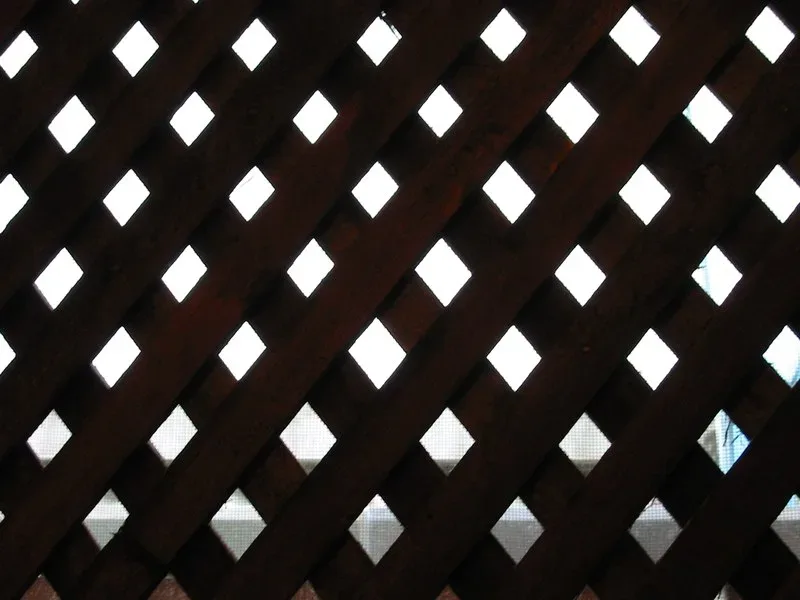
Different Ways to Stain Wooden Lattice
You have several options for staining wooden lattice on a deck or porch:
- Using a sprayer
- Using a paint roller
- Using a brush
Each method has its own advantages and considerations. Let’s explore them further.
Freshen Up Lattice With an Attractive Stain
Staining lattice is an effective way to enhance the appearance of wooden surfaces. While it may not be overly challenging, it does require patience and precision. If you’re a homeowner planning to take on an outdoor lattice staining project yourself, here’s what you need to know.
Choosing a Stain
The first step in staining your lattice is to select the appropriate color and type of stain. This decision will impact both the aesthetic appeal and longevity of your wood.
Types of Stains
A wooden porch or deck lattice can be stained with:
- Oil-based stain: Known for its superior color maintenance, oil-based stains penetrate deeply into the wood, providing long-lasting protection. They are particularly effective in enhancing the natural grain of the wood.
- Water-based stain: Ideal for preserving wood in outdoor conditions, water-based stains are easier to clean up and less toxic. They provide a more eco-friendly option while offering robust protection against moisture and UV damage.
When selecting a stain, consider the specific needs of your project and the environmental conditions your lattice will face.
Shades and Colors
When deciding on a shade or color stain, consider that:
- Opaque/Solid stain: Offers maximum coverage, completely transforming the original color of the wooden lattice. This type is useful if you want to hide imperfections or achieve a uniform look.
- Semi-transparent stain: Preserves and protects the natural shade of the wood while allowing some of the grain to show through. This option is ideal if you prefer a more natural appearance.
Wood stains are available in a wide range of tints from light to dark. Here are some tips for choosing the right shade:
- Light stains: These can make small spaces appear larger and are often used to create a fresh, airy look.
- Dark stains: These add richness and sophistication but may make spaces feel smaller. Darker shades are excellent for hiding dirt and imperfections.
Matching Your Home’s Exterior
Select a lattice stain that complements the exterior paint colors of your home. Consider:
- The architecture style
- Existing color schemes
- Landscaping elements
By choosing a complementary stain, you can enhance the overall curb appeal and cohesiveness of your home’s exterior design.
Using a Sprayer
Many people recommend using a spraying tool to stain lattice because this method is less time-consuming than manual methods of applying the stain. Before using this type of tool, you will need to prepare your lattice for staining and be sure that you have read all the instructions on operating the sprayer.
Steps for Using a Sprayer:
1. Clean and sand the lattice before using the sprayer.
- Cleaning: Use a mild detergent and water solution to remove any dirt, dust, or debris from the lattice. Rinse thoroughly and allow it to dry completely.
- Sanding: Gently sand the surface with fine-grit sandpaper to smooth out any rough areas and ensure better stain adherence. Wipe away sanding dust with a clean cloth.
2. Cover all nearby surfaces with a protective sheet or tarp.
- Protect areas such as walls, floors, and plants from overspray by securing drop cloths or plastic sheeting around the work area.
- Use painter’s tape to secure coverings and create clean edges where needed.
3. Fill the sprayer with stain and choose the appropriate spray tip (per manufacturer’s instructions).
- Carefully read the stain can label for mixing instructions if required.
- Select a spray tip that matches the viscosity of your stain for an even application—typically, larger tips are used for thicker stains.
4. Stand one to two feet away from the lattice and spray on the stain with steady horizontal sweeps.
- Hold the sprayer nozzle parallel to the lattice surface.
- Maintain consistent speed and distance while spraying in overlapping strokes to avoid drips and ensure uniform coverage.
- Apply thin coats rather than one thick coat; this helps prevent runs and allows each layer to dry properly.
Tip: Always test your spray pattern on a scrap piece of wood or cardboard before starting on your lattice to ensure optimal settings.
Additional Tips:
- Weather Conditions: It’s crucial not to use a sprayer if the weather is breezy or windy because the stain may not adhere properly, leading to uneven coverage or wasted product.
- Safety Gear: Wear protective gear such as gloves, safety glasses, and a mask to avoid inhaling fumes or getting stains on your skin.
- Maintenance: Clean your sprayer thoroughly after use according to the manufacturer’s instructions to prolong its life and ensure it’s ready for future projects.
Staining With a Roller Brush or Paint Brush
Other people prefer to stain lattice using either a roller brush or paintbrush. These methods result in less stain product waste than a sprayer produces but can be messier and harder on the hands. If you choose to stain your exterior lattice with one of these brushes, then these tips are important to keep in mind:
Using Roller Brushes:
- As is the case when using a sprayer, clean and sand the lattice first.
- Apply thin layers of stain to the lattice with a roller brush, taking care not to roll too fast and splatter the stain.
- While the stain is still wet, go over the surface with a brush in order to blend any uneven deposits left by the roller.
- Roller Type: For best results, use a high-density foam roller. This type helps in applying an even coat without absorbing too much product.
- Edge Work: Use a small brush to reach corners and edges that a roller cannot easily access.
Using Paint Brushes:
- For water-based stains, choose brushes with nylon bristles; for oil-based stains, opt for brushes with natural bristles.
- Use smooth brush strokes and apply liberally.
- Brush Maintenance: Clean your brushes immediately after use. For water-based stains, rinse thoroughly with water; for oil-based stains, use mineral spirits or appropriate cleaner.
- Multiple Coats: Applying multiple thin coats rather than one thick coat ensures better absorption and even coverage.
- Detail Work: For intricate areas of the lattice, consider using an artist’s brush for precision.
- To avoid uneven coverage, aim to cover large sections rapidly while maintaining precision.
Whichever method you choose, remember to allow ample drying time before touching or moving items near your freshly stained lattice. Here are some key points to consider:
- Drying Time: Most stains require at least 24-48 hours to fully cure. Check the manufacturer’s instructions for specific drying times.
- Environmental Conditions: Humidity and temperature can affect drying times. Ensure the area is well-ventilated and avoid staining on extremely humid or rainy days.
With various stains available—including environmentally friendly options—you’re sure to find one that enhances both durability and aesthetic appeal. Consider the following types:
- Water-Based Stains: These are low in volatile organic compounds (VOCs) and dry quickly. Ideal for a safer, eco-friendly option.
- Oil-Based Stains: Known for their deep penetration and long-lasting finish, but they may take longer to dry and have higher VOC levels.
- Gel Stains: Thicker consistency that reduces drips and runs, making them perfect for vertical surfaces like lattices.
Pro Tip: Test a small, inconspicuous area first to ensure you’re happy with the color and finish before proceeding with the entire lattice.
By carefully selecting the right stain and allowing proper drying time, you’ll achieve a beautiful, durable finish that enhances your outdoor space.
FAQs (Frequently Asked Questions)
What are the different ways to stain wooden lattice?
You have several options for staining wooden lattice on a deck.
How can staining lattice freshen up its appearance?
Staining lattice is an effective way to enhance its appearance.
What is the first step in staining lattice?
The first step in staining your lattice is to select the appropriate stain.
What types of stains can be used on wooden porches or deck lattices?
A wooden porch or deck lattice can be stained with oil-based stains.
What should be considered when deciding on a shade or color stain?
When deciding on a shade or color stain, consider that opaque stains offer more coverage and protection.
How should I choose a lattice stain that complements my home’s exterior?
Select a lattice stain that complements the exterior paint color of your home.
References
- Home Addition Plus; Choosing the Right Deck Finishing Stain – http://www.homeadditionplus.com/dev/decks/choosing-the-right-deck-finishing-stain/
- HGTV; How to Stain a Wooden Deck; http://www.hgtv.com/design/outdoor-design/outdoor-spaces/how-to-stain-a-wooden-deck


 4")


