Have you ever wondered how to finish a basement with poured concrete walls? Well, it can cost $500 in supplies and another $500 in contractor fees unless you perform the project on your own.
Our article will outline the two major methods used to perform this job as a do it yourself project.
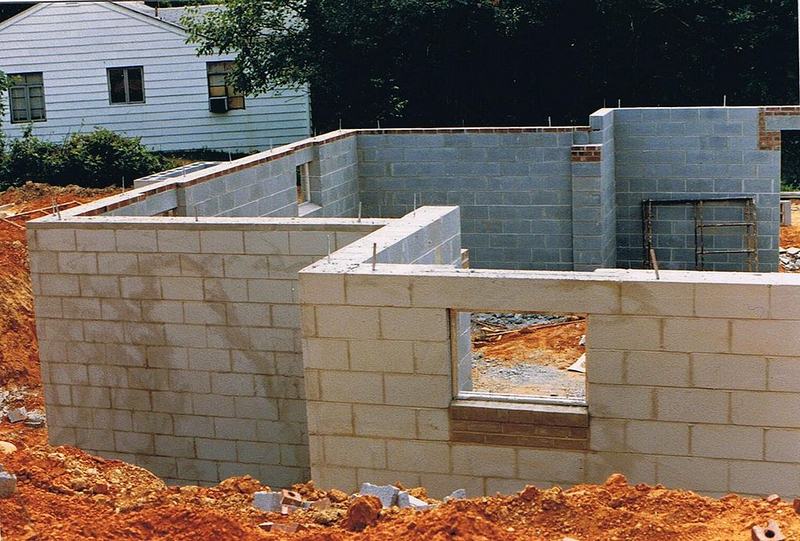
How to Finish a Basement with Poured Concrete Walls
Owning a home with a basement can add value to your home should the basement be finished and include livable space. A home without a finished basement has the less square footage of living space than a home with a finished basement.
A basement can be finished with construction of the home, by a hired contractor well after the home has been built, or by the homeowner as a do it yourself project. The project, if done by the homeowner, can save the owner a little bit of money by not hiring a contractor.
The homeowner will only need to purchase the materials for the job, but will not have to also pay for a contractor should they decide how to finish a basement with poured concrete walls.
Read Also:
Option One: Framing a Wall
The first of the two and the most common option is to build a conventional framed wall. This will require the homeowner to purchase 2×4’s to frame the basement walls from corner to corner.
The 2×4’s should be mounted to pressure treated 2×4 bottom plates while the tops of the 2×4’s are mounted to the ceiling joists for support. The walls should then be filled with fiberglass insulation.
Building a conventional wall with 2×4’s leaves plenty of room for electrical work, should you need to construct outlets and light switches in the basement. The major negative of this option is that each wall takes 6 inches away from the perimeter of the basement flooring.
Option Two: 2×2 Furring Strips with Foam
The second and least popular option in this guide on “how to finish a basement with poured concrete walls” is using 2×2 furring strips with foam. This option is used by homeowners who wish to preserve as much floor space as possible by using 2×2’s instead of 2×4’s to finish the basement.
The 2×2 should be nailed to the bottom of the floor joists at the top of the wall. A 2×4 needs to be screwed, flat on its side, into the wall using concrete screws that are 3 inches long. You can now attach the 2×2’s to the wall with three evenly placed screws.
Fill the open space between the wood and the concrete wall with foam that has been ripped for installation.
The final step is to hang the drywall with 1 1/4 inch drywall screws. The major negative about this option is that installing electrical wiring and outlets is incredibly difficult. You will need to install the cables 1 1/4 inches behind the front of the wall frame so that fasteners do not damage or pierce the cables.
Costs
Should you decide to perform this job on your own you will save at least $500 on contractor fees alone. This job, if done as a do it yourself project, will cost roughly $500 for the supplies. It will take you four to five days to complete the project should you have no one else in your family help you.
References
- How to Finish a Basement Wall –https://www.familyhandyman.com/basement/how-to-finish-a-foundation-wall/


