• DIY
    • Crafts
      • Outdoors & Garden Projects
    • Decorating
      • Exterior Painting & Decorating
      • Painting & Wallpaper
      • Room by Room
    • Furniture
      • Cabinets
      • Tables
    • Woodworking
  • Home Improvement
    • Real Estate
    • Living
    • Entertaining
    • Home Building & Design
      • Home Interior
      • Home Exterior
    • Home Management
      • Home Organization
    • Remodeling
    • Living Areas
    • Bathroom
    • Kitchen
  • Lawn & Garden
    • Lawn Care
    • Vegetable Gardening
    • Landscaping
      • Irrigating
    • Flowers
    • Trees & Shrubs
  • Categories
    • Home Improvement
    • Lawn & Garden
    • Landscaping
    • Real Estate
Housesumo.com
  • DIY
    • Crafts
      • Outdoors & Garden Projects
    • Decorating
      • Exterior Painting & Decorating
      • Painting & Wallpaper
      • Room by Room
    • Furniture
      • Cabinets
      • Tables
    • Woodworking
  • Home Improvement
    • Real Estate
    • Living
    • Entertaining
    • Home Building & Design
      • Home Interior
      • Home Exterior
    • Home Management
      • Home Organization
    • Remodeling
    • Living Areas
    • Bathroom
    • Kitchen
  • Lawn & Garden
    • Lawn Care
    • Vegetable Gardening
    • Landscaping
      • Irrigating
    • Flowers
    • Trees & Shrubs
  • Categories
    • Home Improvement
    • Lawn & Garden
    • Landscaping
    • Real Estate
featured image - Simple Steps to Align Garage Door Sensors
  • DIY
  • Home Improvement

Simple Steps to Align Garage Door Sensors

  • Perla Irish
  • December 21, 2021
Total
3
Shares
3
0
0
0

Fortunately, realigning the sensors and restoring functionality is not difficult.

The receiver, on the other hand, will not receive the signals from the emitter if they aren’t in alignment, and your door will not close. Fortunately, realigning garage door sensors is not a difficult task, however, if you want to make sure that you know how to align garage door sensors, then this article is for you.
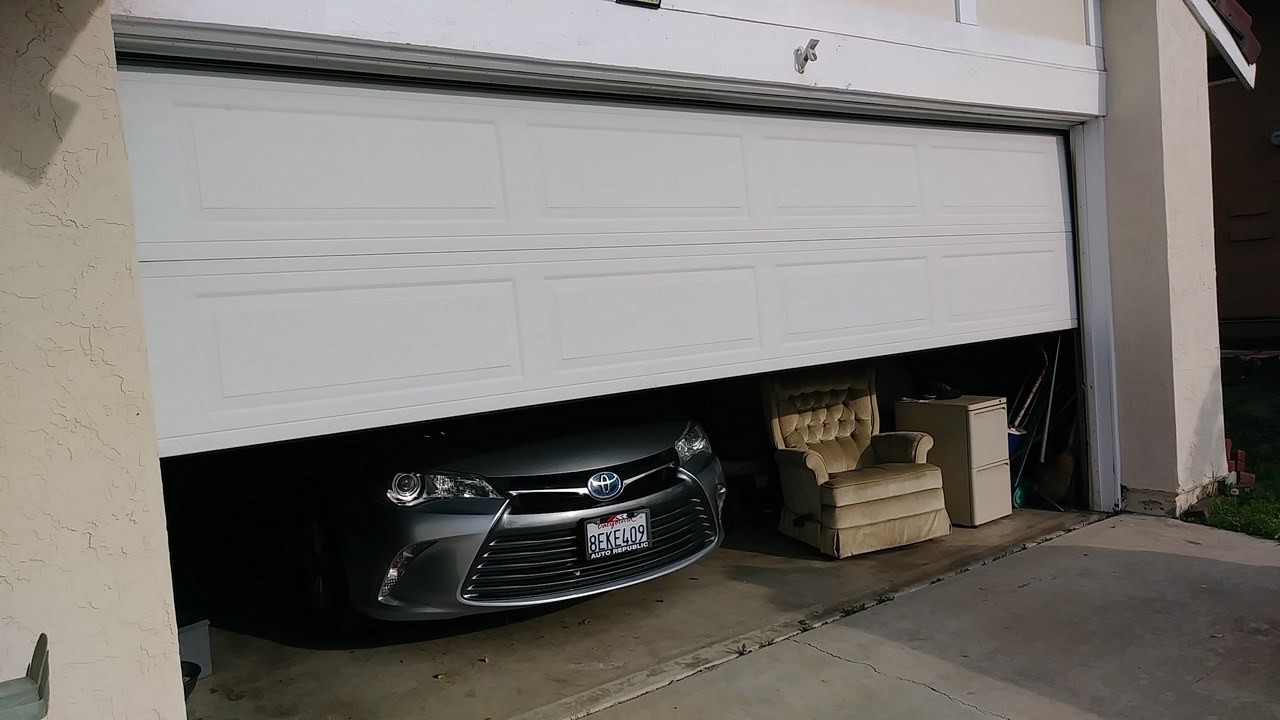
image - Simple Steps to Align Garage Door Sensors
Simple Steps to Align Garage Door Sensors

Garage door sensors keep your family, belongings, and pets safe by preventing the heavy garage door from closing if something is in the glide path. They achieve this by crossing the entryway with an electronic eye sensor.

The door will not close if the sensor does not receive the beam produced by its opposite number. This appears to be a brilliant mechanism until the components get misaligned, resulting in the door not closing at all. Nevertheless, here are simple steps to Align Garage Door Sensors.

1. Disconnect the Garage’s Power Supply

Switch off the electricity to the sensors that you have. You may accomplish this by tripping a fuse in your home’s breaker box for the entire garage.

It’s possible that you’re not dealing with live wires. Furthermore, when it comes to your personal safety, a lot of different experts advise against this.

2. Remove the Screws that Hold the Sensors in Place

Open the screws on the garage door sensors’ mounting brackets to loosen them. Insert the screwdriver and crank the screwdriver in an anticlockwise motion.

It’s important to remember that all you have to do is loosen the screws. You are not required to take said screws out all the way. Because you’ll be sliding the mounting brackets in the next few steps, you won’t be able to do so if the screws are missing.


Read Also:

  • 4 Reasons Why Your Garage Door Isn’t Closing
  • How Often Should You Service a Garage Door?
  • How Much Does It Cost to Fix a Garage Door?
  • How much Should a Garage Door Cost?

3. Downward Sliding Garage Door Sensors

With your bare hands, move the garage door sensor lower after loosening the screws as well as ensuring that brackets may travel up as well as down freely.

To relocate the sensor, do not use a tool that is known as a wrench. It will leave markings on the sensor’s surface and might cause it to malfunction. Lower them as much as you can.

4. Examine The String’s Level

Make sure the rope is running level by placing a level beneath it. The level would have to be physically pressed against string. Continue to the following step if the string line is level. Continue adjusting the level.

The Final Words

After reading this article, now you know everything about garage door sensors including but not limited to how to align them. Aligning defective garage door sensors isn’t difficult, as you’ve already seen.

You just must have the appropriate supplies on hand and should not be in a hurry to do the task. If you have a helping hand, you can complete the job fast.

Whether you work in a group or prefer to work alone, following our step-by-step instructions will ensure that you finish the job effectively.
0
0
3
0
Total
3
Shares
Pin it 3
Share 0
Tweet 0
Share 0
Share 0
Perla Irish

Perla Irish, who is more familiarly called Irish, is the Content Manager at Housesumo.com. She loves following trends around home and garden, interior design and digital marketing. Through this blog, Irish wants to share information and help readers solve the problems they are experiencing.

Related Topics
  • Door
  • garage
  • sensors
Previous Article
featured image - Wood Floors Designs 6 Stylish Ideas to Decorate Your Home Floors
  • DIY
  • Home Improvement

Wood Floors Designs: 6 Stylish Ideas to Decorate Your Home Floors

  • Perla Irish
  • December 20, 2021
View Post
Next Article
featured image - 5 Qualities of a Good Garage Door Repair Company
  • DIY
  • Home Improvement

5 Qualities of a Good Garage Door Repair Company

  • Perla Irish
  • December 21, 2021
View Post

You May Also Like

A professional is repairing a garage door in a garage.
View Post
  • DIY
  • Home Improvement

Choosing the Right Garage Door Repair Company

  • Perla Irish
  • June 19, 2025
featured image - Snapped Garage Door Cable
View Post
  • DIY
  • Home Improvement

Snapped Garage Door Cable 101: Causes, Preventive Measures and Repairs

  • Perla Irish
  • June 19, 2025
Find out how to stop leaks and replace damaged drywall easily. Take quick action to protect your home and improve your ceiling.
View Post
  • DIY
  • Home Improvement
  • Home Renovation
  • Remodeling

How to Repair Drywall Ceiling Water Damage: A Simple Step-by-Step Guide

  • Perla Irish
  • June 3, 2025
Cozy home with open windows, a box fan blowing air out, gentle breeze flowing through, surrounded by lush green trees under a bright sunny sky.
View Post
  • DIY
  • Home Improvement
  • HVAC

Keeping the House Cool Without Air Conditioning

  • Perla Irish
  • May 31, 2025
Bright modern room with newly installed ceramic and porcelain tile flooring featuring varied patterns and grout colors.
View Post
  • DIY
  • Floor
  • Home Improvement

Everything You Need to Know Before Installing Tile Flooring

  • Perla Irish
  • May 27, 2025
A kitchen with white cabinets, stainless steel appliances, a black countertop, and three black bar stools in a house
View Post
  • DIY
  • Home Building & Design
  • Home Improvement
  • Kitchen
  • Remodeling

How to Open Up the Space Between a Kitchen and Living Room

  • Perla Irish
  • May 21, 2025
Working with a cement mixer in a construction site.
View Post
  • DIY
  • Home Building & Design
  • Home Improvement

How Do I Tell How Many Bags of Concrete I Need for a Project?

  • Perla Irish
  • May 20, 2025
Charming British home with diverse roof tiles—clay, slate, concrete, synthetic—under a cloudy UK sky, showcasing durable and stylish roofing options.
View Post
  • DIY
  • Home Exterior
  • Home Improvement

What Are the Best Roof Tiles for Your UK Home—and When Should You Replace Them?

  • Perla Irish
  • May 17, 2025

Join 13,000 folks!

Get instant access to our weekly newsletter where we share the best! 100% Privacy. No Spam.

  • Disclosure
  • Privacy Policy
  • Terms of Use
  • About
  • Sitemap
  • Contact Us

Input your search keywords and press Enter.