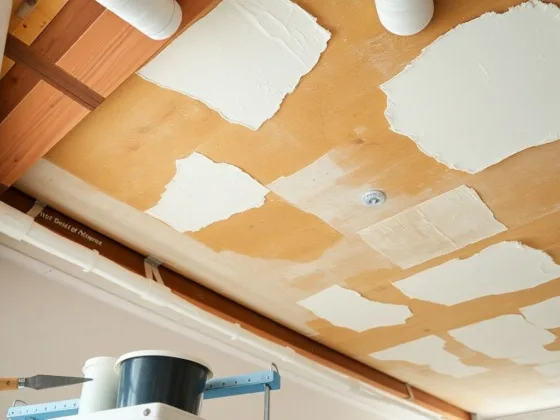
During the finishing phase, drywall mud is applied to cover the joints, screws, angles, scratches, and imperfections. This is where drywall sandpapers will take an action.
It helps to eliminate imperfections and prepares for painting.
Unlike the heavy-duty task of installing and moving drywall panels, sanding drywall can be a tedious and time-consuming task.
But wait for the catch!
We’ll give you a quick and easy tutorial on how to sand drywall like a pro. And you’ll for sure, end up with an excellent finish on the surface. This later easily sticks to primer coats.
")
Now, before we head into the steps, let’s get familiarized with essential tools:
- PPE (Includes: dust mask, eye protection, etc.)
- Drywall sander and sandpaper
- Sanding sponges
- Sanding pole
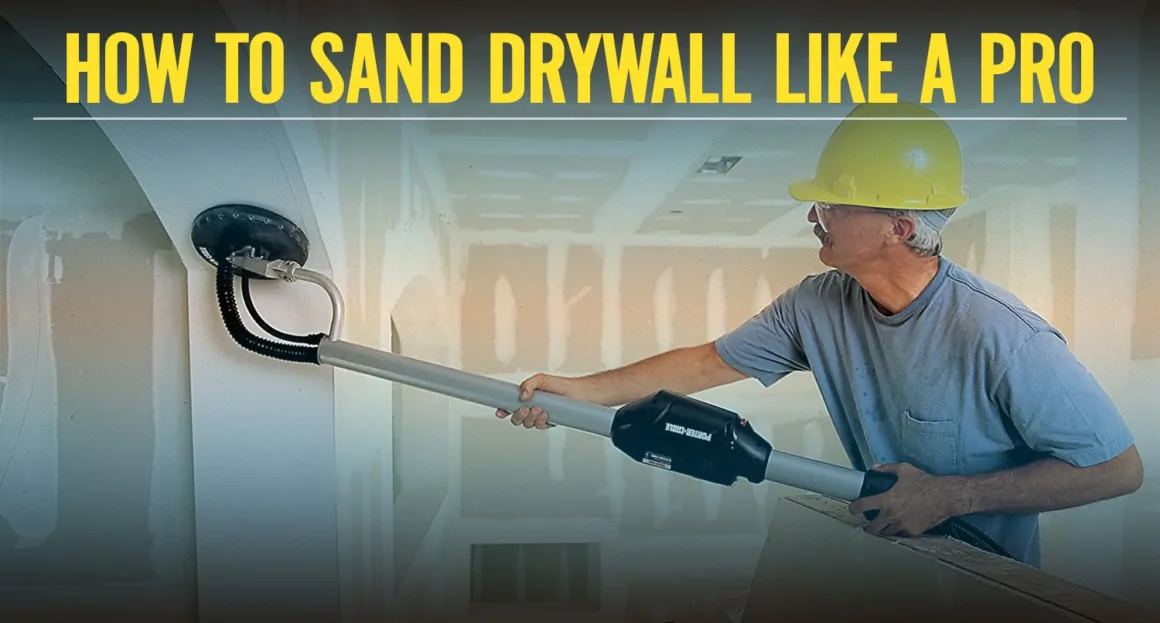
How to Sand Drywall Like a Pro (Dry sanding)
Sometimes, you may come across depressions that are difficult to smoothen without leaving scratches on the surface. In such circumstances, you should pay special attention when sanding the surface.
This is mainly because such scratches may appear under a thin coat of flat or gloss paint. Additionally, you should be very careful when choosing sandpaper grit. I guess you have solved that puzzle and now let’s head over to the steps:
Read Also:
Selecting the Right Grit
This is the very first and important step of drywall sanding. The grit of the sandpaper defines the fineness of its abrasive action. For instance, higher grit numbers result in finer abrasive actions.
Grit numbers below 100 are considered to be too coarse. Although such grit numbers work quickly, they leave gouges on dries compounds which can be seen under the paint.
Similarly, grit numbers above 220 are also not ideal for sanding drywall. This is because they clog easily. Therefore, the recommended grit numbers for sanding drywall are between 120 and 150.
Fill Gouges
Gouges leave unsightly dents or holes that can’t be fixed by painting. However, if gouges are filled properly, the patch will perfectly blend into the surrounding.
Small dents can be fixed quickly by deep gouges penetrating the wall that needs additional patching. Do not try to sand out big ridges and gouges. Instead, apply another coat of mud.
This is particularly important for joints at the edges. It is also easy and quick to trowel a thin joint compound coat to fill any depression.
Spot Fixing Using a Light
First, use your sander to remove the joint compound on every hit surface. A hand sander might be the perfect one for this purpose. You need a pencil to mark the problem areas that require detailed sanding or filling.
Then shine light from a handheld lamp parallel to the drywall surface.
After marking the problem areas, touch up those areas. Mark depression and fill those areas with a joint compound. When those spots dry, finish the task by sanding those spots until you’ve got an even surface.
Prime the Walls and Sand Again
Prime the walls and sand again for a better finish. Most beginners might tend to skip this step. But, you should note that it has a great benefit. It helps to remove lumps and paper fuzz that may be visible under paint coats.
Use Sanding Sponges for Corners
Sanding corners with a hand sander will give you a hard time. Therefore, we suggest that you use sanding sponges to smooth drywall corners. Also, large sanding discs with an electric sander, can’t reach those tight spots.
Sand with a Light Touch
Although using hand sanders is simple and straightforward, drywall professionals recommend using light to moderate pressure when sanding. Additionally, avoid sanding the same area following a straight line.
Doing so might leave a depression or groove which may show up after applying paint. Instead, you should move your sander in a circular motion when sanding.
Do Not Over-Sand
Over-sanded drywall mainly results from lack of experience or use of heavy grit sandpapers, especially if the compound is soft. Heavy sanding might lead to the formation of unpleasant marks on the drywall surfaces.
It may cause unevenness on the surface. Therefore, you should be very careful when sanding drywall. To repair over-sanded areas, touch up the spot with the compound, leave it to dry, and then sand again.
Advantage & Disadvantages of Drywall Sanding
I know it’s objectionable when I say the disadvantages of sanding drywall. That’s okay, but let me clarify what I mean. I don’t mean to say any critical issues but just a few things that I’ve included below. Hopefully, that has answered both parts well.
Some of the most common benefits and downside of sanding include;
Advantages:
- Ideal for painting preparation
- Leaves a smooth drywall surface
- Eliminates drywall imperfections
Disadvantages:
- More time consuming
- Requires complicated tools
- You may unintentionally remove excessive drywall compound.
- Produces drywall dust
- Risky for novices
FAQs
1. Can you Use Regular Sandpaper on Drywall?
Yes, regular sandpaper can be used to sand drywall. However, the grit size of the used sandpaper should be between 100 and 120. Alternatively, you can use a fine sanding sponge or a 150-220 grit sanding screen.
2. How do you Clean Walls After Drywall Sanding?
To clean the drywall after sanding, damp it with water. Then squeeze it to remove the excess water until it’s almost dry. Use the damp cloth to wipe down the wall and start from the top. Drywall cleaning is done to ensure the surface is free from dust before paint is applied.
3. Can Drywall Dust Hurt you?
Over time, breathing drywall dust might cause phlegm production, breathing difficulties, coughing, and throat/ respiratory tract irritation. Moreover, if the dust has silica, you may suffer from lung cancer or silicosis. Therefore, ensure you’re always wearing a dust mask when sanding drywall.
4. How do you Prevent Drywall Dust when Sanding?
Seal off the doorways and air ducts with masking tape and plastic sheeting when sanding drywall. Ventilate the room by mounting box fans on the windows. Remove screens from doors and windows before you start sanding. Alternatively, wet sand the drywall to minimize the amount of dust produced.
5. How Long does Drywall Take to Dry Out?
Drywall joint compound usually takes 24 hours to dry between coats as well as before priming, sanding, and painting. However, the drying time may be increased by warm temperatures and high levels of humidity.