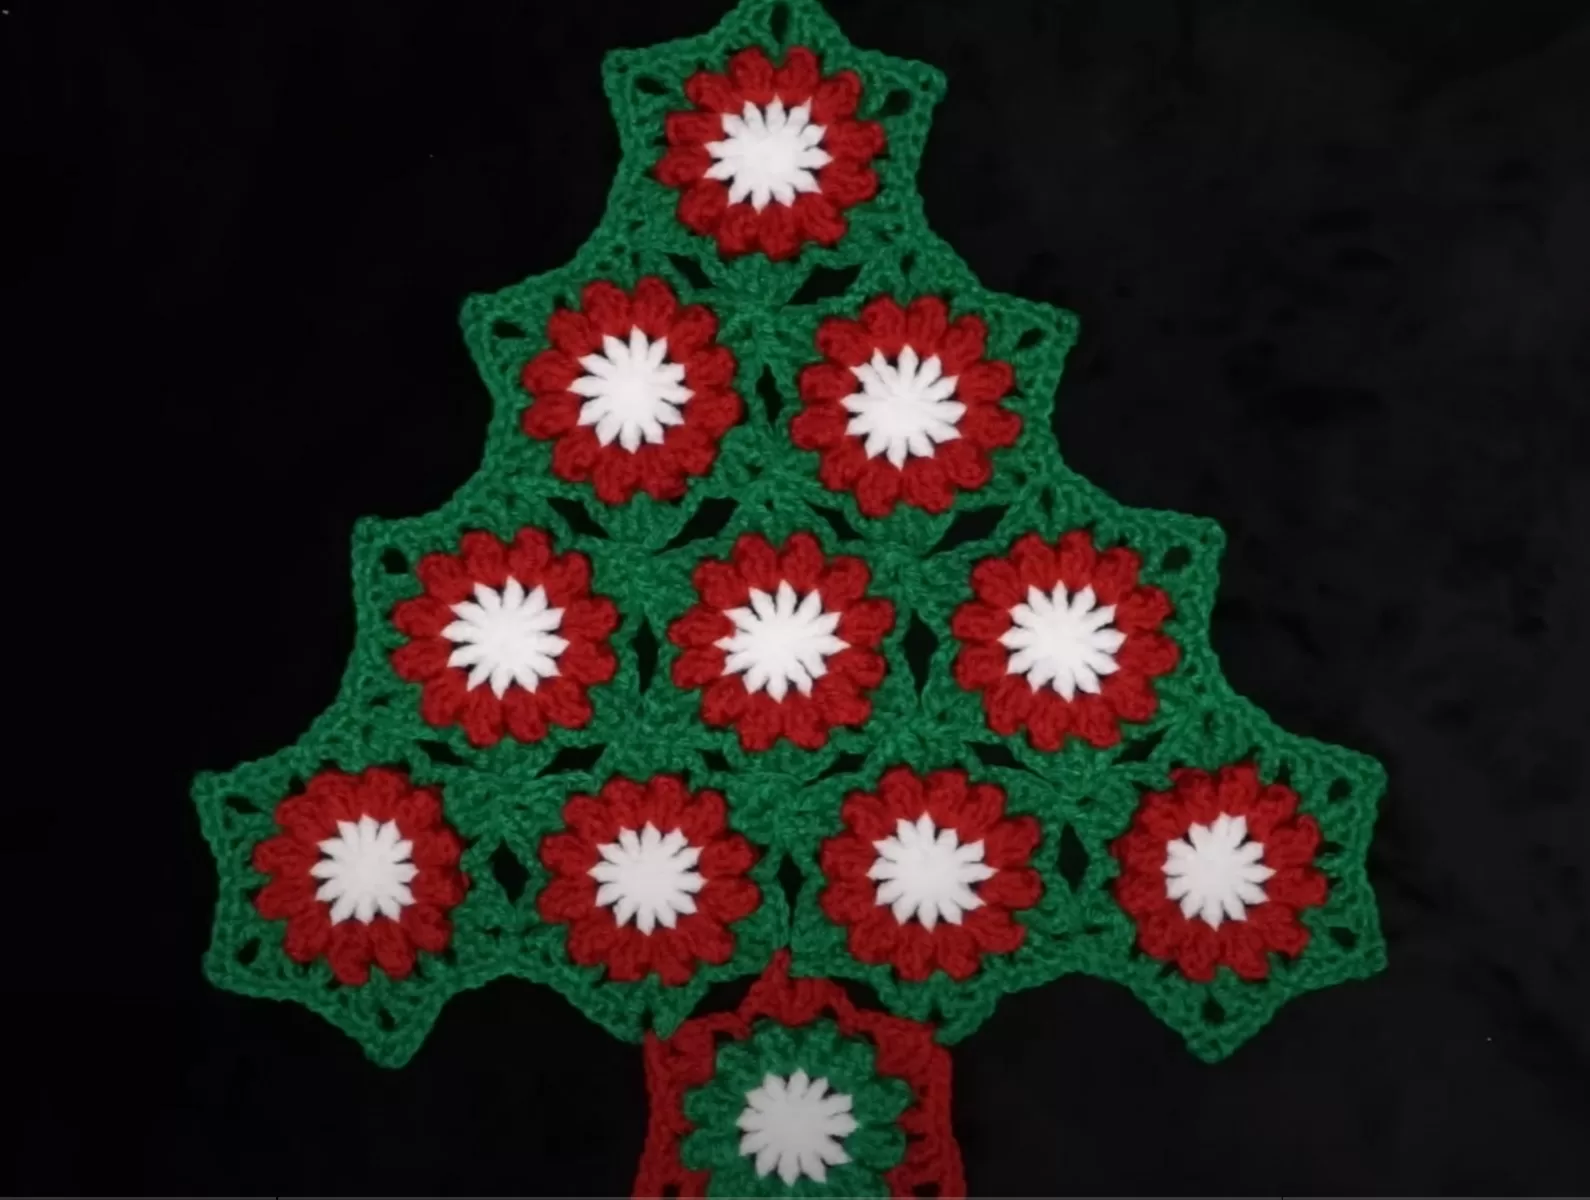
Do you love crochet and want to add some festive flair to your home? Why not make your own crochet Christmas tree wall hanging? It’s a fun and creative project that will impress your guests and brighten up your wall.
In this tutorial, you’ll learn how to crochet a Christmas tree background in a simple triangular shape. You’ll also learn to embellish it with mini ornaments, fairy lights, or ribbon. You can customize it to match your style and color scheme.
Ready to get started? Here are the materials and steps you’ll need to follow.
Materials
- Green yarn (choose a shade that resembles a Christmas tree)
- Crochet hook (size will depend on your yarn weight)
- Scissors
- Tapestry needle
- Stitch markers
- Optional: decorations like mini ornaments, fairy lights, or ribbon
Step 1: Start with a foundation chain
Begin by making a foundation chain of the desired length for your Christmas tree wall hanging. This will determine the width of your project. Remember to keep it long enough to fit your wall space. Don’t worry if it seems too long; you can always adjust it later.
Step 2: Single crochet across the row
Once you have your foundation chain, start working single crochet stitches across the row. This will be the base of your Christmas tree. Remember to count your stitches to ensure they are consistent throughout the row.
Step 3: Increase to create the tree shape
Now it’s time to create the shape of the Christmas tree. To do this, you’ll need to increase stitches at regular intervals. This can be done by working two single crochet stitches into the same stitch. Continue increasing until you reach the desired width for the bottom of your tree.
Related: 5 Tips to Choose the Perfect Christmas Tree This Year
Step 4: Work in rows
Once you reach the desired width, you’ll start working in rows instead of rounds. This will create the height of your Christmas tree. Remember to turn your work at the end of each row and work in the opposite direction.
Step 5: Decrease to create the tree-top
As you work your way up, you’ll want to decrease stitches to create the triangular shape of a Christmas tree. This can be done by skipping stitches or working two stitches together. Experiment with different decrease techniques to achieve the look you desire.
Step 6: Finish off and weave in the ends
Once you’ve reached the top of your Christmas tree, it’s time to finish off your work. Cut the yarn, leaving a long tail. Thread the tail through a tapestry needle and weave it through the last row of stitches. This will secure your work and prevent it from unraveling.
Step 7: Embellish your tree
Now comes the fun part – decorating your crochet Christmas tree! You can add mini ornaments, fairy lights, or even a festive ribbon to make it truly shine. Get creative and let your personality shine through.
Step 8: Hang it up
Once you’re happy with your crochet Christmas tree wall hanging, it’s time to hang it up on your wall. You can use hooks, nails, or adhesive strips to secure it. Step back and admire your handiwork – you’ve just created a unique and festive decoration for your home!
Conclusion
Crocheting a Christmas tree wall hanging is a wonderful way to add a personal touch to your holiday decor. With just a few basic crochet stitches and some festive embellishments, you can create a stunning piece that will bring joy to your home. So grab your yarn and hook, and let the holiday crafting begin!
Useful link:
- 15 Free Crochet Christmas Wall Hanging Patterns: A collection of free crochet patterns for different Christmas wall hangings, including trees, stockings, ornaments, and more.
Easy Crochet Christmas Tree Wall Hanging Decoration
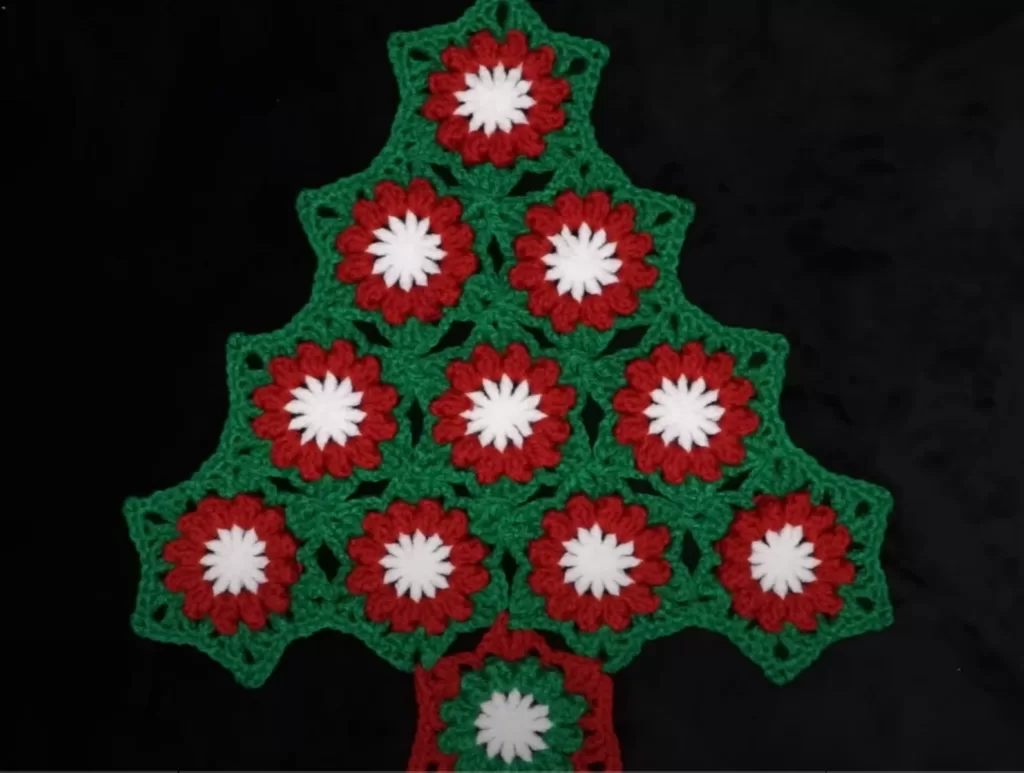
A video tutorial on how to crochet a Christmas tree wall hanging using flower motifs and simple stitches:
Frequently Asked Questions (FAQs) – How to Crochet a Christmas Tree Background for Your Wall
[saswp_tiny_multiple_faq headline-0=”h3″ question-0=”Q: What skill level do I need to crochet a Christmas tree wall hanging?” answer-0=”A: You need to have a beginner to intermediate level of crochet skills to make this project. You should be familiar with basic crochet stitches, such as single crochet, double crochet, slip stitch, and chain. You should also know how to increase and decrease stitches, and how to work in rows and rounds. ” image-0=”” headline-1=”h3″ question-1=”Q: What materials do I need to crochet a Christmas tree wall hanging?” answer-1=”A: You need some green yarn, a crochet hook, scissors, a tapestry needle, stitch markers, and some optional decorations, such as mini ornaments, fairy lights, or ribbon. You also need a branch, some jute or twine, and some hooks, nails, or adhesive strips to hang your finished piece.” image-1=”” headline-2=”h3″ question-2=”Q: How long does it take to crochet a Christmas tree wall hanging?” answer-2=”A: The time it takes to crochet a Christmas tree wall hanging depends on your skill level, the size of your project, and the amount of embellishments you add. However, it is a relatively quick and easy project that can be done in a few hours or less.” image-2=”” headline-3=”h3″ question-3=”Q: How do I make the bobble stitch for the ornaments?” answer-3=”A: The bobble stitch is a special stitch that creates a textured bump on your fabric. To make a bobble stitch, you need to yarn over, insert your hook into the designated stitch, and pull up a loop. Repeat this four more times, until you have nine loops on your hook. Then, yarn over and pull through all nine loops. Chain one to secure the bobble.” image-3=”” headline-4=”h3″ question-4=”Q: How do I hang my crochet Christmas tree wall hanging on the wall?” answer-4=”A: You can hang your crochet Christmas tree wall hanging on the wall using hooks, nails, or adhesive strips. First, you need to attach your branch to the top of your tree using jute or twine. Then, you need to find a suitable spot on your wall and mark where you want to place your hooks, nails, or strips. Make sure they are level and spaced evenly. Finally, you need to hang your branch on the hooks, nails, or strips, and adjust your tree as needed.” image-4=”” count=”5″ html=”true”]
