DIY Bookshelf — This article details how to make a bookshelf that is simple, but very sturdy. The entire bookshelf is made of real wood, aside from the adjustable legs, which can be either metal or plastic. The design is such that the shelves can endure an incredible amount of weight without sagging over time.
A Simple Guide on How to Make a Bookshelf
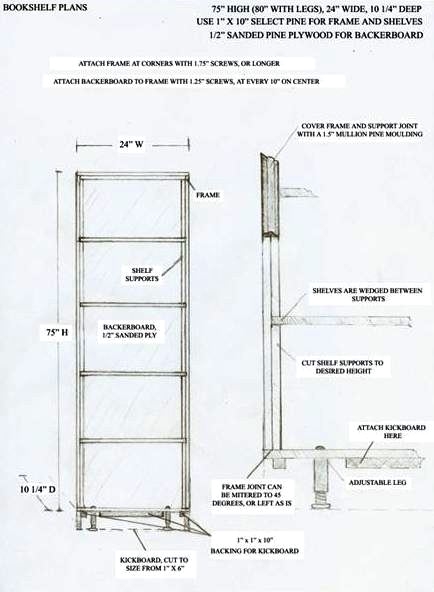
Here you will find specific plans for a sturdy DIY bookshelf that is moderately easy to build. The design is simple, but at the same time aesthetically pleasing. A list of materials, measurements, and a descriptive method for how to make a bookshelf from home are provided. A detailed drawing is also included
A Simple and Sturdy DIY Bookshelf
You can learn how to make a bookshelf that can be completed in just two days. The frame and shelves can be built in one day and finished – painted or stained – on another. It requires only two precision rip-cuts for the backing, and the local lumber yard may be kind enough to do this.
Other than that, a miter saw, jigsaw or circular saw is almost necessary to make the rest of the cuts. Even though it may be possible to complete the rest of the project with a hand-saw, it is not advisable.
The measurements here can be changed as desired to make a different size bookshelf (this one is approximately 80″ high, 24″ wide, and 10 ¼” deep), but bear in mind that making one that is much wider may not function as well. See the illustration provided.
Also, take into consideration the standard for lumber products; they are actually ¼” thinner per inch than what the label on the states. This is accounted for in these plans, but if your lumber mill provides actual 1” planks, disregard the measurements provided here.
It is also likely to be more cost-effective, but more labor intensive to use 3/4″ ply for the construction of the frame and supports as a substitute for the planks. The planks, however, are faster and easier, as they do not need to be ripped to size.
Images and Illustration (DIY Bookshelf)
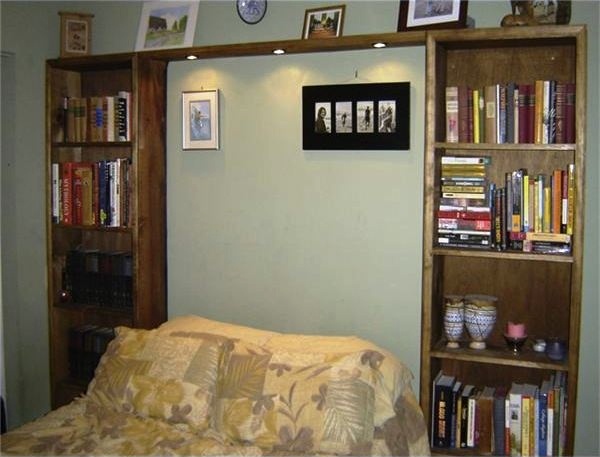
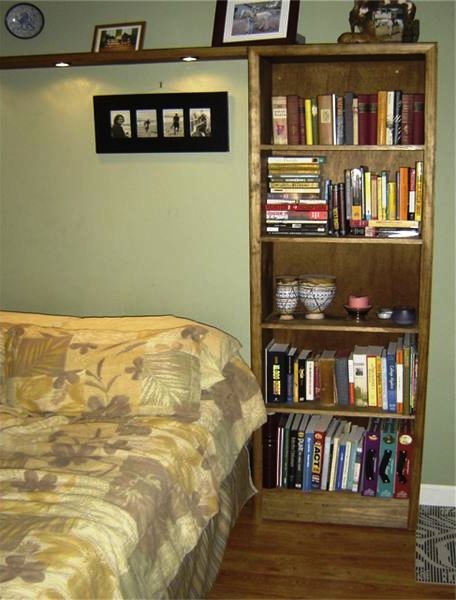
DIY Bookshelves Materials
These are the necessary materials when attempting to make a bookshelf:
- About 48 linear feet of 1″ x 10″ select plank, or 6 pieces of (8′) plank, accounting for the waste factor. (It may take some digging at the lumberyard to find ones that are not warped. This is essential.)
- A ½” sheet of sanded plywood. Use the same species of wood throughout the project, especially if planning to stain the wood. If your planks are pine, make sure to use pine here as well.
- 5 linear feet of 1″ x 6″ plank for the kickboard
- 3 feet of 1″ x 1″ wood for the kickboard support
- 4 adjustable legs (These can be found at the hardware store in the cabinet department.)
- Several 1 ¼” wood screws
- Several 1 ¾” wood screws
- A few 2 – 3″ screws
- Finish nails
- 18 linear feet of 1 ¾” wide mullion molding, or other decorative moldings of choice (the same width)
- Caulk
- Paint or stain
The Frame, How to Make a Bookshelf
Cut two of the planks to 73 ½”, and set them horizontally on a level surface. These are the sides of the frame. Cut two pieces from another plank to 24″ in length. These will be the top and bottom pieces of the frame.
Set all of these together (see the illustration for reference) and using a square, screw the top piece in from the top edges, and the bottom piece from the bottom edges using 1 ¾” screws. Drill a pilot-hole unless using self-drilling screws. Insert a bead of caulk between the corner seams, and use at least three screws per corner.
This frame will be a bit flimsy until the backer-board is attached; do not move it at this stage. The backing should be cut to 75″ by 24″, and should fit exactly over the frame. (If it does not, something is either not square, or the measurements are off. Adjust as necessary.)
Insert a small bead of caulk between the frame and the plywood backing, and screw this on with 1 ¼” screws at every 10″ on center.
Attach the adjustable legs to the bottom, and the 1″ x 1″ supports for the kickboard. These should be exactly ¾” away from the front edges to accommodate the attachment of the ¾” thick kickboard.
(Hint: Cut a small piece of the kickboard material and use it as a guide here to make sure that it sits flush.)
Must Read:
- How to Remove and Replace Steel Casement Windows with New Windows
- How to Build Custom Window Screens with Wooden Frames
- How to Make DIY Room Dividers: Ideas for Styles and More
- Learn How to Build Shelves to Make Room in a Garage
- Full Setup Guide for Reading Room Interior in Budget
- DIY Project to Install Outdoor Kitchen Cabinets
- Indoor Water Features You Can Make Yourself
- How to Make an Adjustable Shelf Bookcase
The Shelves
The shelves will add quite a bit of weight to the shelf, and you may want to move it closer to where it will be installed if it is an area where you will be able to paint or stain it. If not, you will likely need help with moving the finished bookshelf to its final location.
Cut 5 pieces of plank to 22 ½”, which will be the shelves. Determine your shelf spacing, and mark out the spots where the finished shelves should be.
Starting from the bottom, cut two supports of exactly the same length, and attach these to the frame with finish nails and caulk. Place a shelf piece on top of these supports, and repeat the process until you’ve reached the top. Make the last supports ¾” shy of the top, and insert the last shelf piece on top.
This ensures a uniform thickness around the entire bookshelf. Use caulking as necessary, but preferably leave the shelves loose, as they may need to be changed.
Use a level to check each shelf as you progress. Adjust the preceding shelf as necessary to make sure that the installation stays level.
Inspect the piece at this point; plane and sand any uneven spots as necessary. Stain the visible surfaces, and also stain the decorative molding and the kickboard at this point. These will be attached later.
Installation and Finishing
Set the bookshelf in the place where it is to be installed, and adjust the legs until it is level. Then attach the unit to the wall through the plywood backing.
Try to find two studs in the wall to attach to, but if only one can be found, attach several 2″ – 3″ screws to the one, spacing these out vertically. The shelf has good support with the adjustable legs but should be attached to the wall as well as possible, as it is quite heavy.
Cut the kickboard to length (and if necessary, to width), miter the corners to 45 degrees, and attach these to the supports on the bottom of the shelf using caulk and finish nails.
Install the mullion molding from the floor up to the top to cover the seams in the frame. Use a little bit of caulk and a few finish nails. Don’t overdo the attachment, as this trim needs to be removed if any of the shelves need to be changed out.
After you have mastered learning how to build a bookshelf, you may find the desire to complete your dining room by learning how to build a cottage farm bench and how to make farm table yourself.
References
- The author has personally designed and built the described bookshelf.
50+ Free DIY Bookshelf Ideas & Plans That Will Beautify Your Home
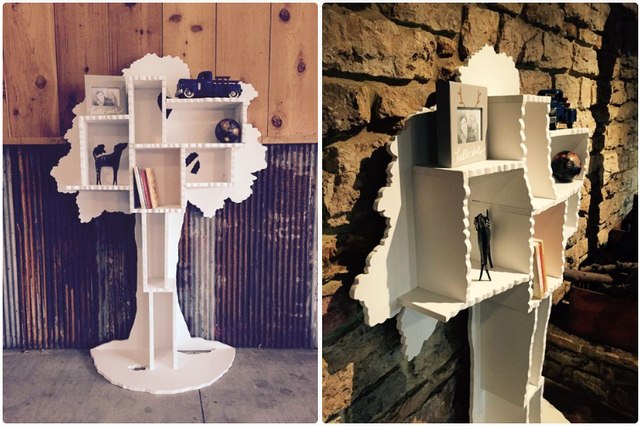
1. The Tree Bookshelf
- Tree Bookshelf, Image Credit, and DIY Instructions: Instructables
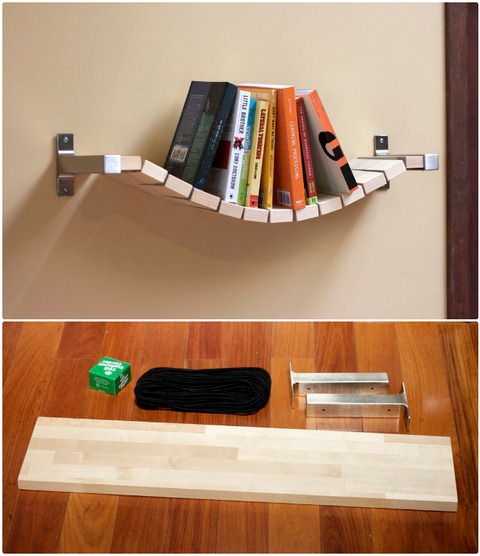
2. Rope Bridge Bookshelf
- Rope Bridge Bookshelf, Image Credit, and DIY Instructions: Instructables
3. DIY Wooden Wine Shelf
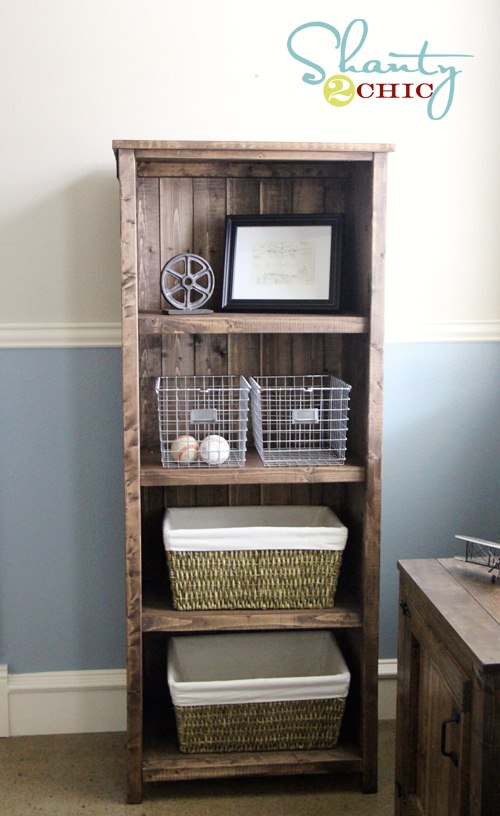
- Wine Rack – DIY Wooden Wine Shelf, Image Credit, and DIY Instructions: shanty-2-chic
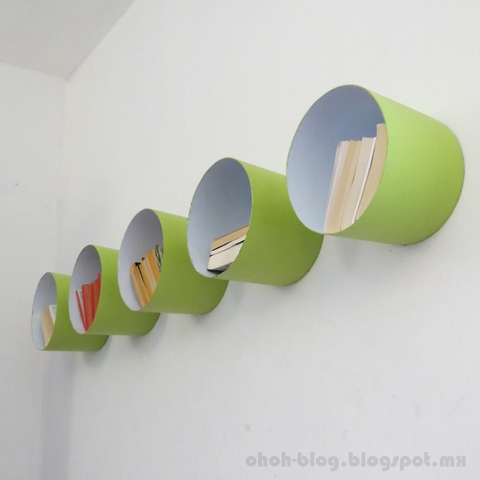
4. DIY Paint Bucket Shelves
- Shelves made with the paint bucket, Image Credit, and DIY Instructions: Ohoh Blog
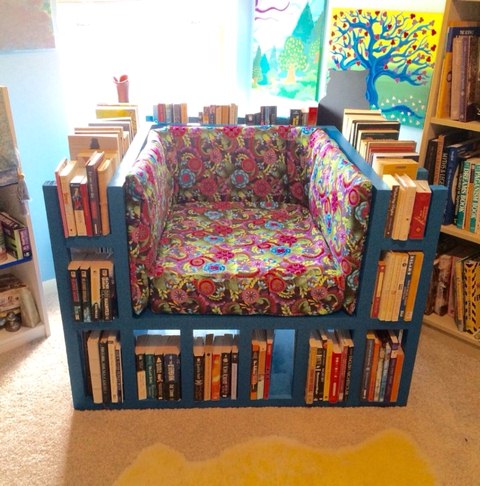
5. The Book Shelf Chair
- Bookshelf Chair, Image Credit, and DIY Instructions: Instructables
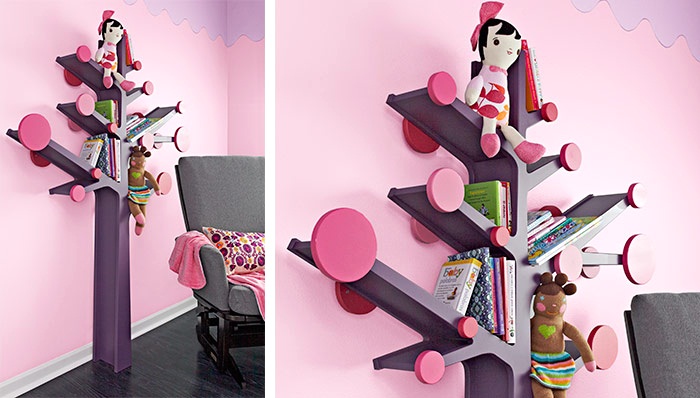
6. Bookshelf Tree
- Bookshelf Tree, Image Credit and DIY Instructions: Lowe’s
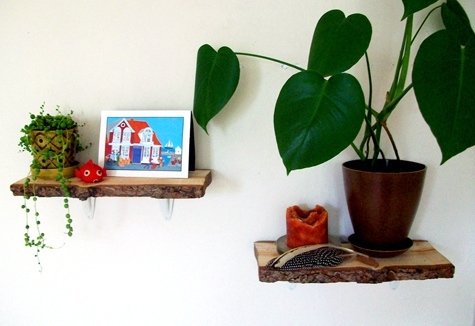
7. Rustic Log Shelves
- DIY Project: Rustic Log Shelves, Image Credit, and DIY Instructions: Design Sponge
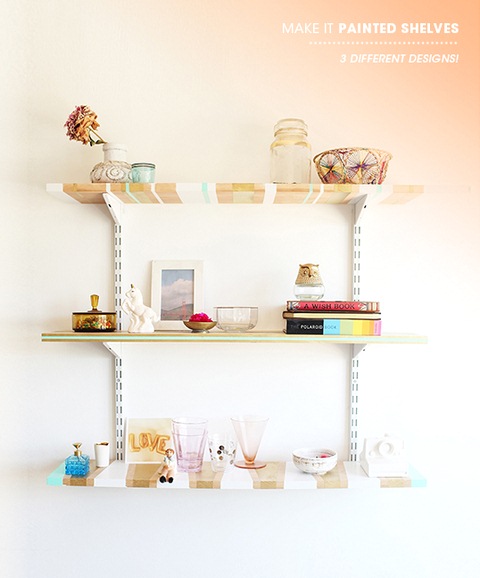
8. Great DIY Painted Shelves
- Great Painted Shelves DIY, Image Credit and DIY Instructions: Design Love Fest
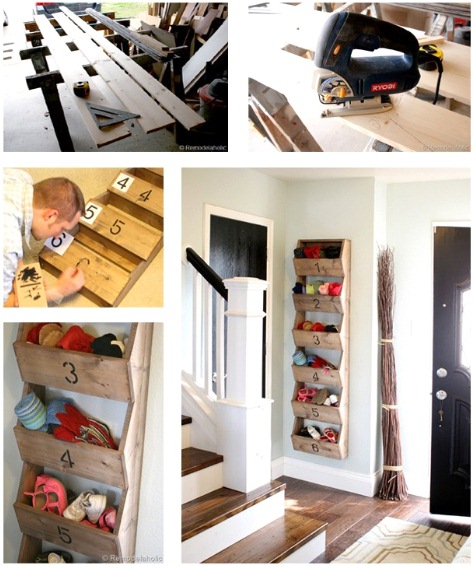
9. The Rustic Wall Storage Bins
- DIY Rustic Wall Storage Bins, Image Credit, and DIY Instructions: Remodelaholic
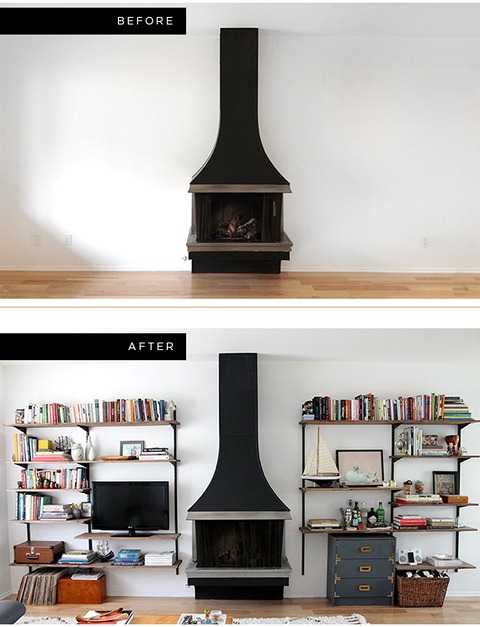
10. The DIY Mounted Shelving Unit
- DIY Mounted Shelving, Image Credit and DIY Instructions: Almost Makes Perfect
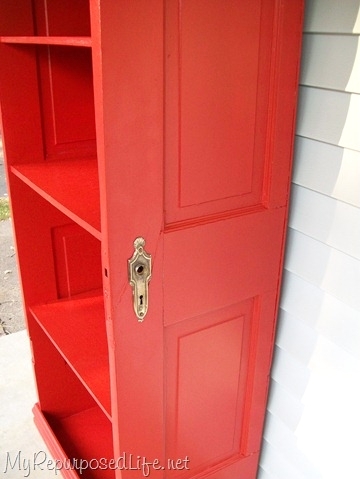
11. The Repurposed Door Shelf
- DIY Door Repurposed (Bookshelf), Image Credit and DIY Instructions: My Repurposed Life®
12. The DIY Knock Down Shelves
- Knock Down Shelves, Image Credit and DIY Instructions: Instructables
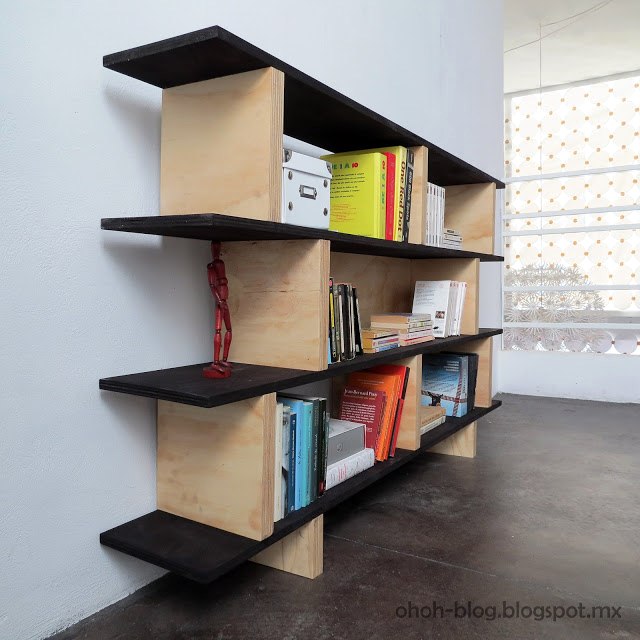
13. DIY Bookcase / Librero
- DIY Bookcase, Image Credit, and DIY Instructions: Ohoh Blog
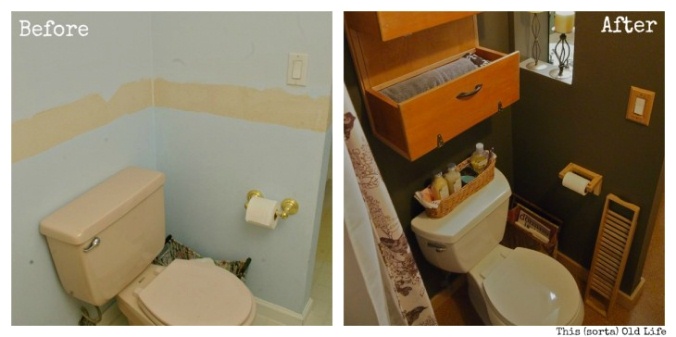
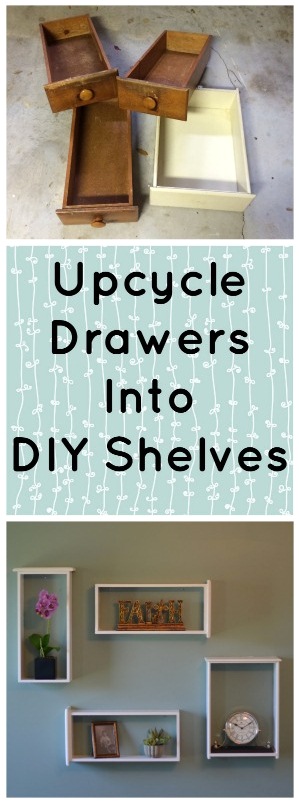
14. The Recycled Drawer Shelves
- Recycled Drawer Shelves, Image Credit and DIY Instructions: This Sorta Old Life
15. Easy DIY Bookshelf Life with Fingerprints
- Life with Fingerprints Bookshelf, Image Credit, and DIY Instructions: Life with Fingerprints
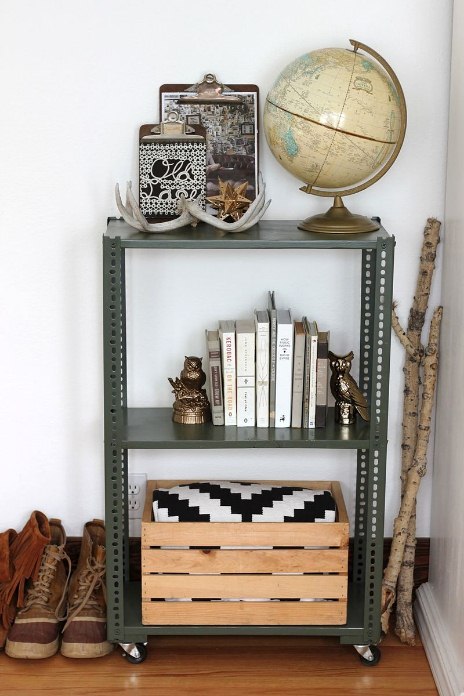
16. Easy Kitchen Shelving Cart, DIY Shelving Unit: 2 Ways
- Easy Kitchen Shelving Cart, Image Credit, and DIY Instructions: A Beautiful Mess
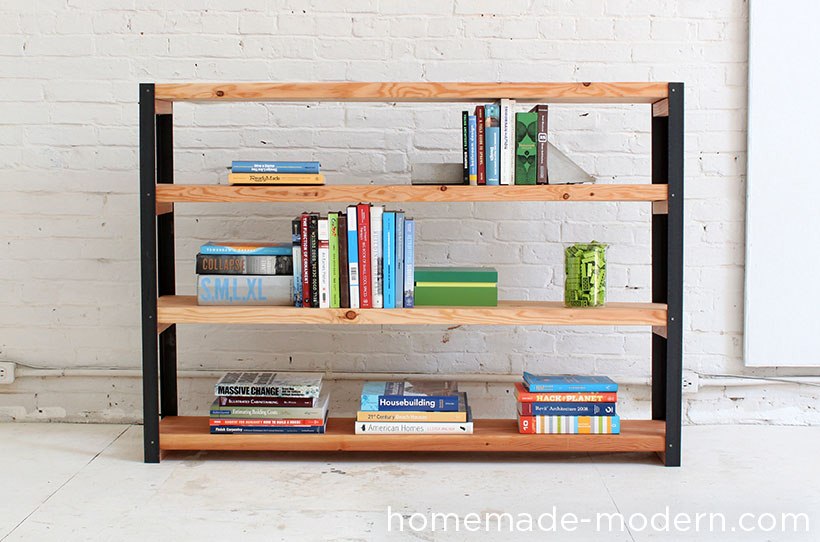
17. The Ironbound Bookcase
- Ironbound Bookcase, Image Credit, and DIY Instructions: HomeMade Modern
18. DIY Window Box Shelves ~ Easy How To On The Cheap
- Easy DIY Window Box Shelves, Image Credit, and DIY Instructions: Saving the Family Money
19. The Kentwood Bookcase
- The Kentwood Bookcase, Image Credit and DIY Instructions: Ana White
20. DIY Storage Floating shelf
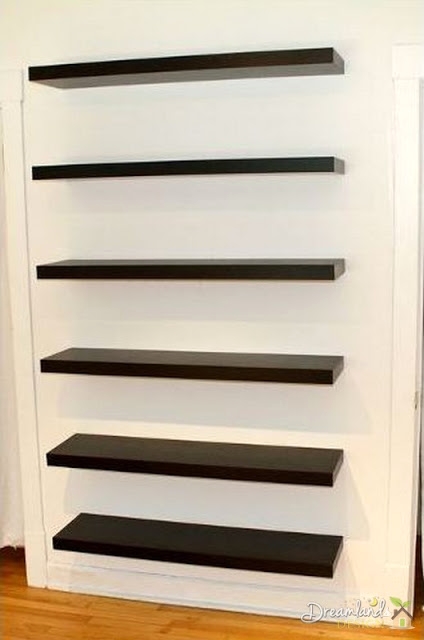
- DIY Storage Floating shelf, Image Credit, and DIY Instructions: Dream Lands Design
To be Continued…
