Staining lattice can transform your outdoor space and enhance your landscaping. Using a roller for this task not only speeds up the process but also helps achieve a professional-looking finish.
This comprehensive guide will take you through everything you need to know about staining lattice with a roller.
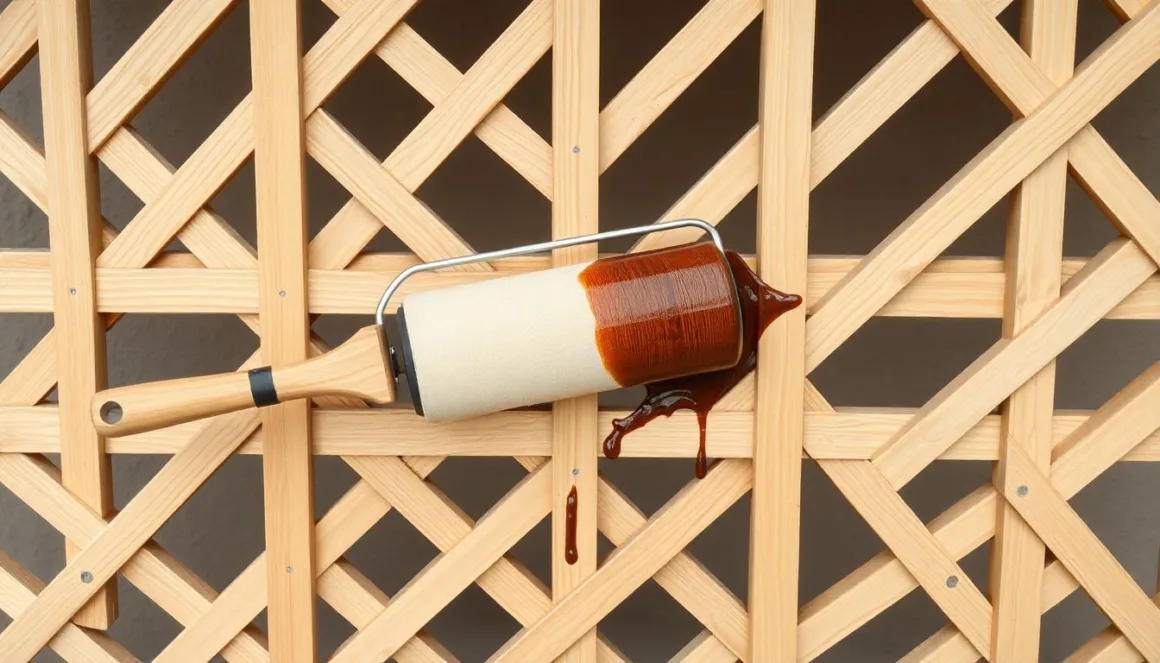
Why Choose Roller Application for Lattice Staining?
Using a roller application is often the best choice. This method ensures even coverage and saves time compared to brushes. A roller can reach all those tricky spots, making the job easier and more efficient.
The Efficiency and Speed of Roller Application
Using a roller is one of the quickest ways to apply stain, especially on larger surfaces. Rollers cover more area faster than brushes, allowing you to get the job done in less time. This efficiency is especially beneficial for big projects or when facing time constraints.
Achieving a Consistent, Even Stain Coverage
Rollers often provide a more uniform finish. With the right technique, you can avoid streaks and blotches that sometimes occur with brushes. This ensures your lattice looks well-finished and professional.
Addressing Common Concerns Regarding Roller Staining
Some worry that rollers won’t reach tight spots. While it’s true, you can tackle those hard-to-reach areas with a brush. By using both tools, you can maximize coverage and quality.
RELATED: Using Outdoor Lattice as a Privacy Screen or Fence
Choosing the Right Materials for Success
Selecting the Ideal Stain for Your Lattice Type and Climate
Choose a high-quality stain suitable for your lattice material (wood, vinyl, etc.). Look for weather-resistant options if it’s exposed to the elements. Oil-based stains often offer better durability for outdoor projects.
Choosing the Right Roller and Tray for Optimal Application
Select a roller with a nap length that matches your lattice texture. For rough surfaces, a thicker nap (3/8” or more) is better, while smoother surfaces need less nap (1/4”).
Essential Prep Tools: Brushes, Drop Cloths, and Safety Gear
Gather these tools before starting:
- Brushes: For cutting in edges and corners.
- Drop Cloths: To protect surrounding areas.
- Safety Gear: Gloves, goggles, and a mask to avoid inhaling fumes.
Preparing Your Lattice for Staining: A Step-by-Step Guide
Preparing your lattice for staining is easier than you might think. With the right preparation, your lattice will look stunning and be protected for years to come. Let’s get started on making your outdoor space shine.
Thorough Cleaning: Removing Dirt, Debris, and Old Stain
Before applying stain, clean the lattice thoroughly. Use soap and water or a pressure washer to remove dirt and grime. Allow it to dry completely before moving on.
Addressing Damaged or Rotten Lattice Sections
Inspect your lattice for damage. Replace any rotten sections to ensure longevity. This step helps maintain overall structure and appearance.
Priming the Lattice for Enhanced Stain Absorption and Longevity
If using oil-based stain, consider priming first. A primer can enhance stain absorption, providing a better final look and longer-lasting protection.
The Roller Application Process: Techniques for a Professional Finish
Applying the Stain: Even Strokes and Avoiding Over-Saturation
Start by pouring stain into a tray. Dip the roller, then roll off excess to prevent drips. Apply in even strokes, working from the top down.
Working in Sections for Controlled Application
Divide your lattice into sections. This allows you to manage the application better and ensures even coverage. If one section dries too fast, it may lead to visible lines.
Dealing with Corners, Edges, and Hard-to-Reach Areas
Use a brush for corners and edges. Rollers can do the broad areas, but brushes are essential for those tight spots. This mix of tools ensures complete coverage.
Achieving a Uniform Finish and Addressing Common Issues
Dealing with Uneven Stain Absorption and Blotchiness
If you notice uneven areas, you can fix them by lightly going over those spots with your roller, ensuring smooth application. Sometimes, a second coat may be necessary.
Dealing with Runs and Drips During Application
If you catch drips while staining, use your brush to smooth them out before they dry. This technique saves you from having to sand them later.
Troubleshooting Common Staining Problems
If the stain looks blotchy or uneven after drying, reapply another coat while the first layer is still wet. This will blend areas for a smoother appearance.
Post-Application Care and Maintenance for Long-Lasting Results
Allow Ample Drying Time Before Use or Exposure to Elements
After staining, allow adequate drying time as per the stain manufacturer’s instructions. This step is crucial for a durable finish.
Cleaning Your Tools and Materials After Staining
Clean your roller and brushes immediately after use. Soap and water usually suffice for latex stains, while mineral spirits are best for oil-based products.
Regular Maintenance to Protect Your Stained Lattice
Regularly check the stained lattice for signs of wear. Lightly pressure wash or wipe down periodically to retain its look. Reapply stain every few years or as needed.
Conclusion: Maintaining Your Beautifully Stained Lattice
Staining your lattice with a roller not only saves time but also delivers a beautiful finish that improves your outdoor space. Keep these key takeaways in mind:
- Use quality materials for best results.
- Prepare the lattice properly to enhance stain performance.
- Don’t forget maintenance for long-lasting beauty.
Protecting your investment with proper staining and regular care will keep your lattice looking great for years. For more tips and resources, explore additional guides on home improvement topics.
FAQs
Why should I use a roller to stain my lattice instead of a brush?
Using a roller is one of the quickest ways to apply stain, especially on larger surfaces. Rollers cover more area faster than brushes, allowing you to get the job done in less time while providing a more uniform finish.
What type of stain should I choose for my lattice?
Choose a high-quality stain suitable for your lattice material, whether it’s wood or vinyl. Look for weather-resistant options if your lattice is exposed to the elements, and consider oil-based stains for better durability in outdoor projects.
How do I prepare my lattice before staining?
Start with thorough cleaning to remove dirt and grime using soap and water or a pressure washer. Inspect for any damage and replace rotten sections. If you’re using oil-based stain, consider priming the lattice to enhance stain absorption.
What should I do if I notice uneven stain absorption while applying?
If you notice uneven areas, lightly go over those spots with your roller to ensure smooth application. Sometimes, applying a second coat while the first layer is still wet can help blend any blotchy areas for a more uniform look.
How long should I wait for the stain to dry before exposing it to the elements?
It’s crucial to allow ample drying time as per the stain manufacturer’s instructions. This step helps ensure a durable finish, so be sure to check the specific drying times recommended on the product label.
What maintenance should I perform on my stained lattice?
Regularly check your stained lattice for signs of wear. Lightly pressure wash or wipe it down periodically to keep it looking fresh. You may need to reapply stain every few years or as needed to maintain its appearance.


 7")

 9")
