Are you considering installing Hardie board siding for your home?
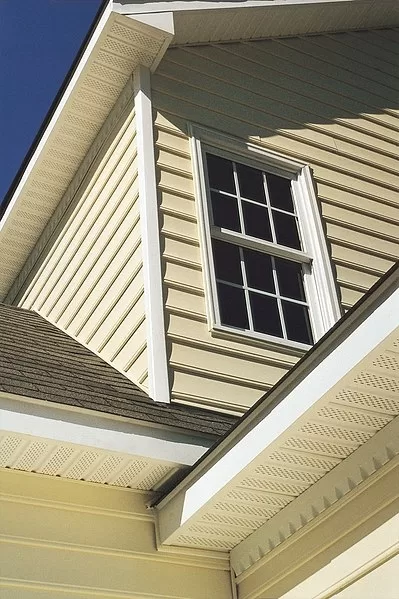
Hardie board, also known as fiber cement siding, is a durable, low-maintenance option that can withstand various weather conditions. However, proper installation is essential to ensure the longevity and effectiveness of the siding.
Here, we will share 8 tips to help you install Hardie board siding correctly. From safety precautions to the installation of trim pieces, we will cover everything you need to know to get the job done right. Keep reading to learn how to install Hardie board siding like a pro.
8 Tips to Follow When Installing Hardie Board Siding
Installing Hardie board siding requires proper planning and execution to ensure a successful and long-lasting installation. The following tips will help you install Hardie board siding:
1. Safety First
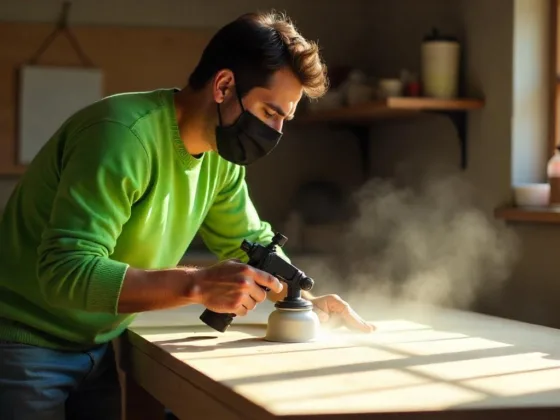
Safety should always be a top priority when installing Hardie board siding. When cutting and installing the siding, you should wear appropriate personal protective equipment (PPE) such as gloves, eye protection, and respiratory protection. Additionally, you should follow all safety guidelines and precautions the manufacturer provides.
It’s important to work with a partner and use proper lifting techniques when handling heavy or awkwardly shaped pieces of siding. By prioritizing safety, you can ensure a successful installation and prevent accidents or injuries on the job.
2. Measure and Cut
Accurate measurement and cutting are vital to successfully installing Hardie board siding. You should measure the length and height of each wall carefully and add a little extra for overhang and waste. Use a circular saw with a carbide-tipped blade or specialized siding shears to make clean and precise cuts.
Take care to cut the siding pieces to the correct length and angle for proper fit and alignment. Properly measured and cut pieces of Hardie board siding will ensure a visually appealing and long-lasting installation.
3. Install a Moisture Barrier
Installing a moisture barrier is important in protecting your home from water damage when installing Hardie board siding. A moisture barrier is typically made of a synthetic material that is installed between the siding and the sheathing. It helps prevent water infiltration by directing moisture away from the home.
Be sure to follow the manufacturer’s instructions for properly installing and sealing the moisture barrier. A properly installed moisture barrier will help ensure the longevity of your Hardie board siding and protect your home from moisture damage.
4. Install Starter Strips
Installing starter strips is a key step in the installation process of Hardie board siding. Starter strips create a secure and level base for the first row of siding, ensuring that it is installed properly and looks visually appealing.
To install the starter strip, measure the length of the wall and cut the strip to fit, leaving a small gap for expansion. Attach the starter strip to the sheathing using roofing nails or screws, and make sure it is level and flush with the bottom of the wall.
Following the manufacturer’s recommendations for starter strips is important to ensure compatibility and proper installation. Properly installed starter strips will help your Hardie board siding last longer and perform better.
5. Nail the Siding
Nailing the siding is an important step in the installation process of Hardie board siding. You should use hot-dipped galvanized nails specifically designed for use with Hardie board siding.
The nails should be long enough to penetrate the sheathing and into the framing studs by at least 1-1/4 inches. The nails should be spaced according to the manufacturer’s recommendations, typically around 16 inches apart. Be sure to nail the siding to the framing studs, not just the sheathing.
Nails should be driven flush with the surface of the siding but not so deep that they damage the siding. Proper nailing ensures the siding is secure, straight, and visually appealing.
6. Leave Expansion Gaps
It’s important to leave expansion gaps when installing Hardie board siding. This is because the siding expands and contracts with changes in temperature and humidity. Failure to leave expansion gaps can result in buckling, warping, or cracking of the siding. The size of the expansion gap will depend on the length of the siding run and the temperature range in your area.
Generally, a gap of 1/8 inch is recommended for every 10 feet of siding run. The expansion gaps should be located at the end of each siding run and around any openings, such as windows or doors. By leaving expansion gaps, you can help ensure that your Hardie board siding looks great and lasts longer.
7. Install Trim Pieces
Installing trim pieces is the final step in the installation process of Hardie board siding. Trim pieces add visual appeal to the siding, cover any gaps or joints, and protect the edges of the siding from moisture. You should use trim pieces that are specifically designed for use with Hardie board siding.
The trim pieces should be cut to fit and attached to the siding using nails or screws that are compatible with the siding material. Properly installed trim pieces will help your Hardie board siding look great and last longer.
8. Seal the Seams
Sealing the seams of Hardie board siding is an important step in protecting your home from moisture damage. You should use a high-quality sealant that is specifically designed for use with Hardie board siding.
The sealant should be applied to all seams, joints, and gaps in the siding to prevent water infiltration. Be sure to follow the manufacturer’s instructions for application and drying time. Properly sealed seams will help your Hardie board siding last longer and protect your home from water damage.
Can I Install James Hardie Siding Myself?
While installing James Hardie Siding yourself is possible, hiring a professional siding contractor such as Mr. Happy House, with extensive fiber cement siding experience, is highly recommended. Improper installation can lead to damage or failure of the siding, which can result in costly repairs or replacement.
A licensed and certified contractor can ensure the siding is installed correctly, including the proper flashing and sealants around windows, doors, and other openings. They can also provide valuable advice on the type and style of siding, trim, and accessories that can enhance the look and value of your home.
FAQs
How long does James Hardie Siding last?
James Hardie Siding is known for its durability and can last up to 50 years or more with proper installation and maintenance.
Is James Hardie Siding eco-friendly?
James Hardie Siding is made from sustainable and recyclable materials, and the manufacturing process produces less waste and emissions than other siding materials.
Final Thoughts
Installing Hardie board siding can be daunting, but with the right tools, knowledge, and technique, it can be a successful DIY project. The key is to take the time to properly prepare the surface, measure accurately, and follow the manufacturer’s instructions.
Use the right tools and safety equipment, and don’t hesitate to ask for help if needed. Remember to consider weather conditions and take appropriate precautions. By following these eight tips for installing Hardie board siding, you can transform the look of your home and improve its durability and protection for years to come.

