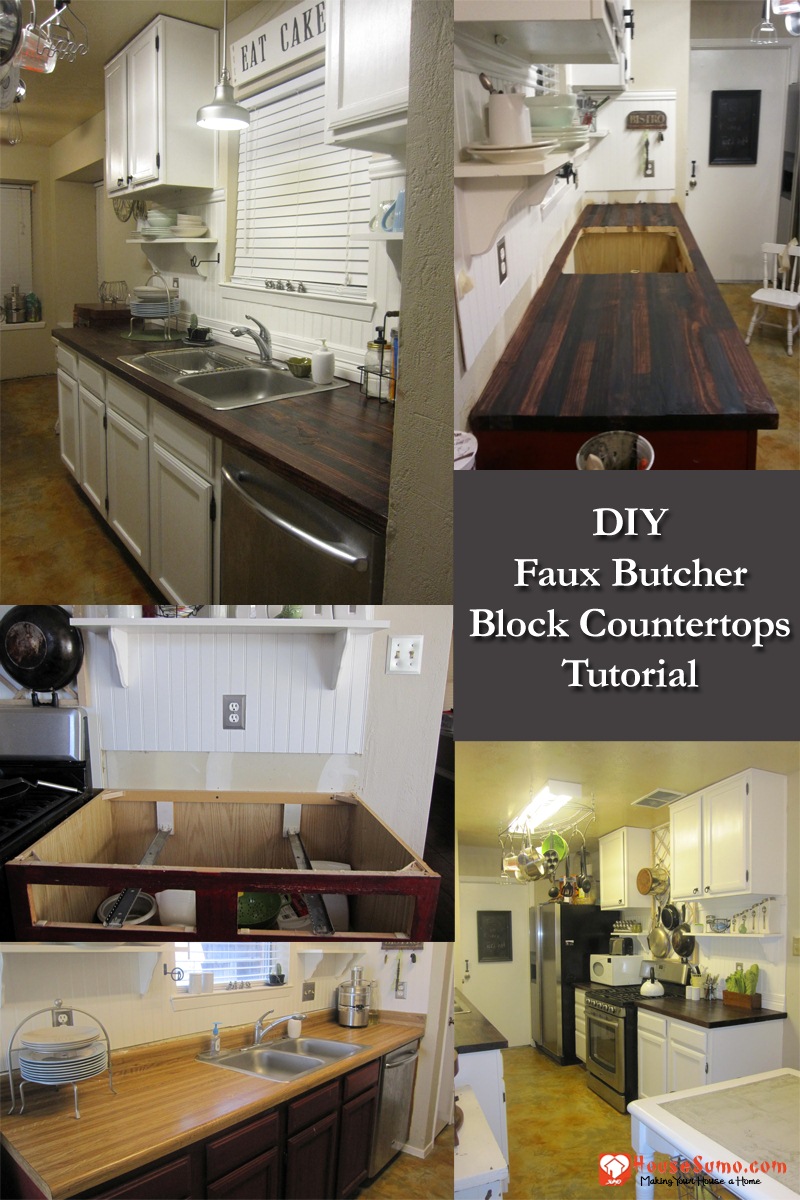
For those of you wondering how to build a butcher block countertop, I have the answer! In this tutorial, I will share with you exactly how I made my own faux butcher block countertops, including any mistakes and challenges I encountered along the way.
First, let me clarify that while the end result does resemble the butcher block, it’s not an exact match. If you’re looking for countertops that truly mimic real butcher blocks, your best bet is to either purchase authentic butcher blocks or explore options available at IKEA. They have a great tutorial on how to use their countertops to create a butcher block look.
That being said, my faux butcher block counters came pretty close in appearance and only cost me $56 for the entire project. I completed this project entirely on my own over a single weekend, so ladies, don’t be intimidated! It’s definitely doable if you have some basic DIY skills.
Also Read:
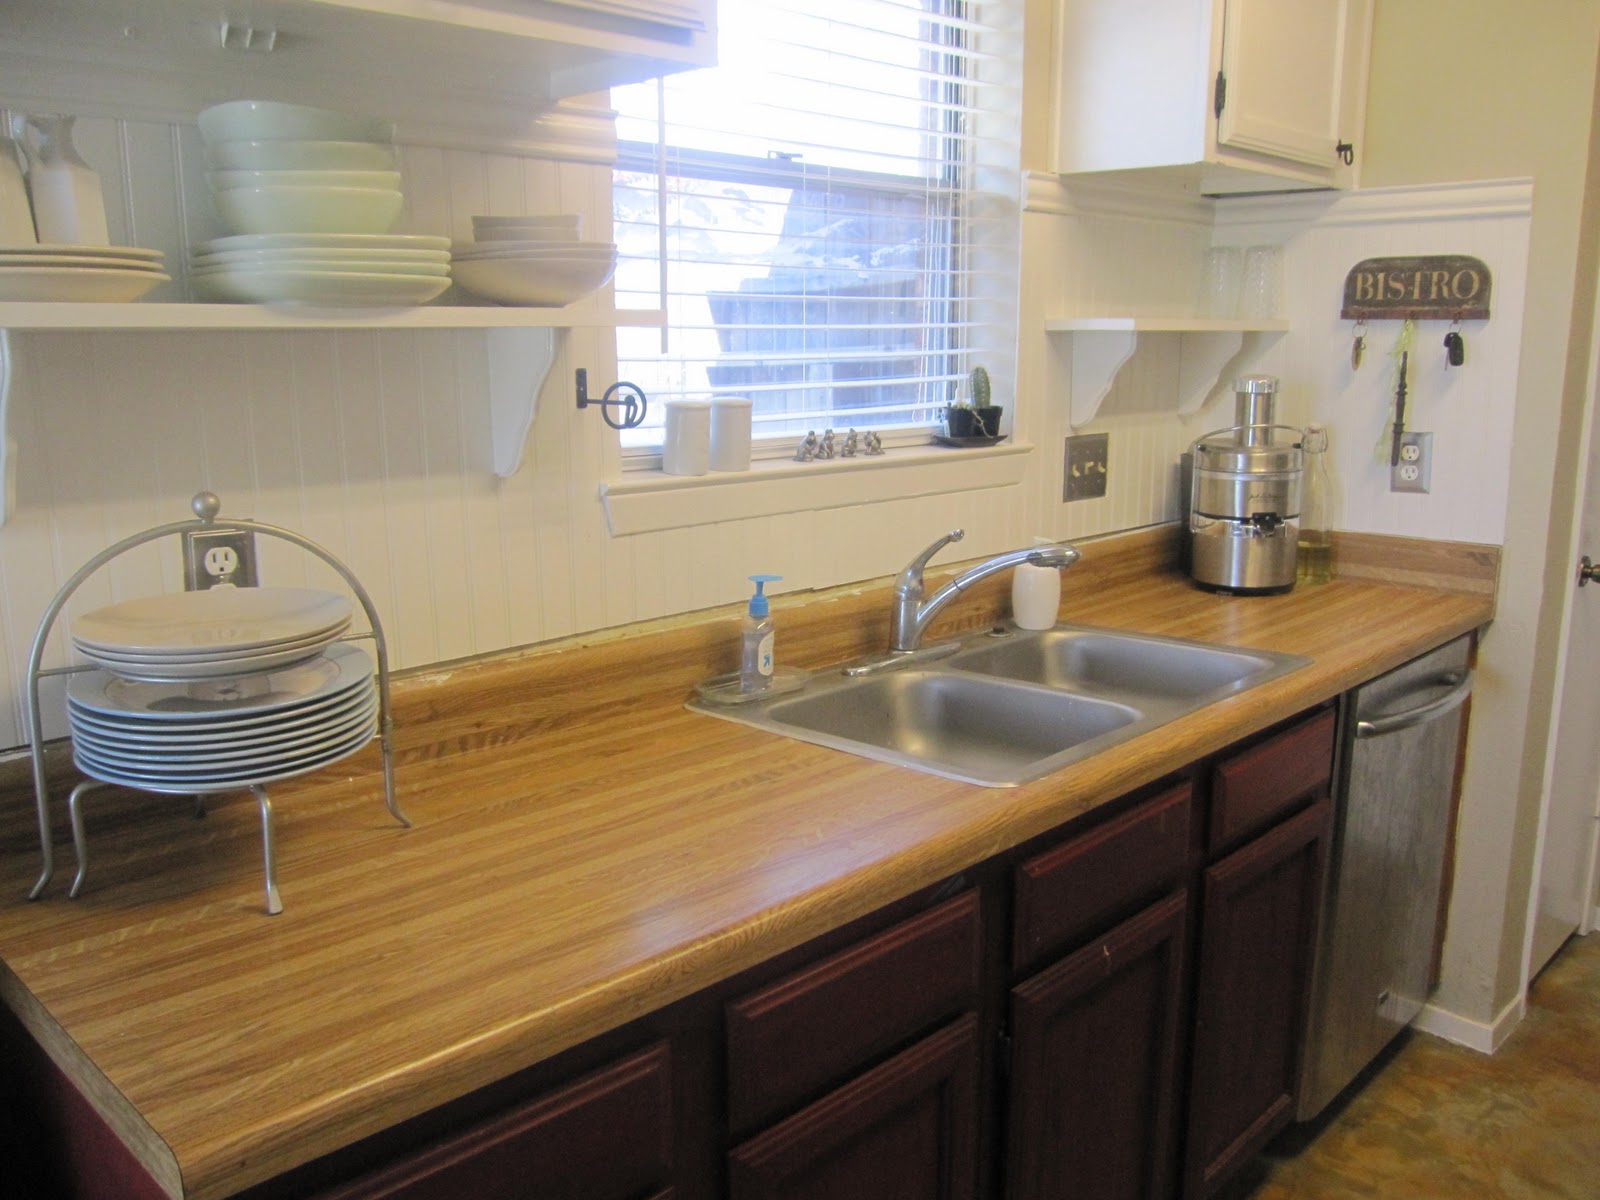
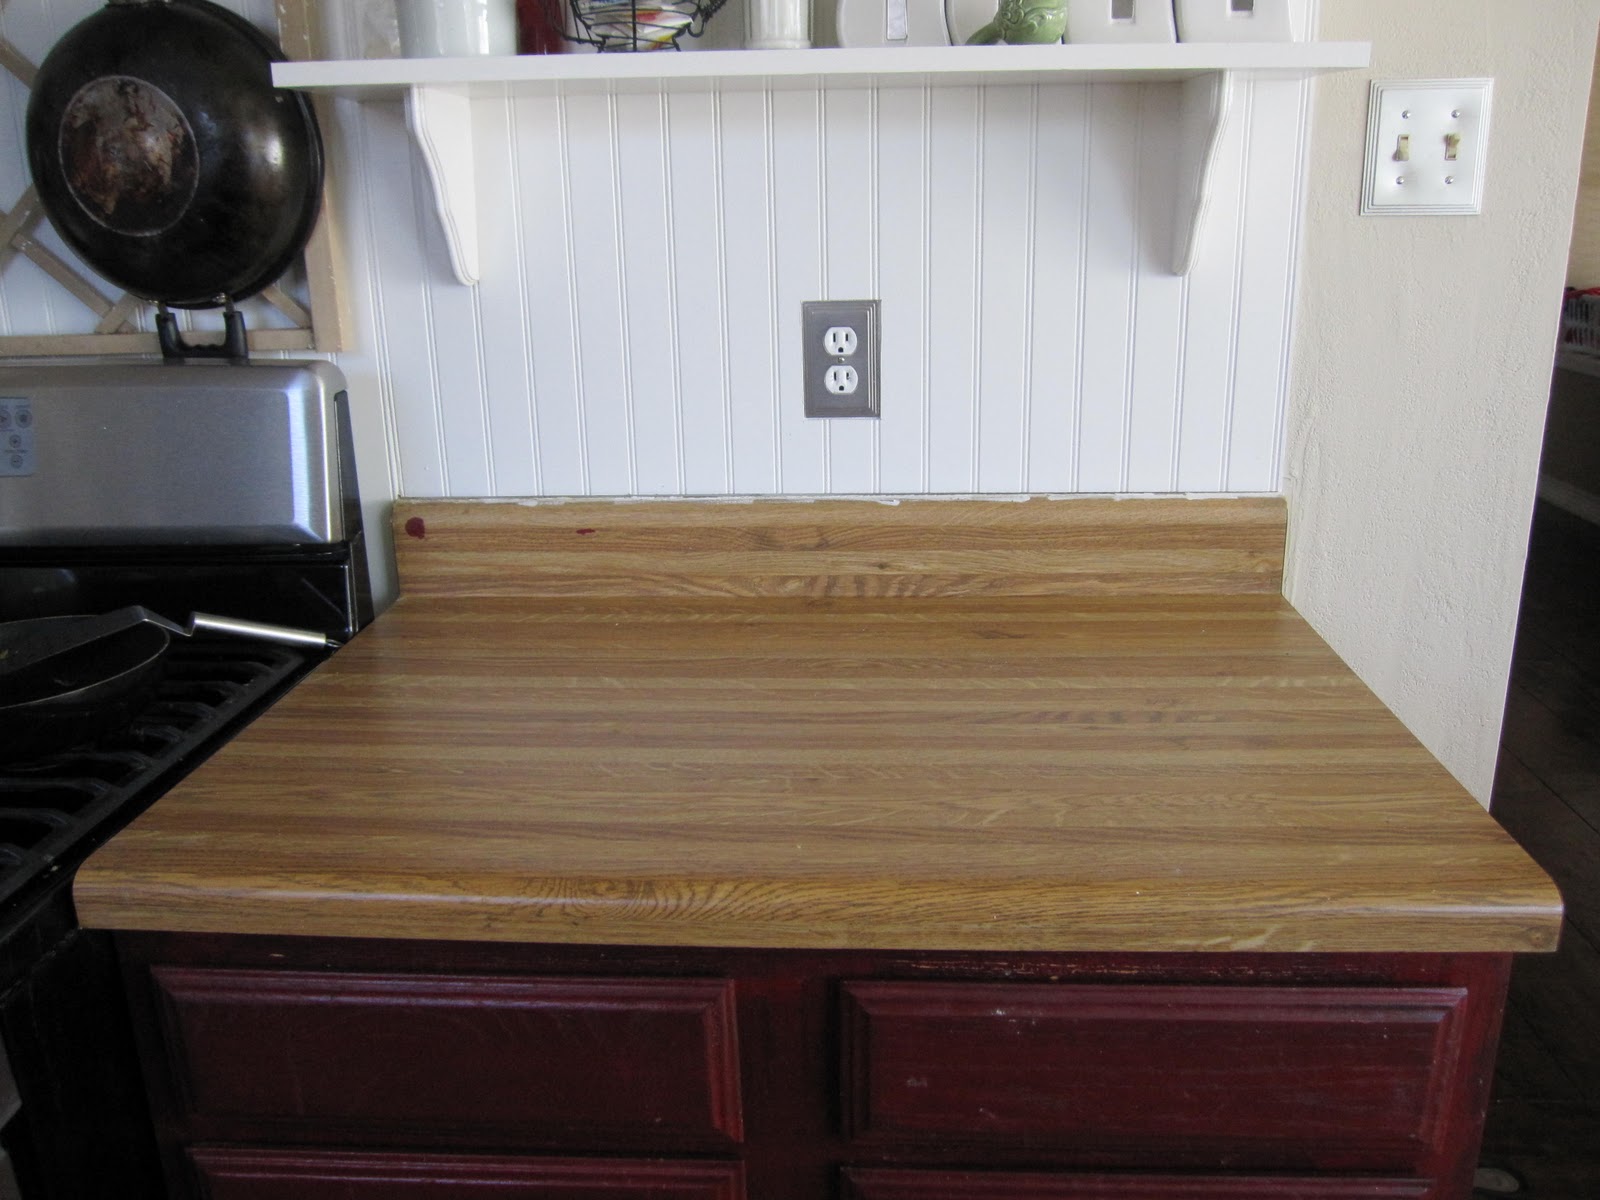
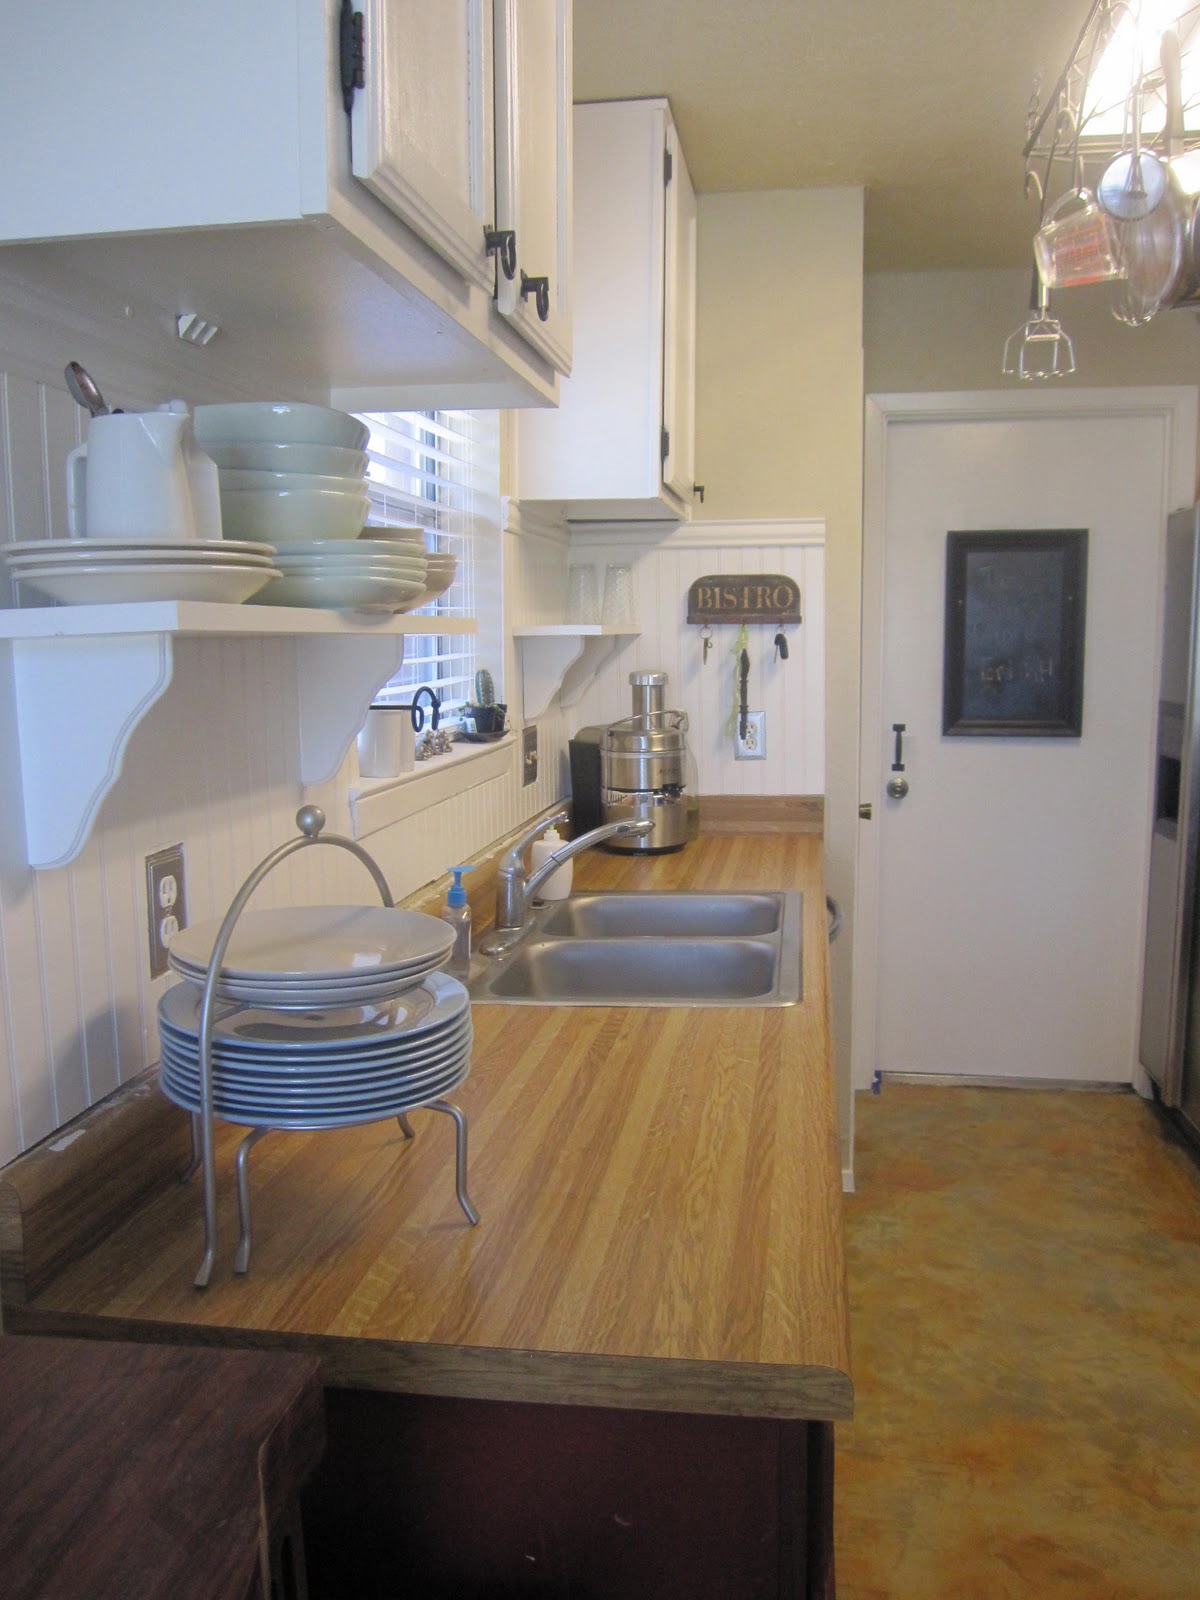
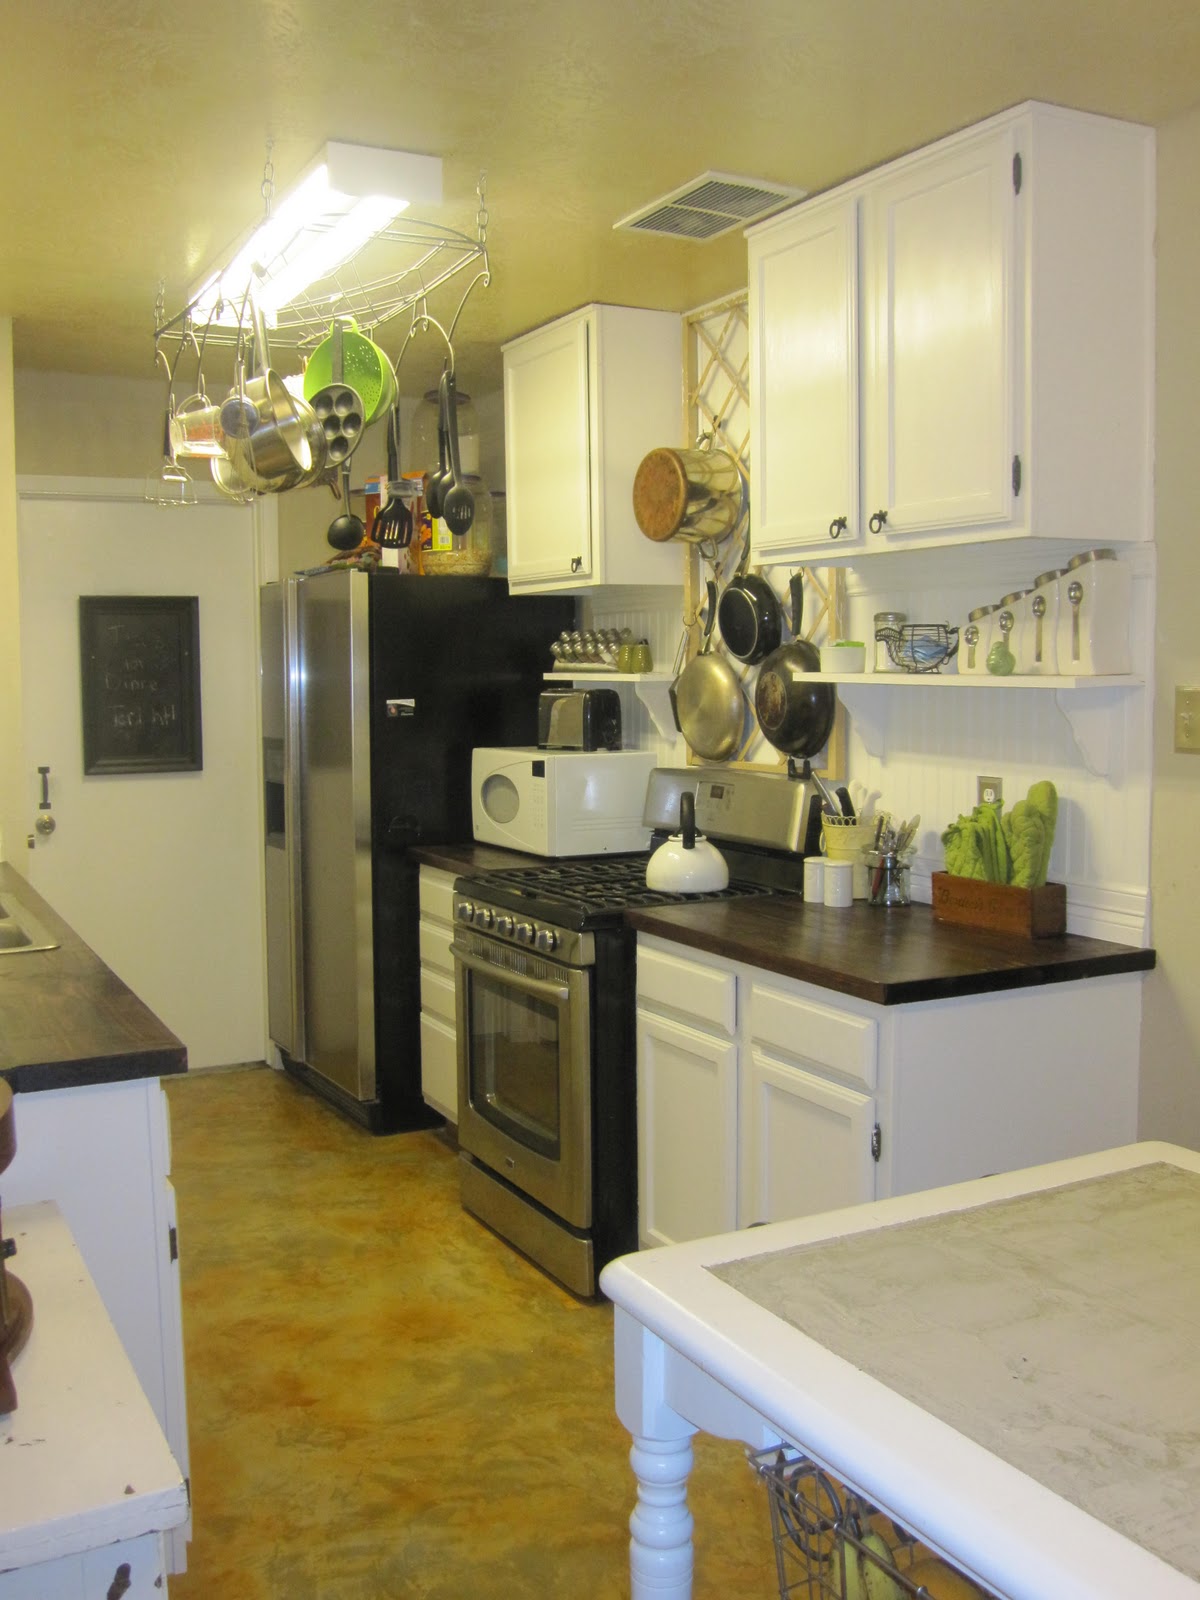
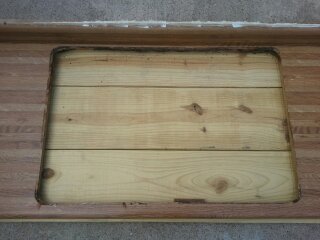
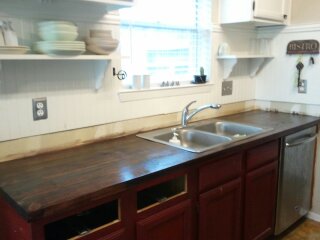
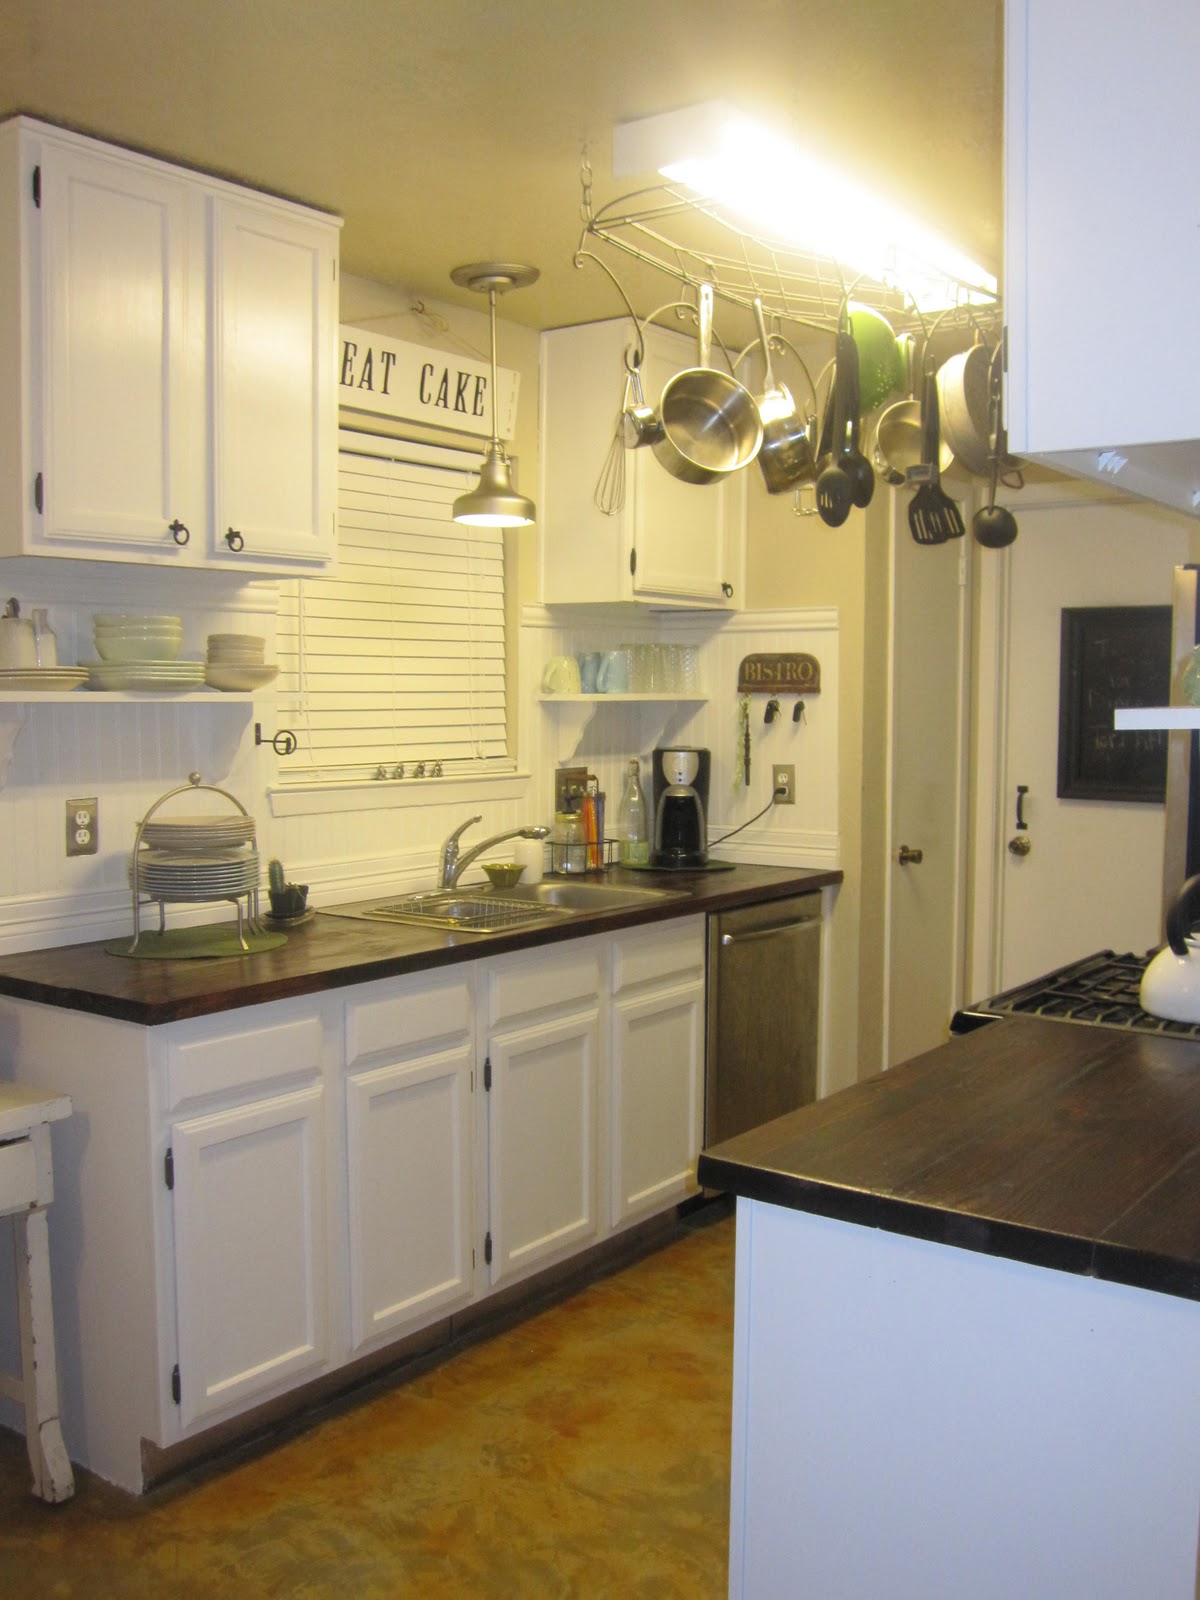
But before we dive into the step-by-step process, here are some satisfying before and after pictures:
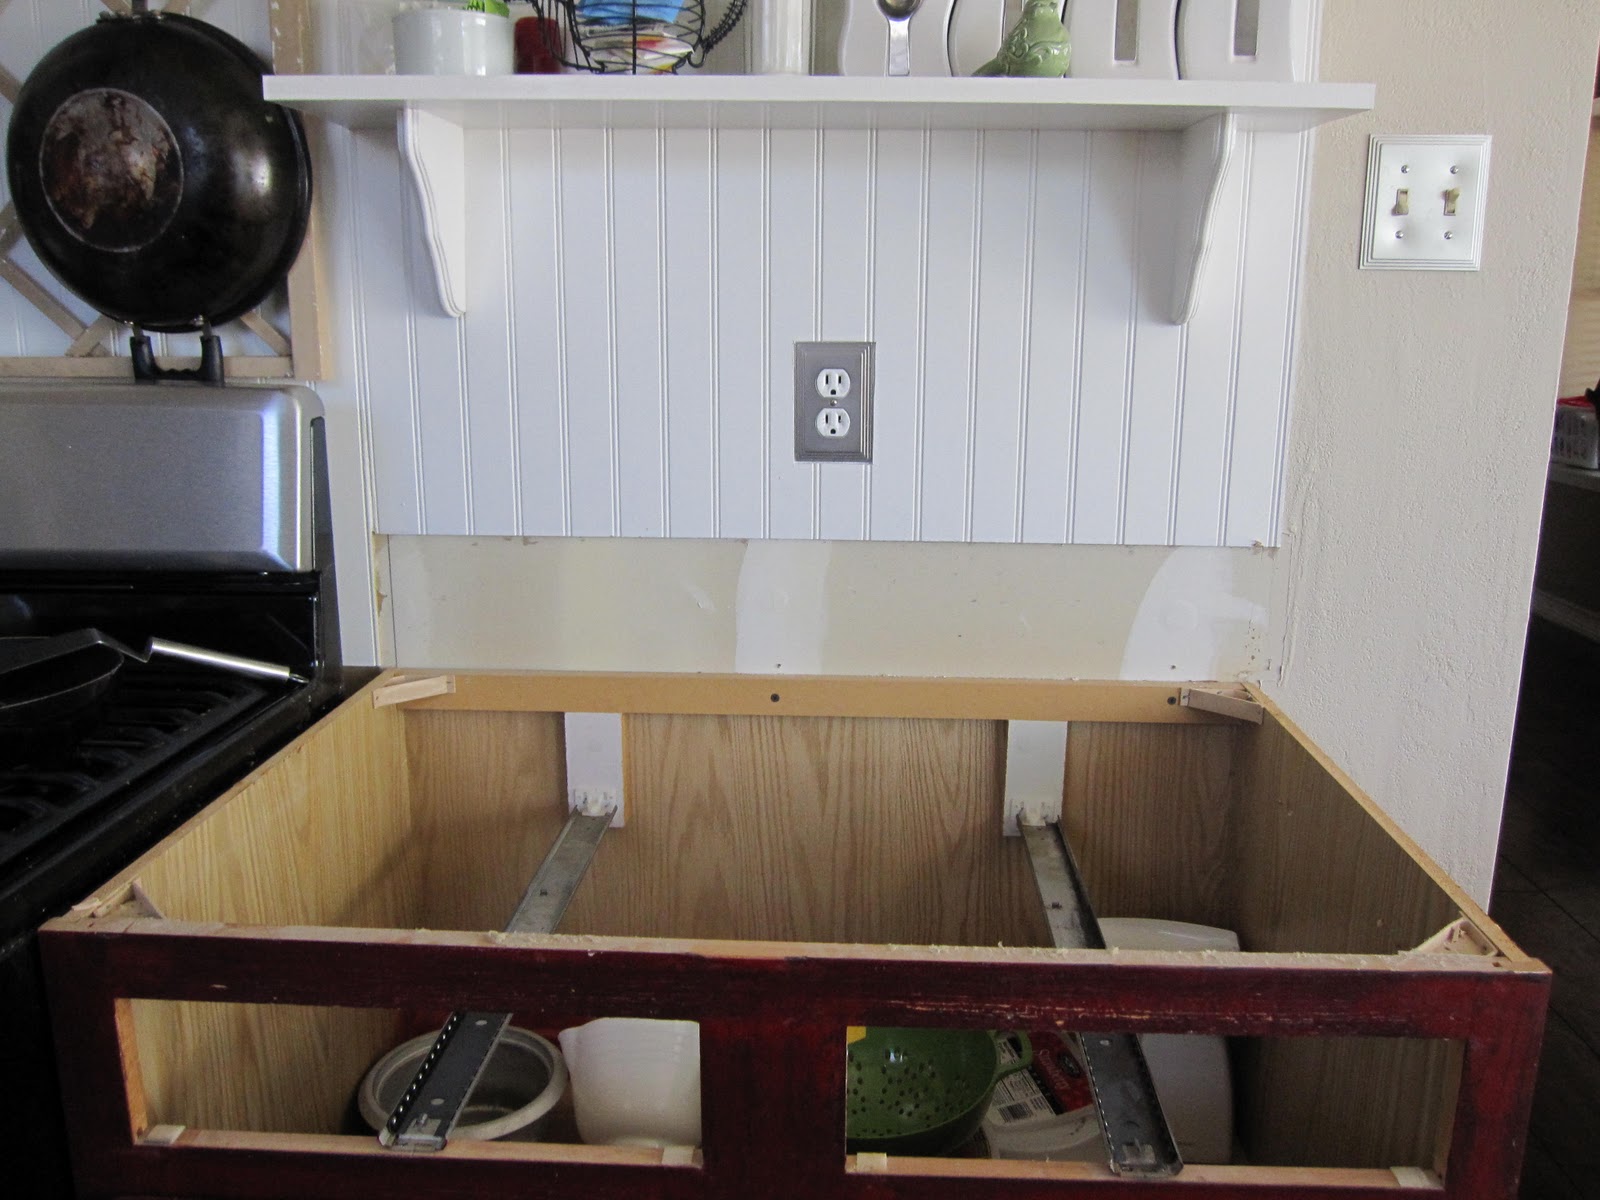
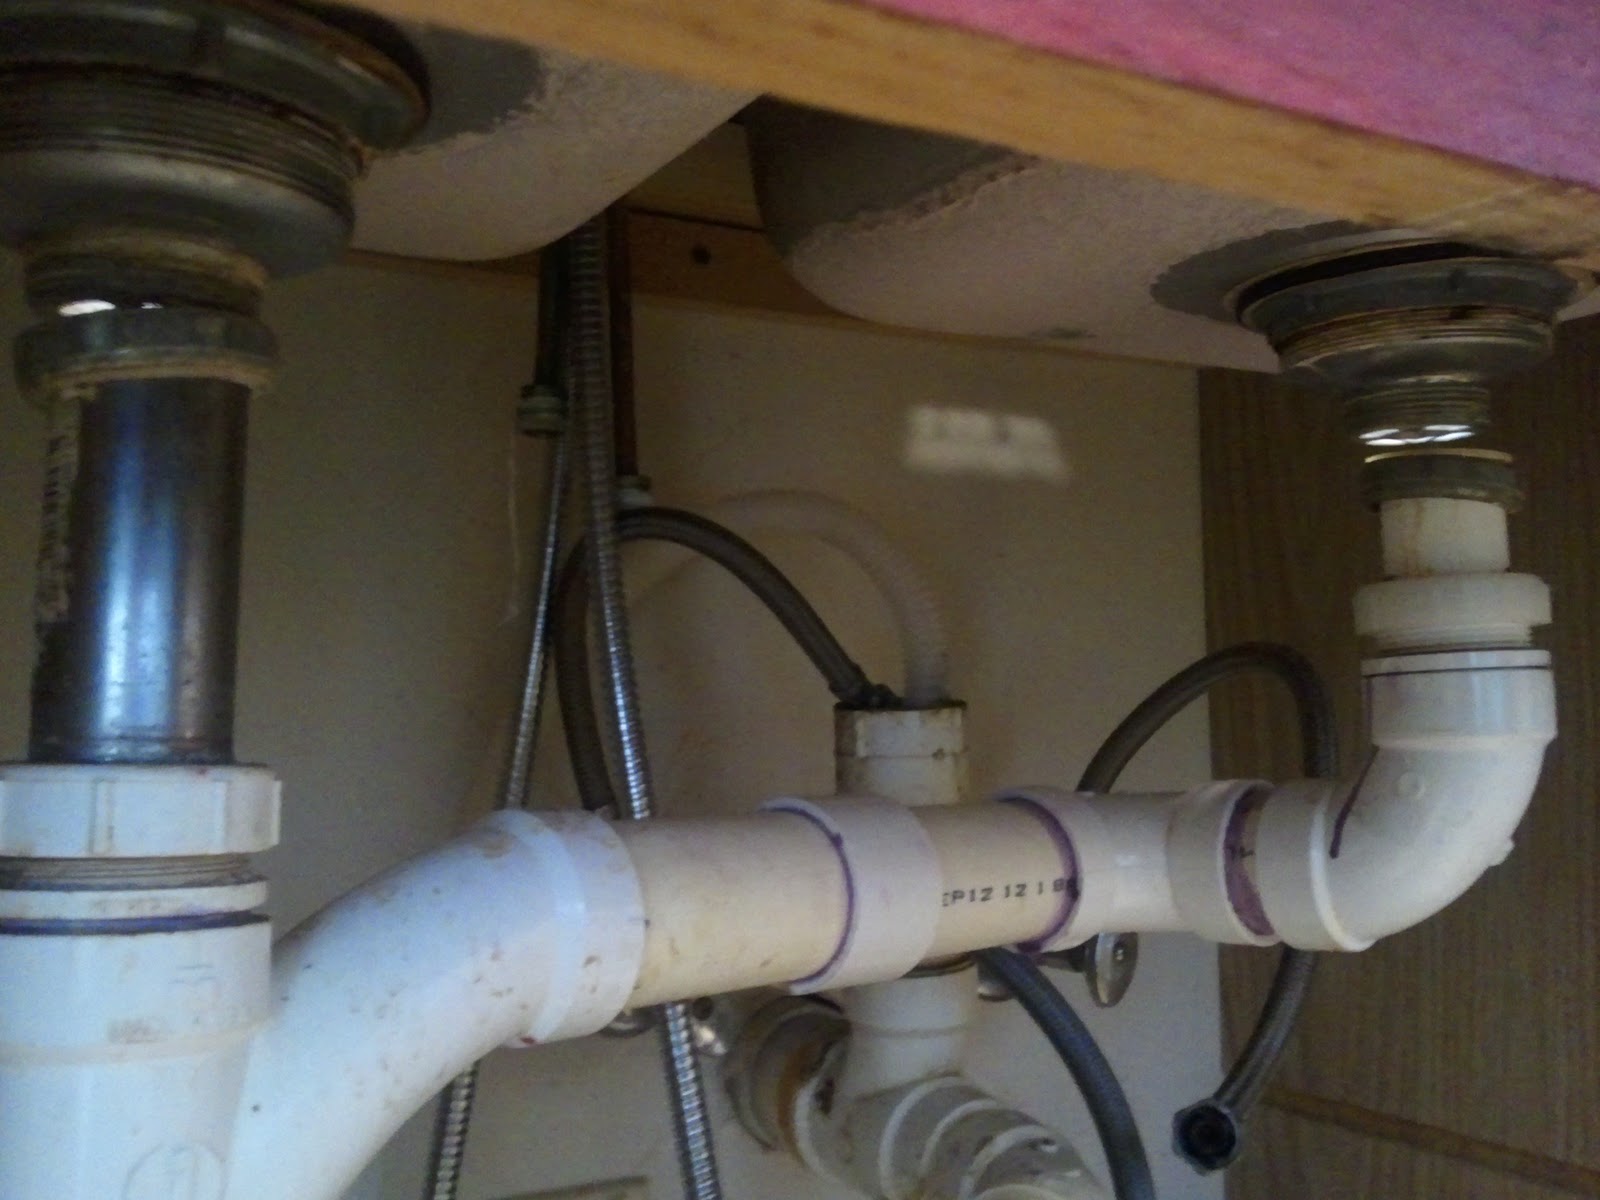
I started by removing the old countertops using a hammer. If you have drawers underneath your counter, make sure to check for any screws in the corners before attempting removal. Additionally, don’t forget to disconnect and remove the kitchen sink.
Note: Apologies for not providing pictures of this step. It turned out to be surprisingly easy for me, even though I was initially hesitant about dealing with plumbing.
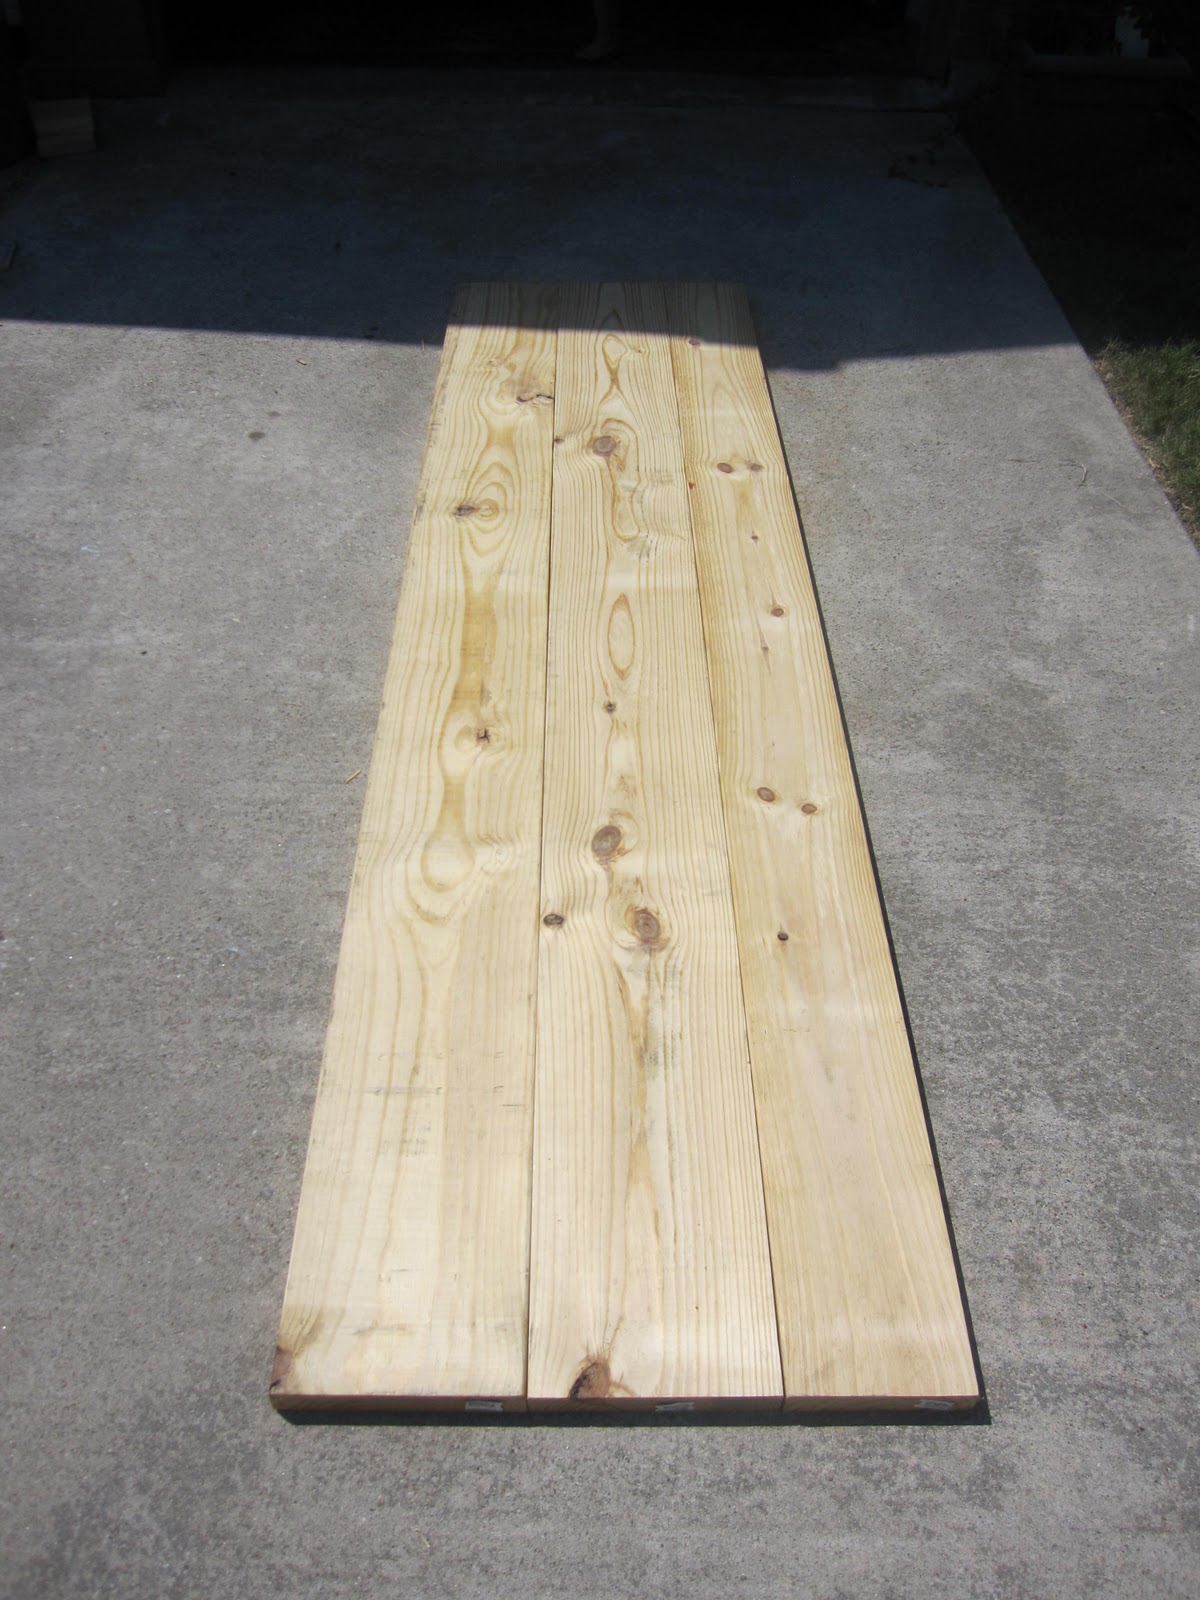
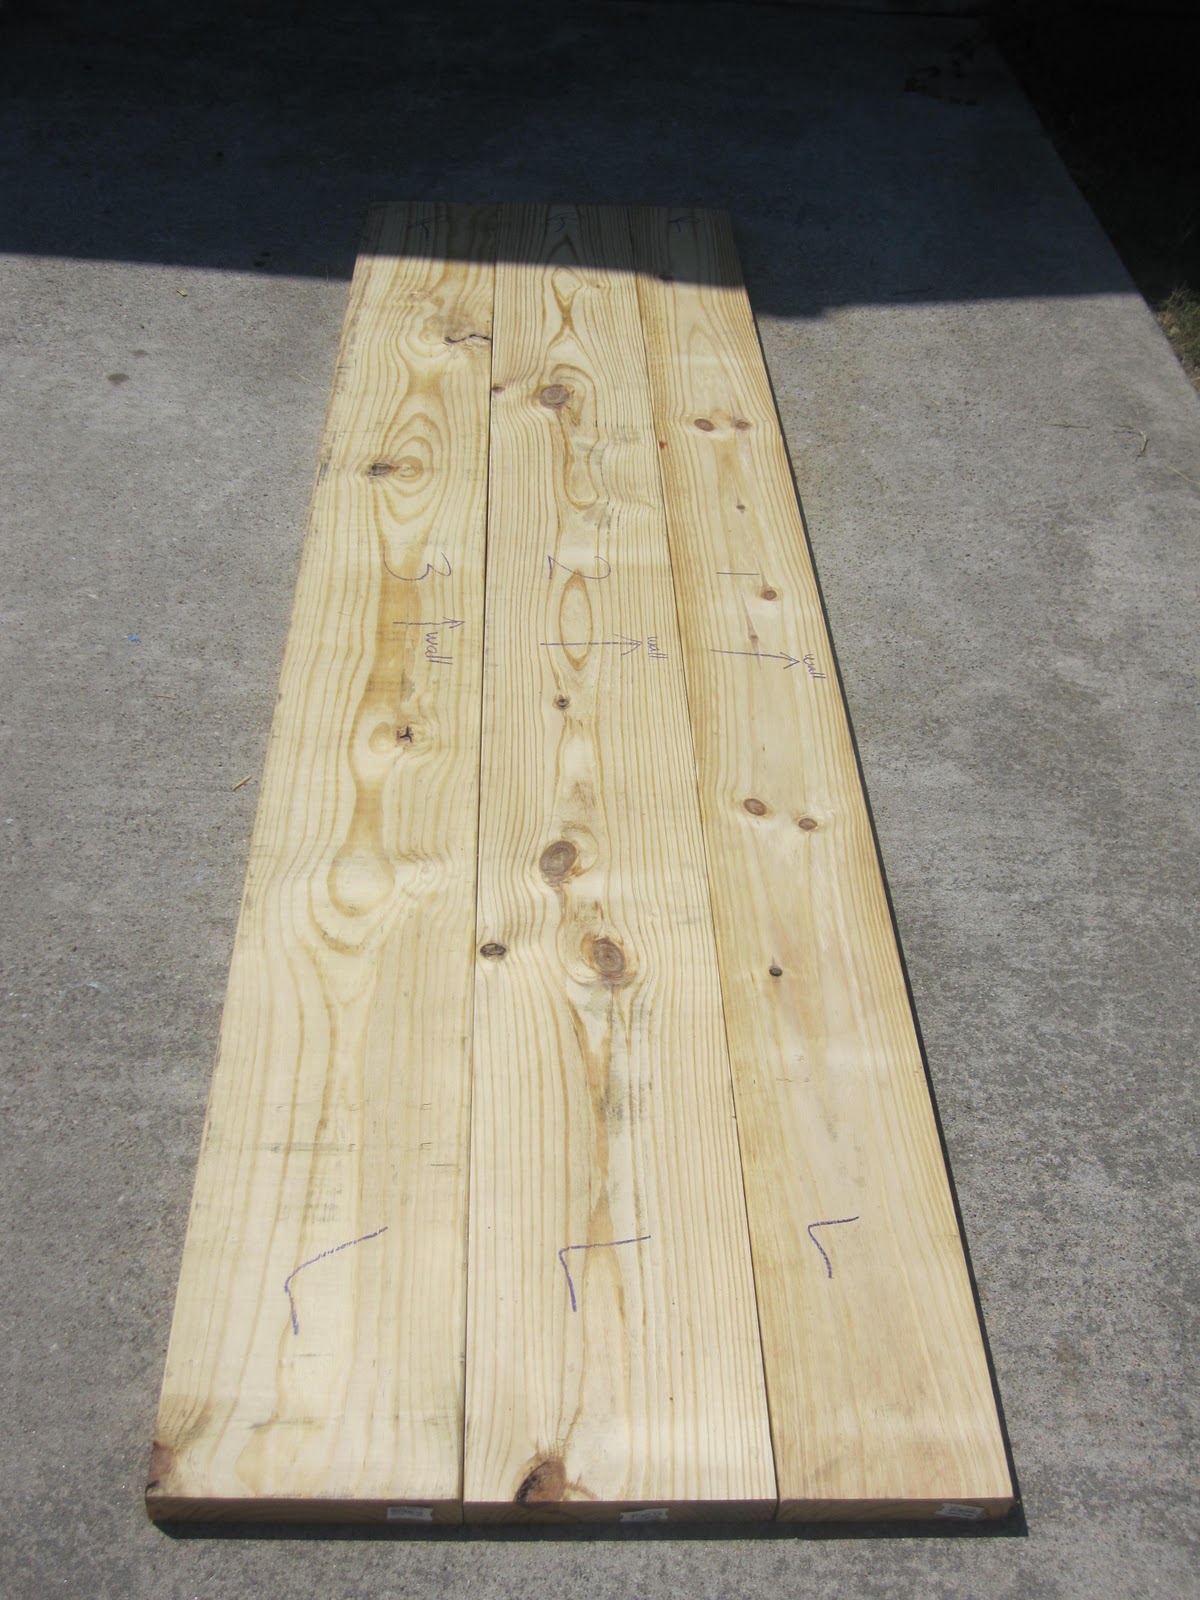
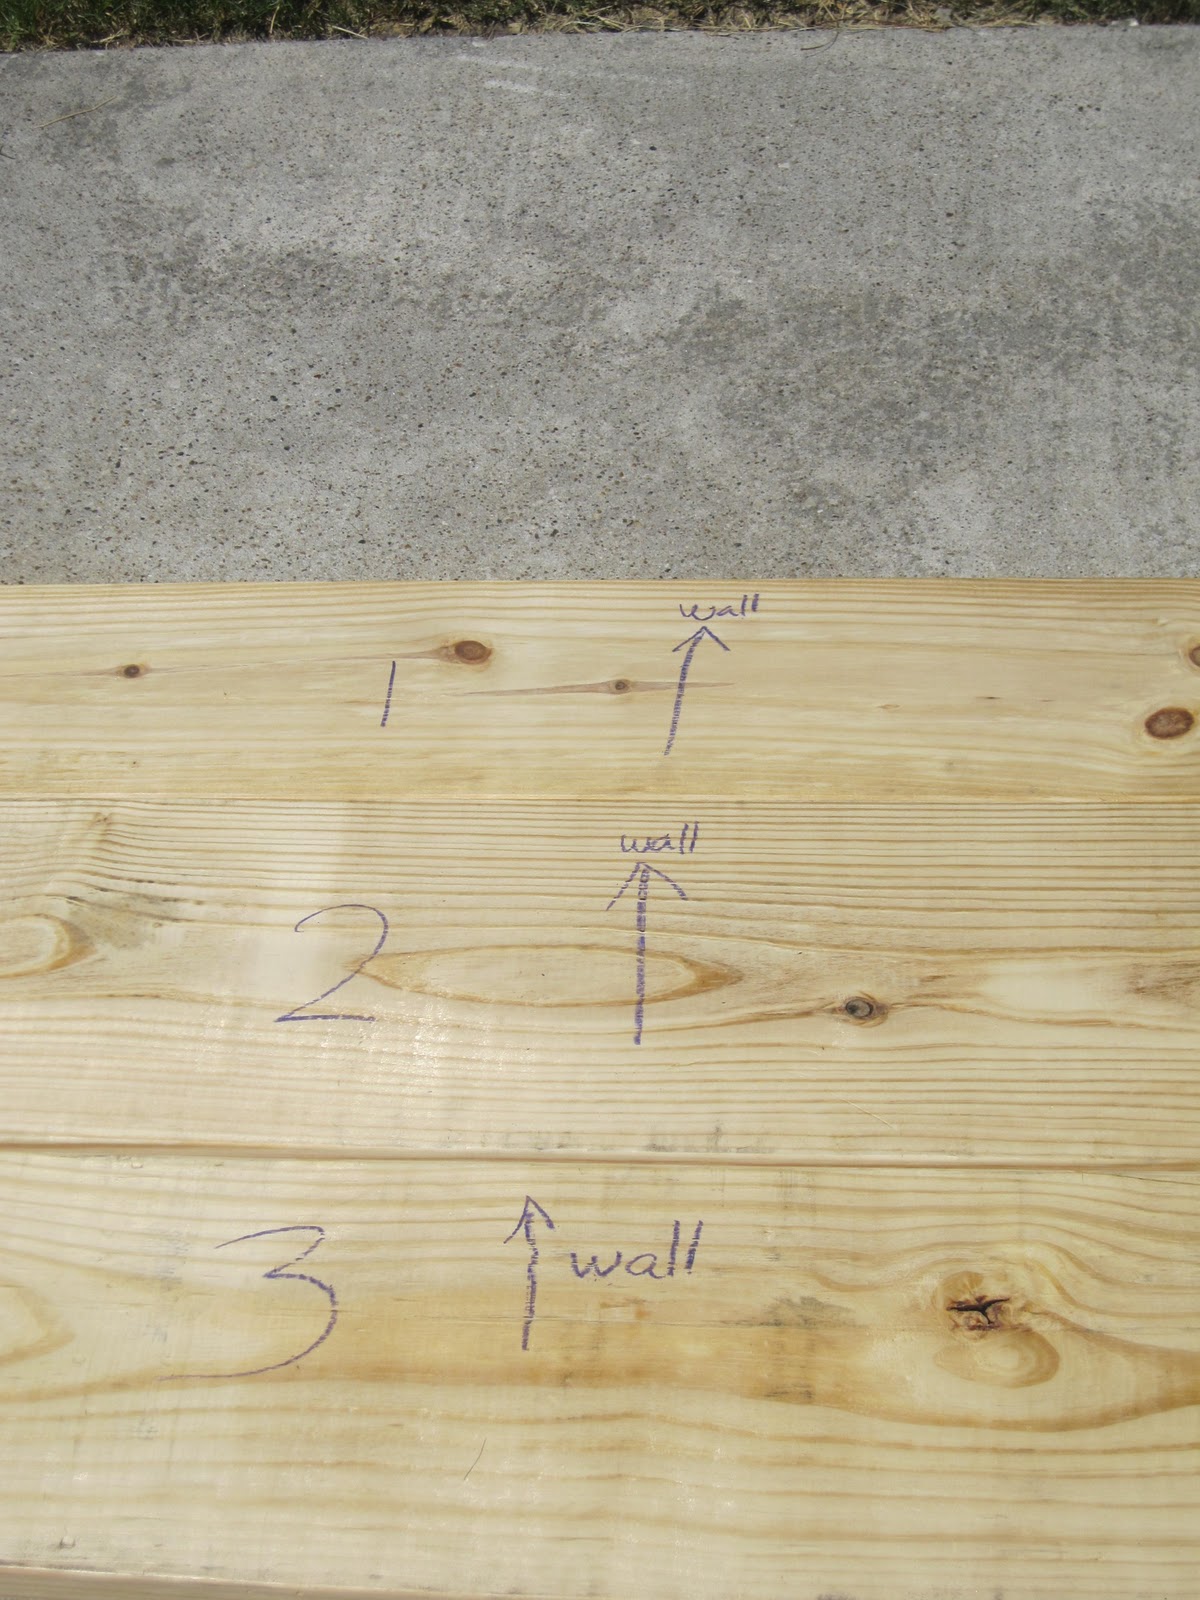
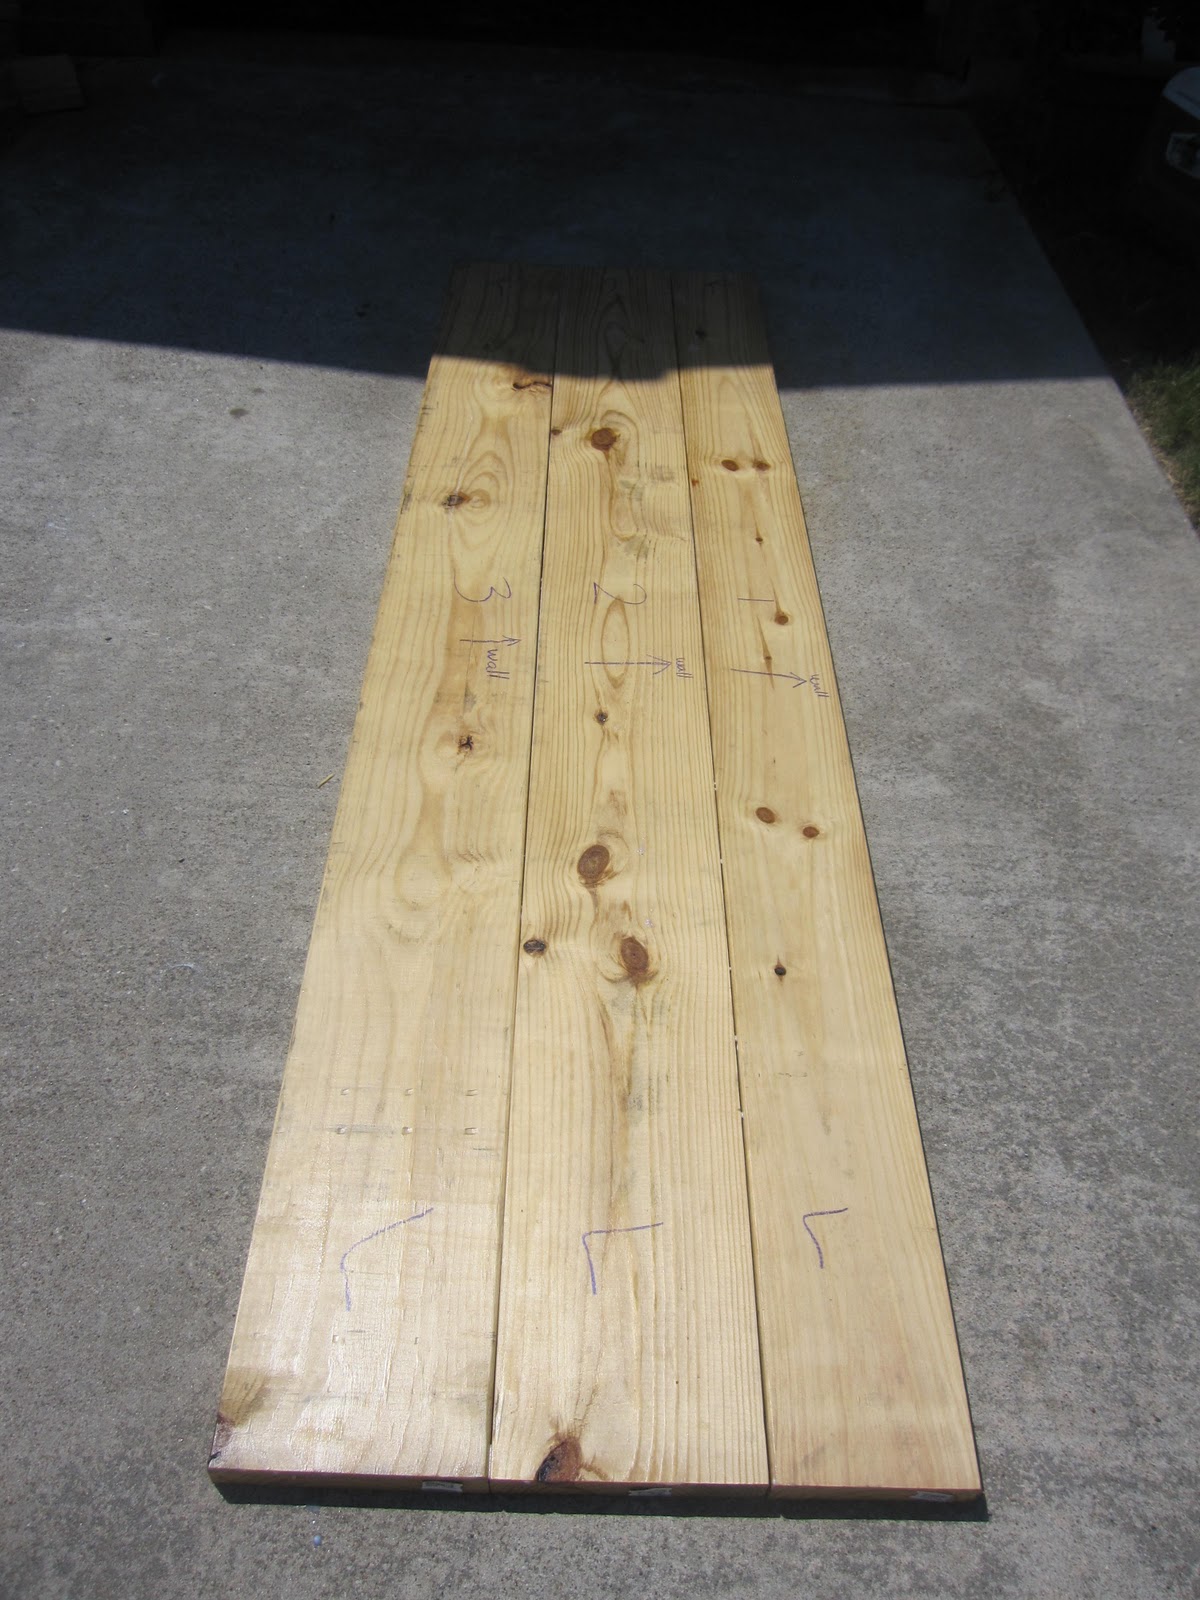
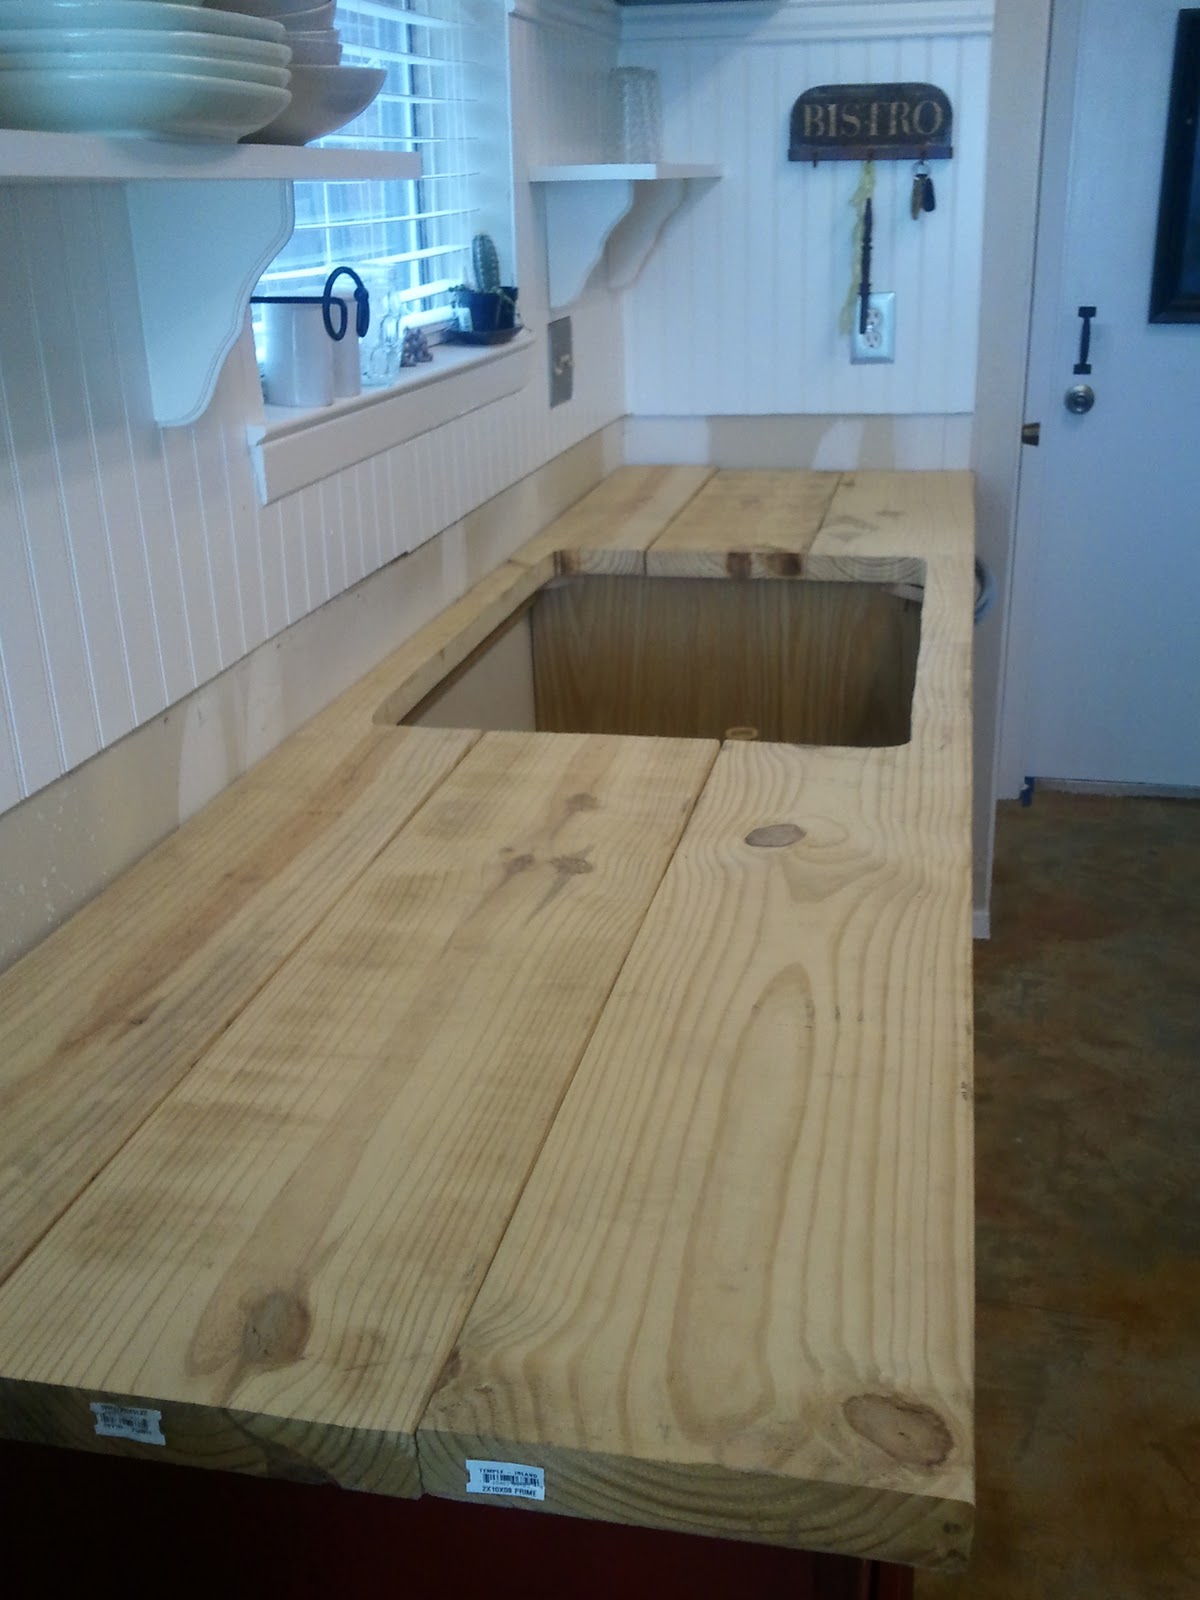
Next, decide on the type of wood you want to use for your countertops. Since I wanted mine to be thick and sturdy, I opted for two pieces of 2″ by 10″ wood planks and one piece of 2″ by 8″ for each counter. To save time and effort, I had the friendly staff at my local Home Depot cut the planks to the desired lengths. Alternatively, you can use heavy-duty plywood instead of solid wood.
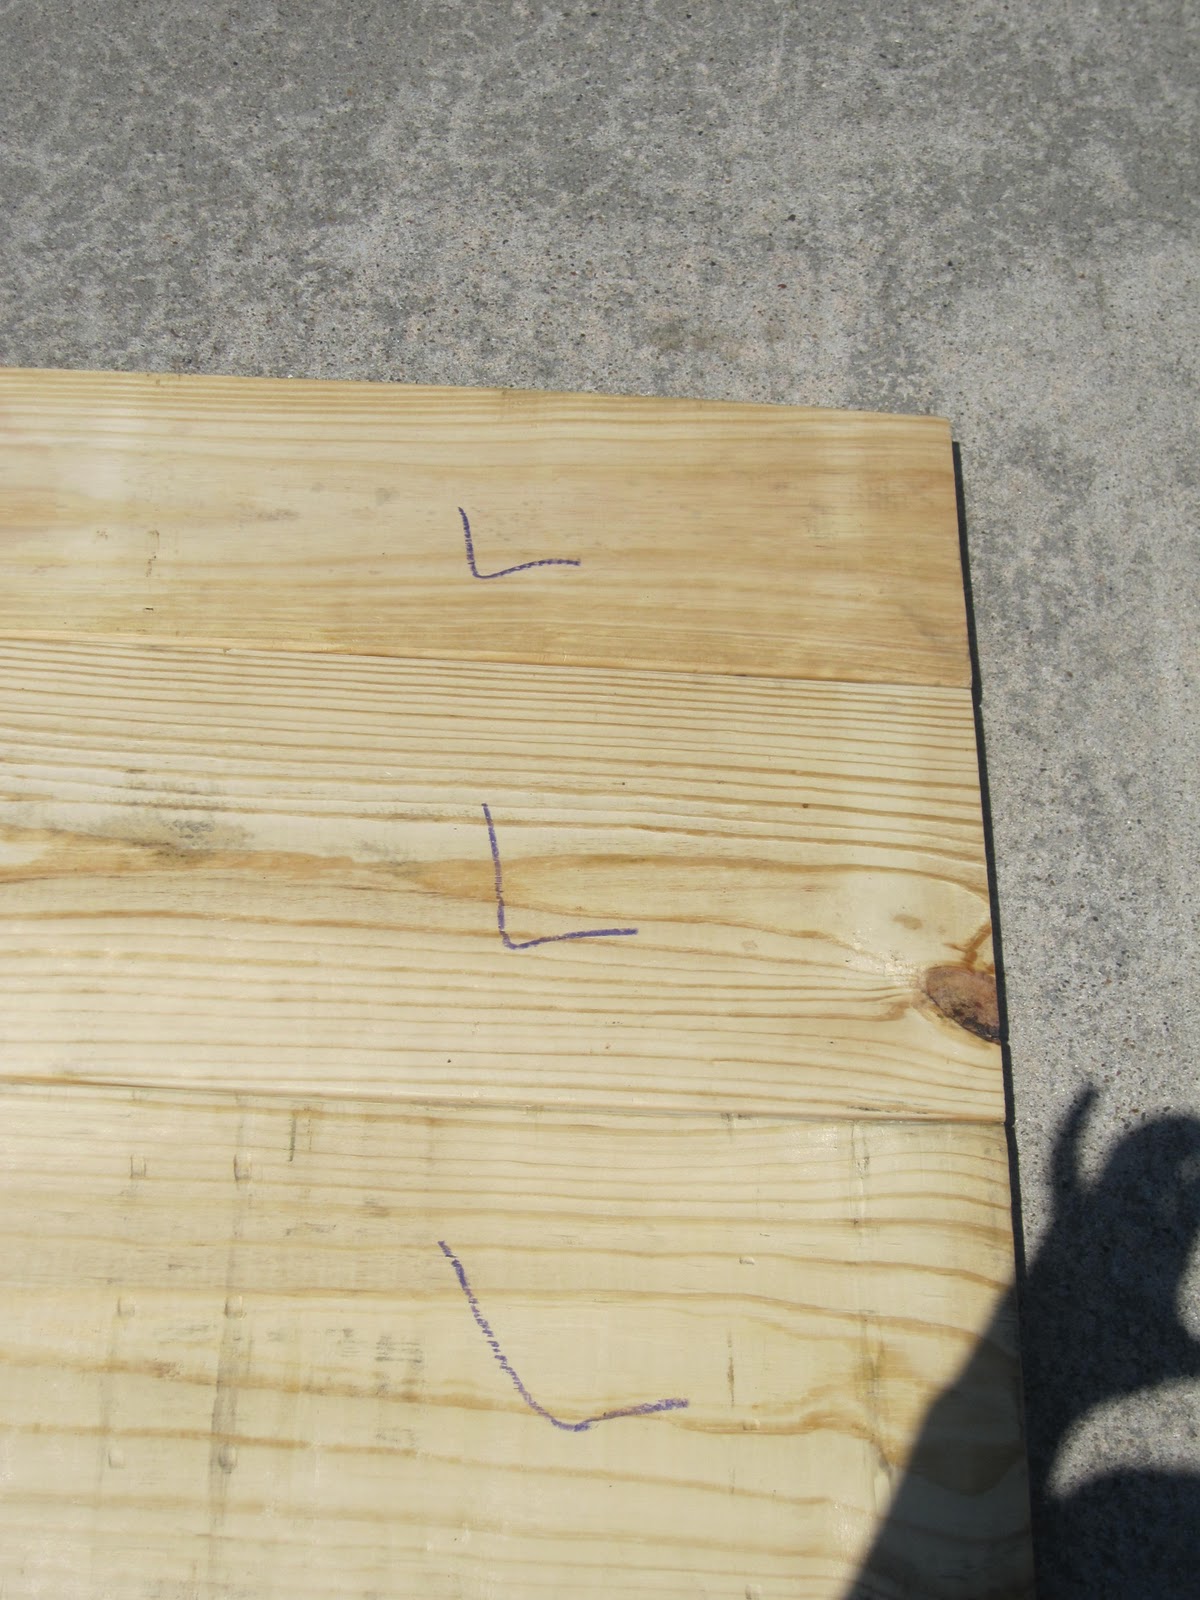
Pro Tip: For the counter where the sink will go, make sure to arrange your wood planks in the desired order but upside down in your workspace. This will help when marking the cuts later.
Before assembling the countertops, there are a few things you should do with the wood planks:
Fun Fact: This step also revealed some nasty black mold under my old sink. Yuckers!
Now it’s time to attach the prepared wood planks to your cabinets:
Pro Tip: I recommend working on one counter section at a time rather than trying to do everything simultaneously.
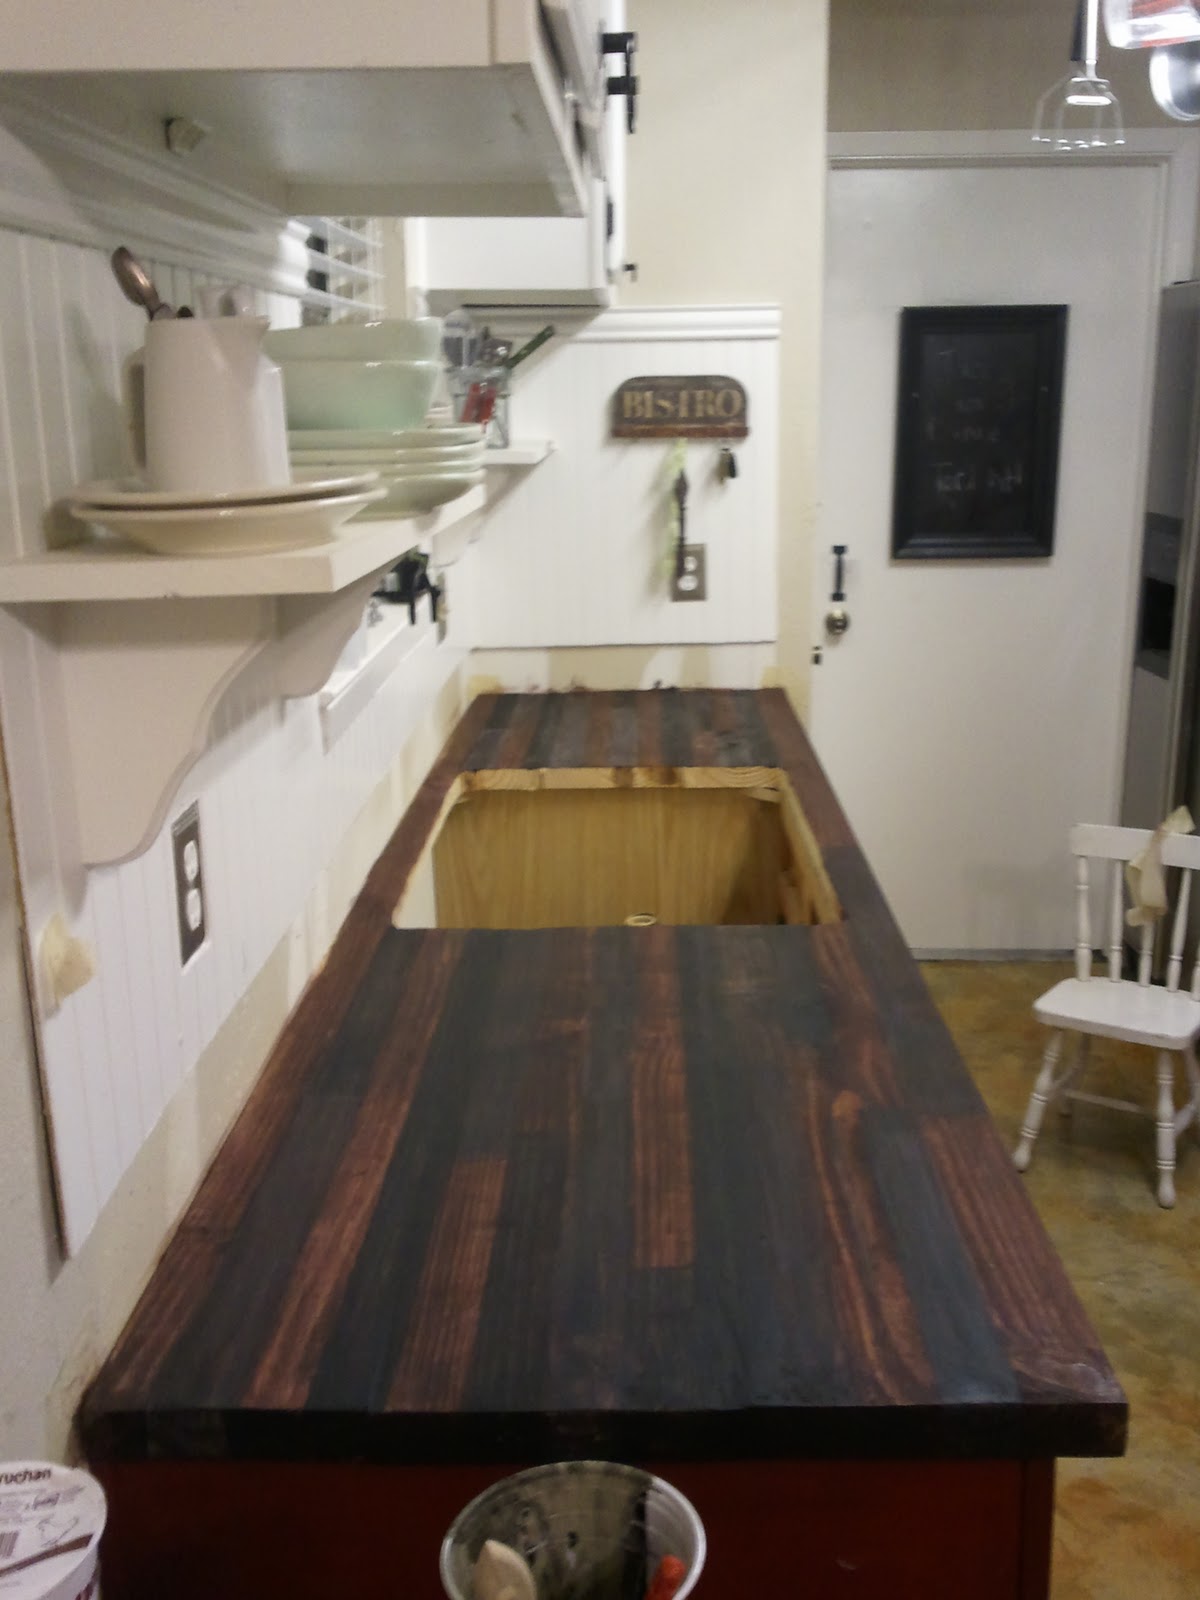
Before I glued the planks down to the cabinets I wanted to make sure that the sinkhole was cut properly so I replaced the sink and made sure that the plumbing matched up right.
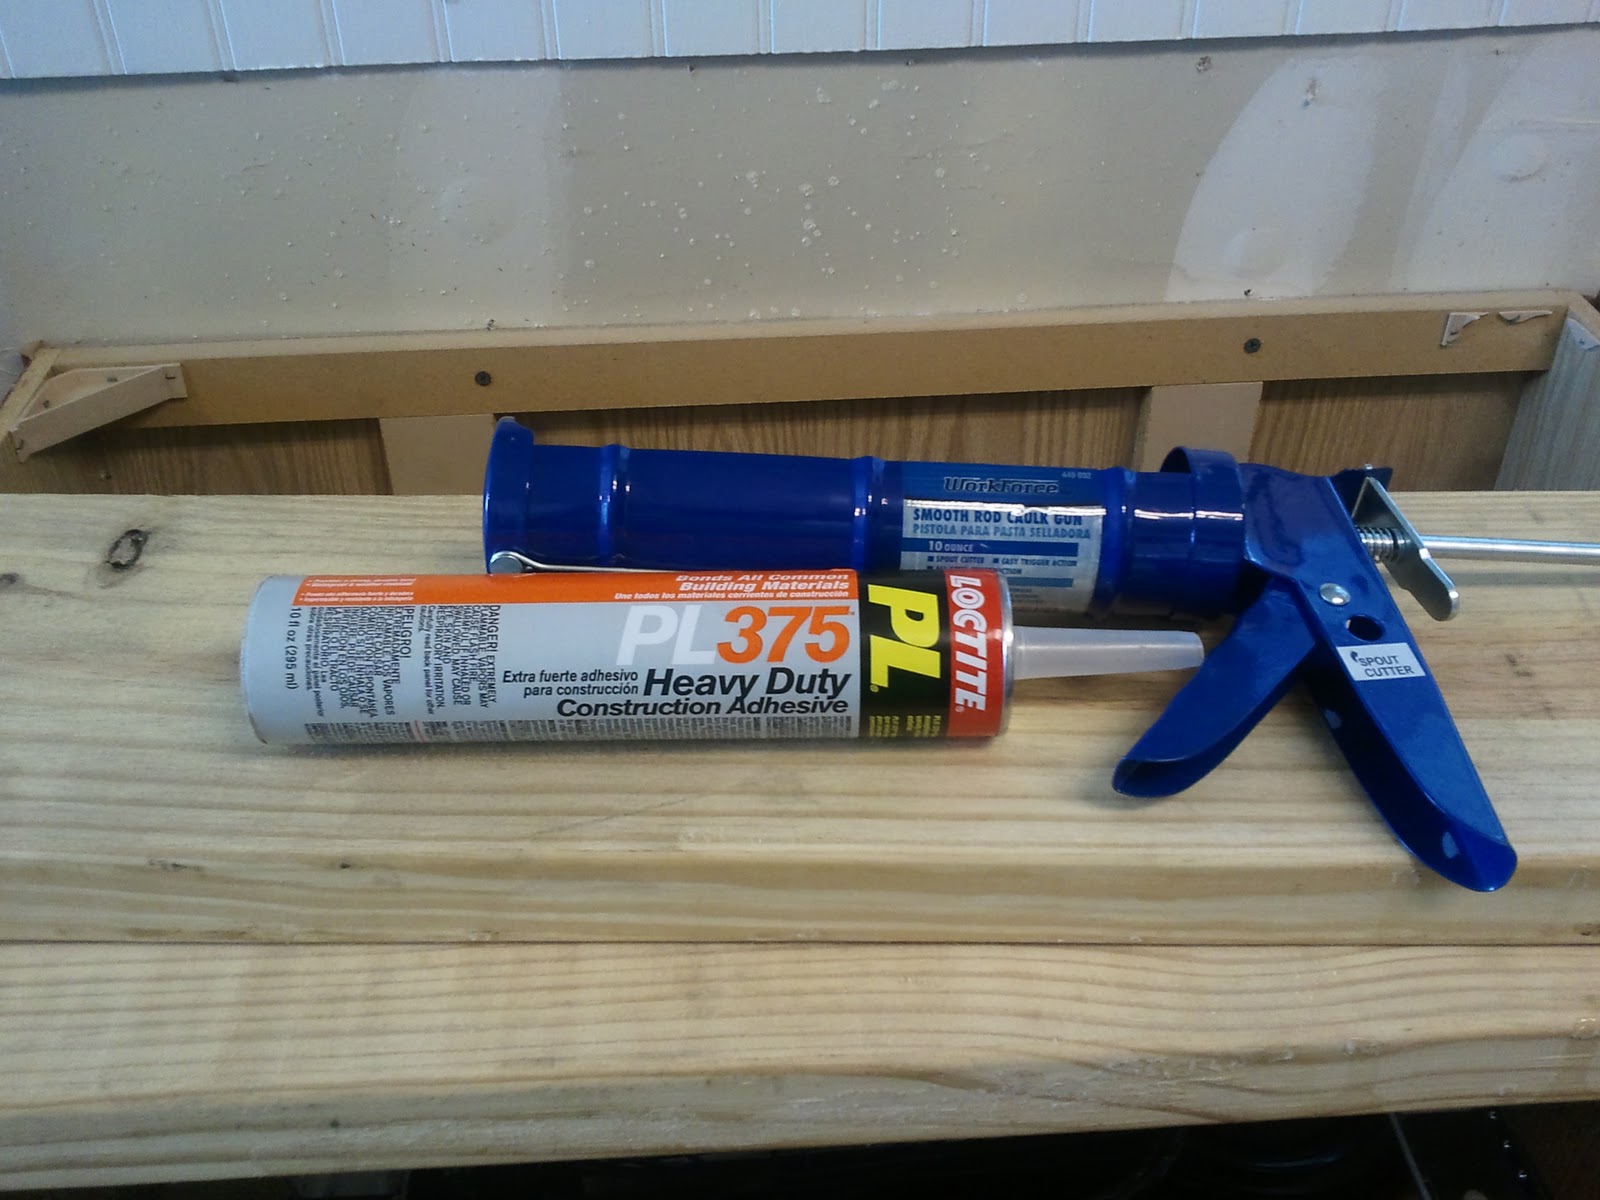
I used construction-grade adhesive to glue the planks down to the cabinets. When we do decide to get brand new counters I can remove the countertops with a heat gun so no biggy.
I worked on only one counter section at a time and started with the back plank and worked my forward and also glued each plank together. I weighed the wood down with some bags of cement that I already had. Just use anything heavy. The glue dries in about 15 minutes.
To achieve a smoother and more seamless look, follow these steps:
Pro Tip: If you have a sander with a vacuum attachment, use it to minimize dust and keep your workspace cleaner.
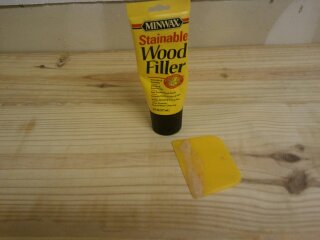
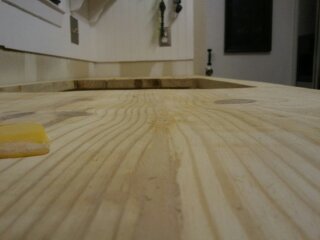
I wanted to hide the wood seams as best as I could so I filled them in with wood filler and let them completely dry.
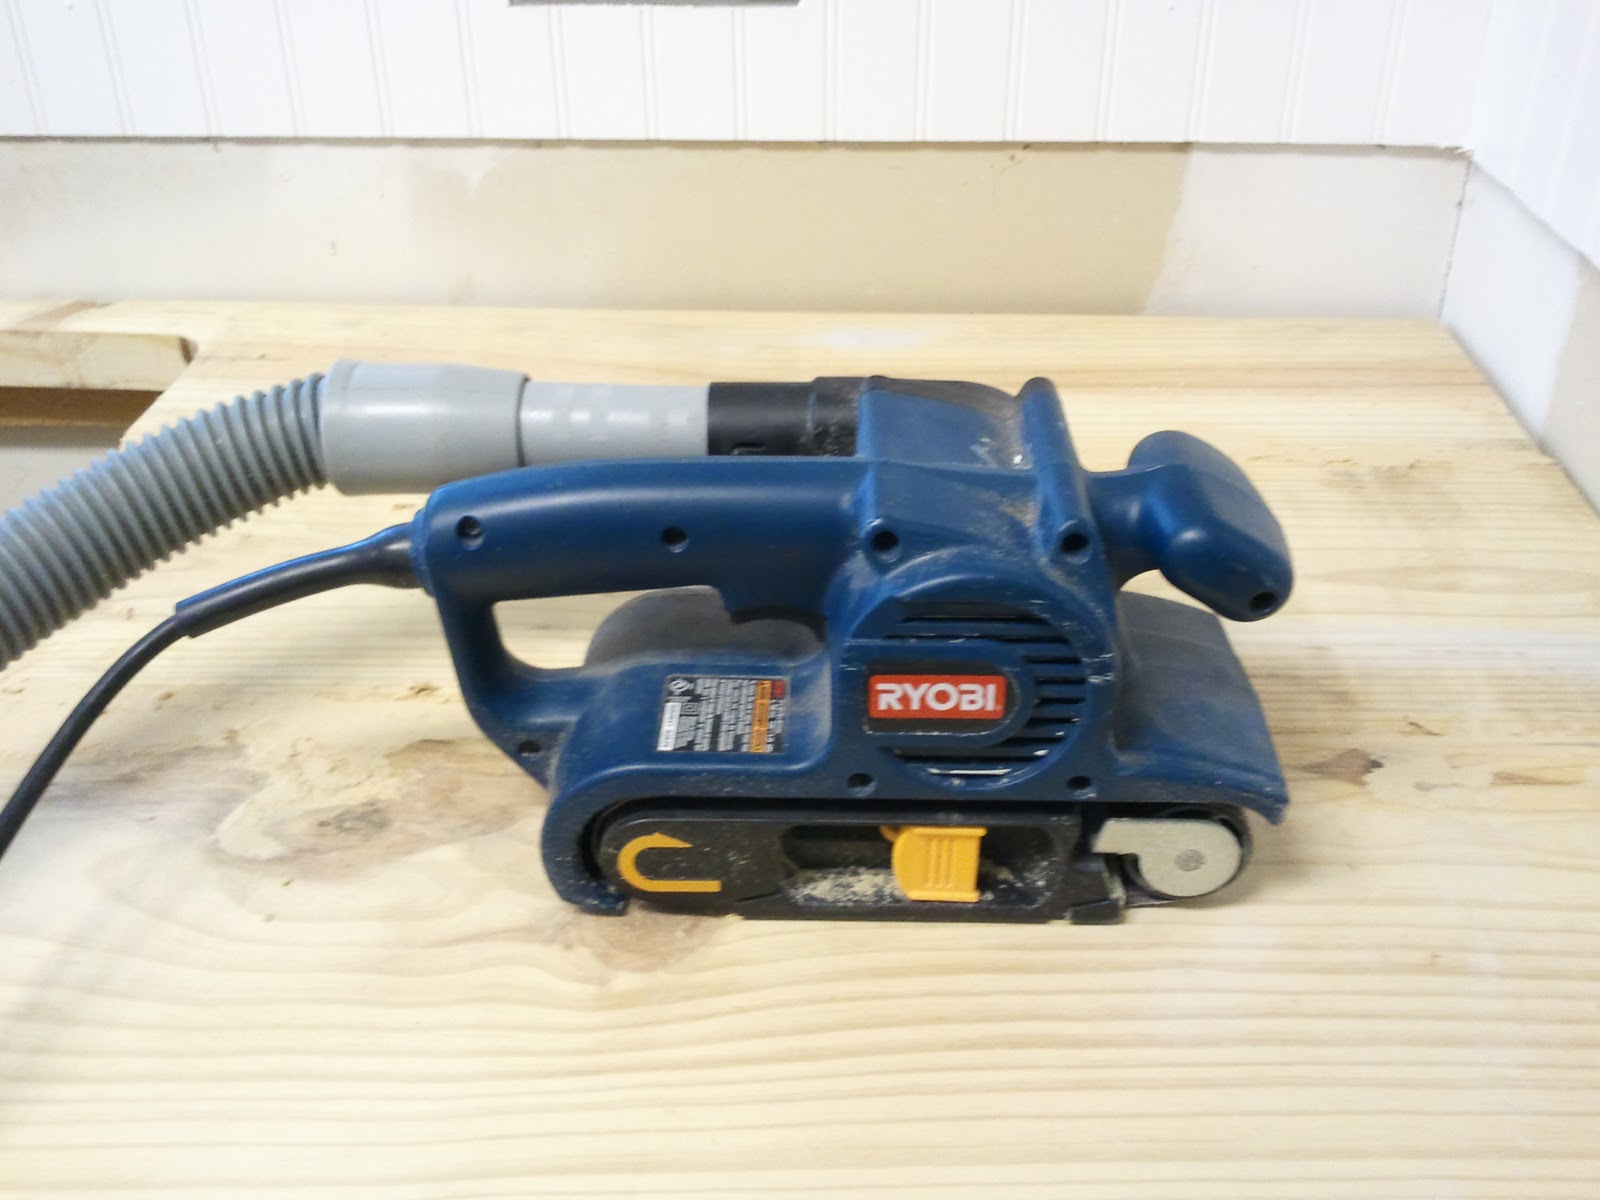
I waited for 2 hours and then started to sand down the wood and smooth out the wood filler. I used my electric belt sander for this project but still had to hand sand in some areas.
I love this sander because I can attach my vacuum to it to cut down on some of the dust and mess. I used tons of sandpaper and several different grits.
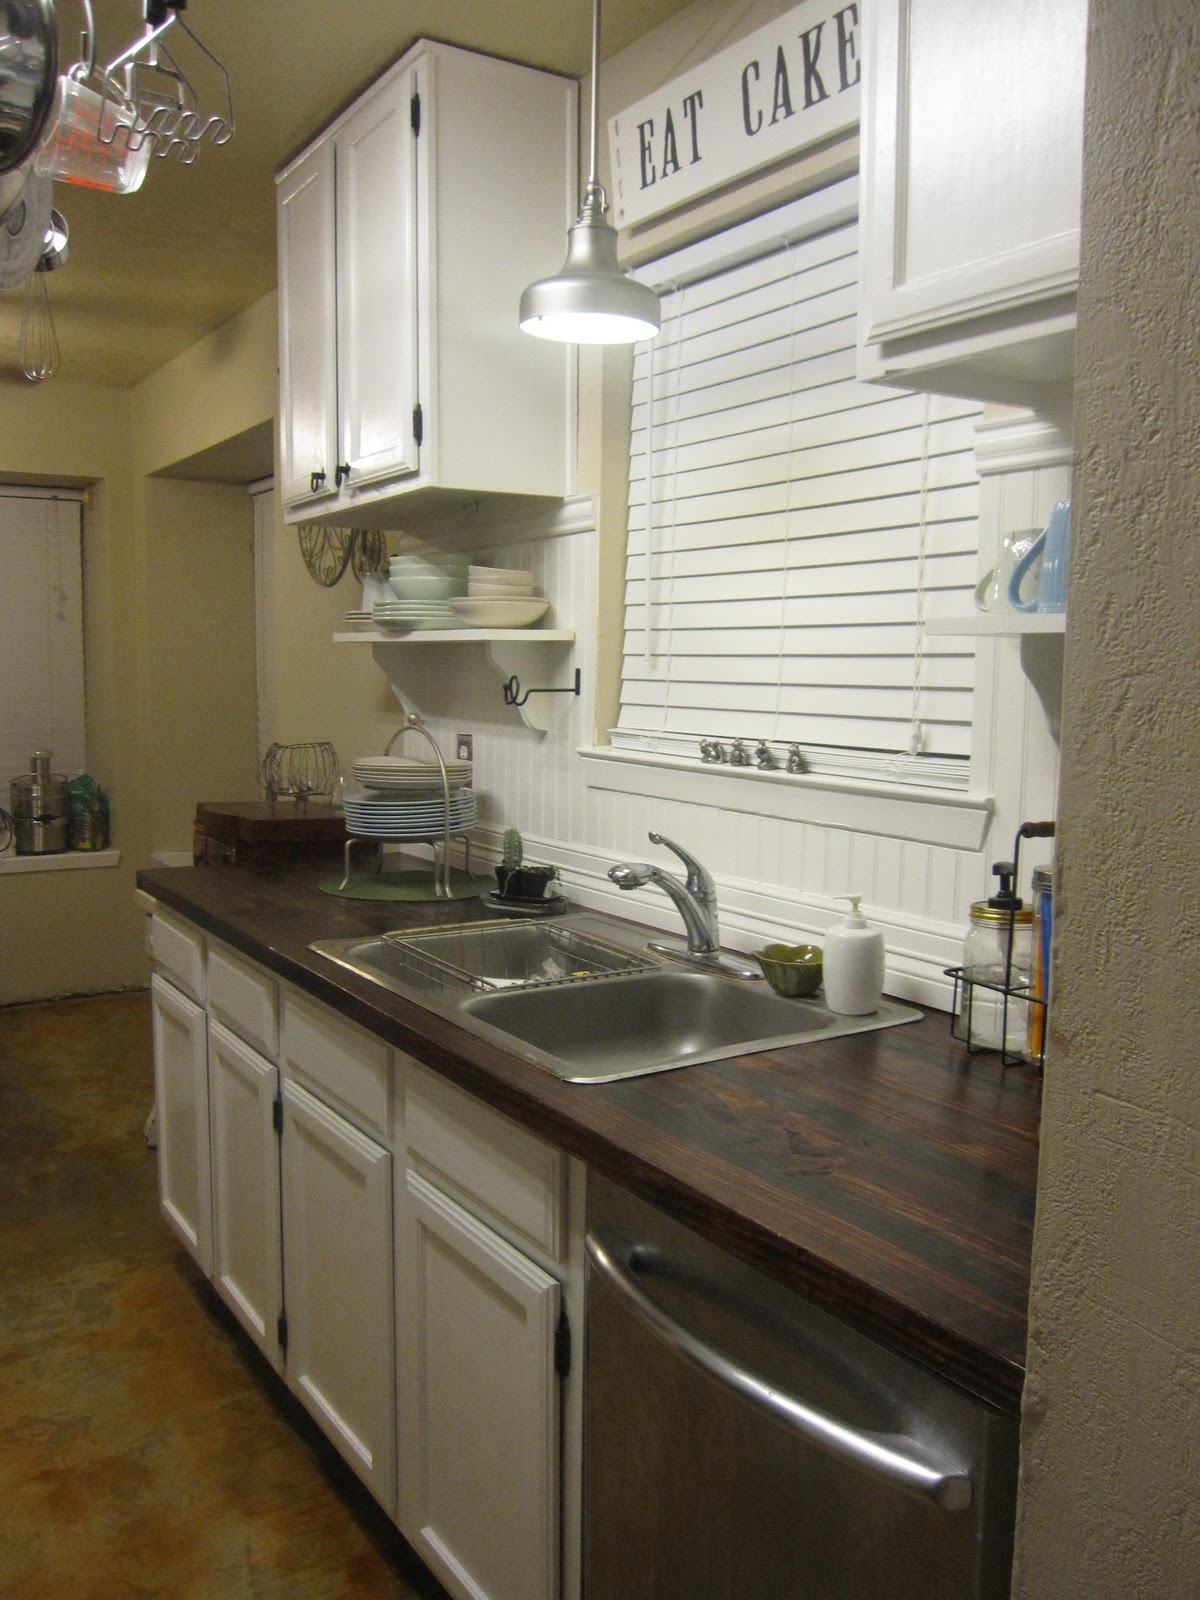
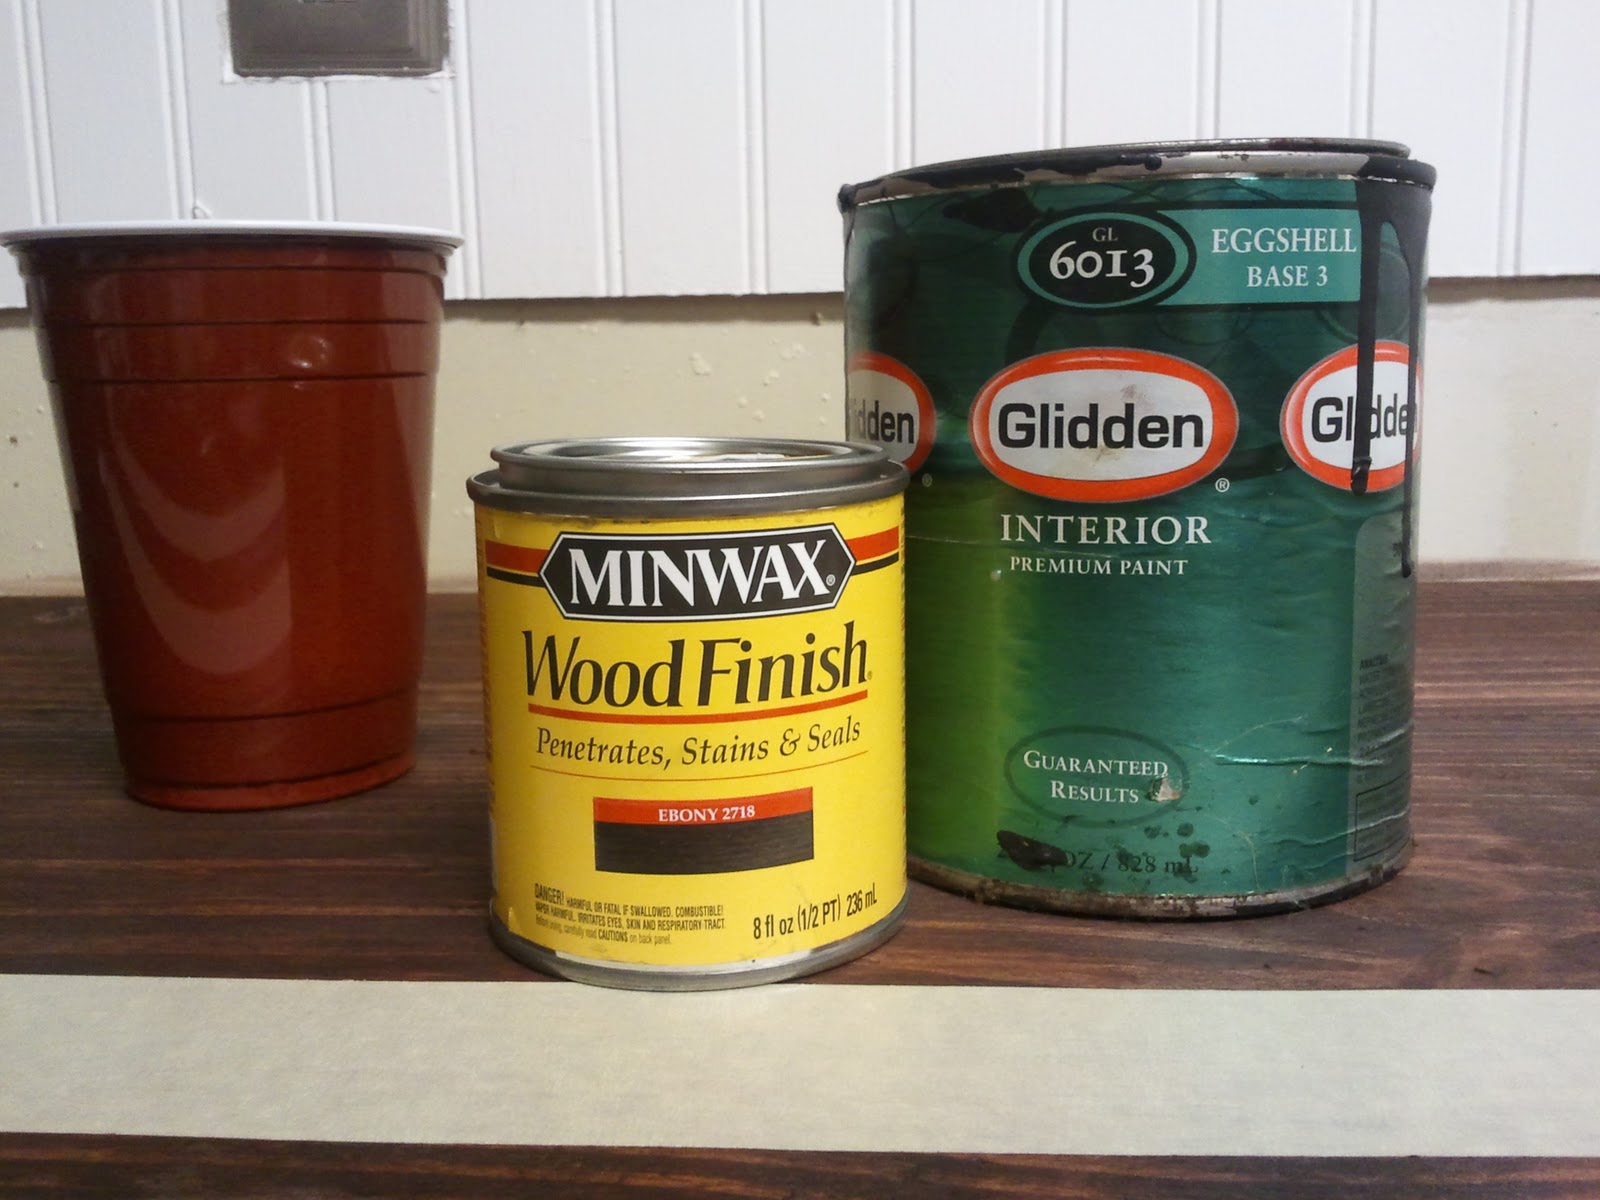
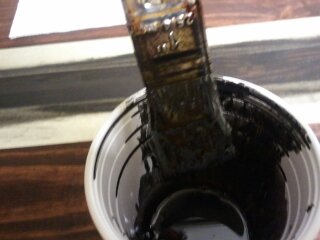
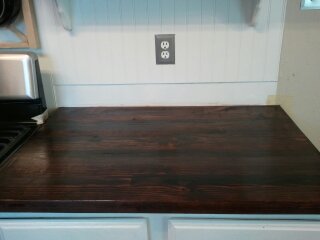
Now comes the fun part – adding color and depth to your faux butcher block countertops!
Fun Fact: During this process, I discovered that letting sealer drip down the sides of the planks can create interesting effects in the corners where the stain doesn’t fully penetrate.
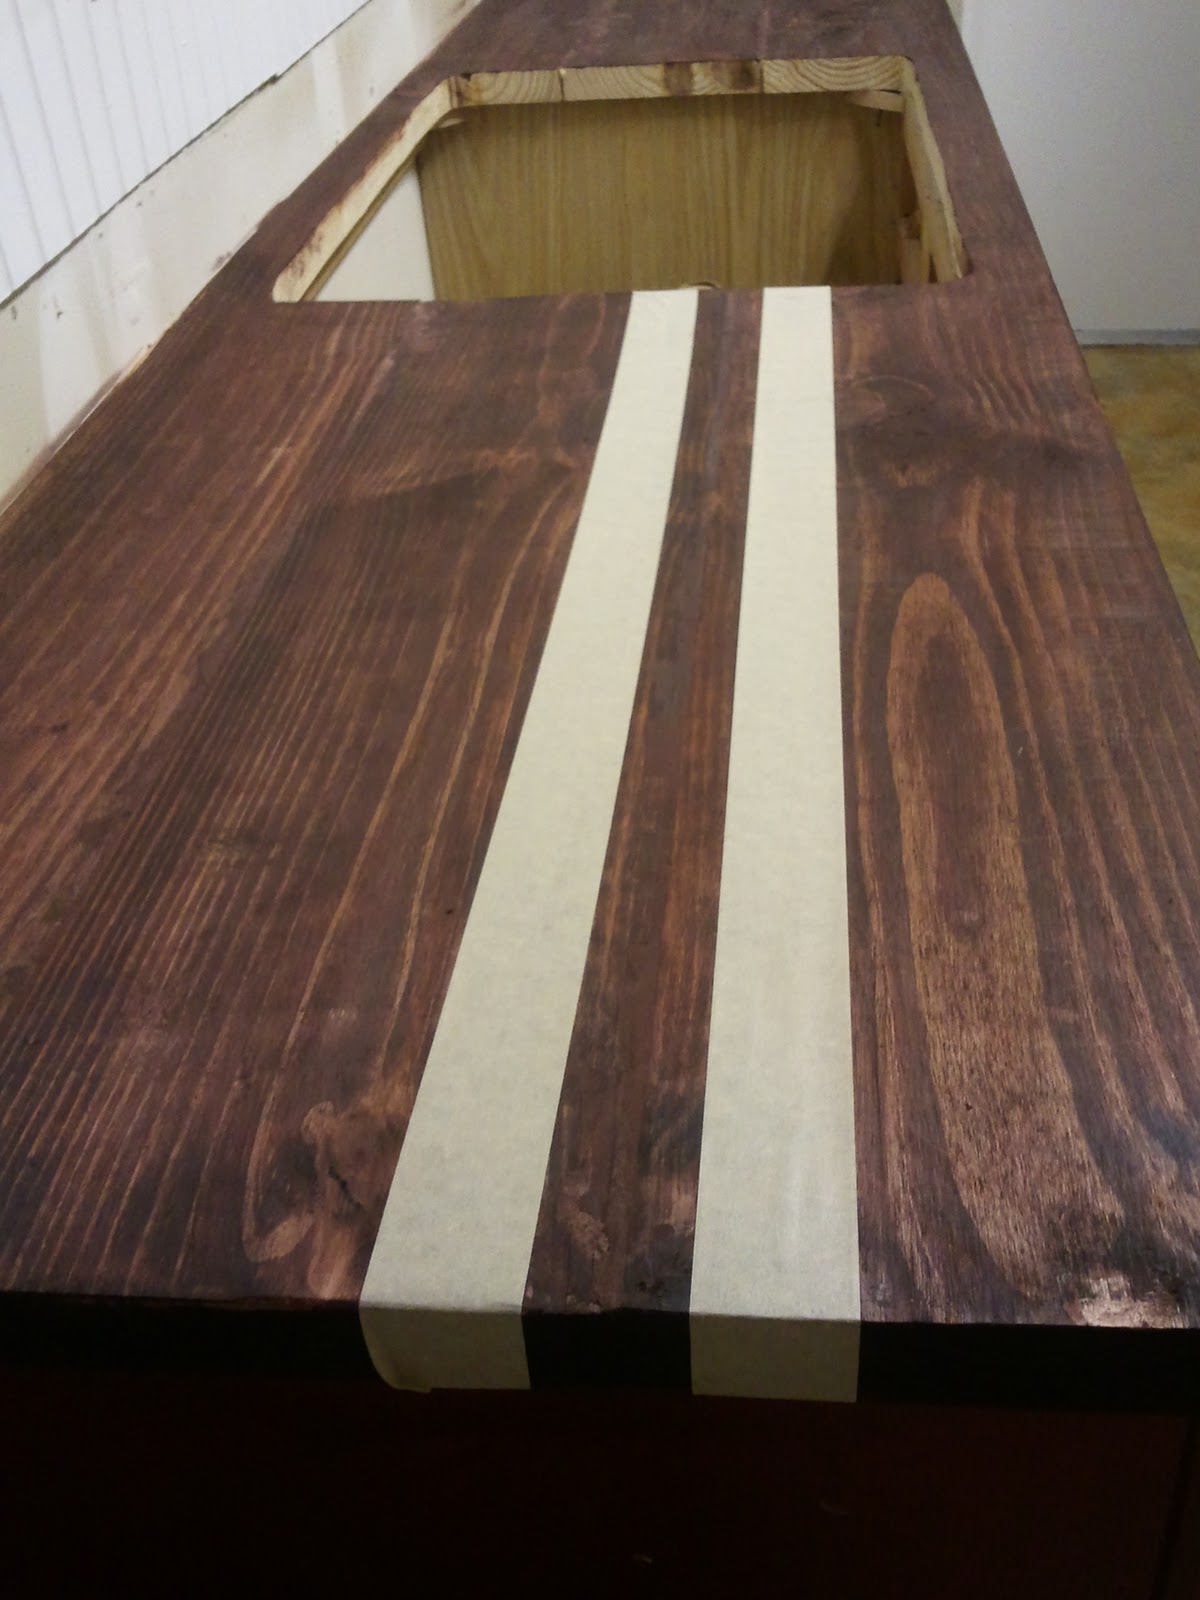
See in the corners where the stain wouldn’t stain the wood. That’s where I let the sealer drip.
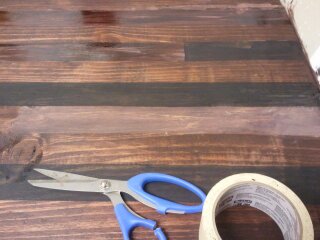
I used the tape to measure the strips that I was taping up.
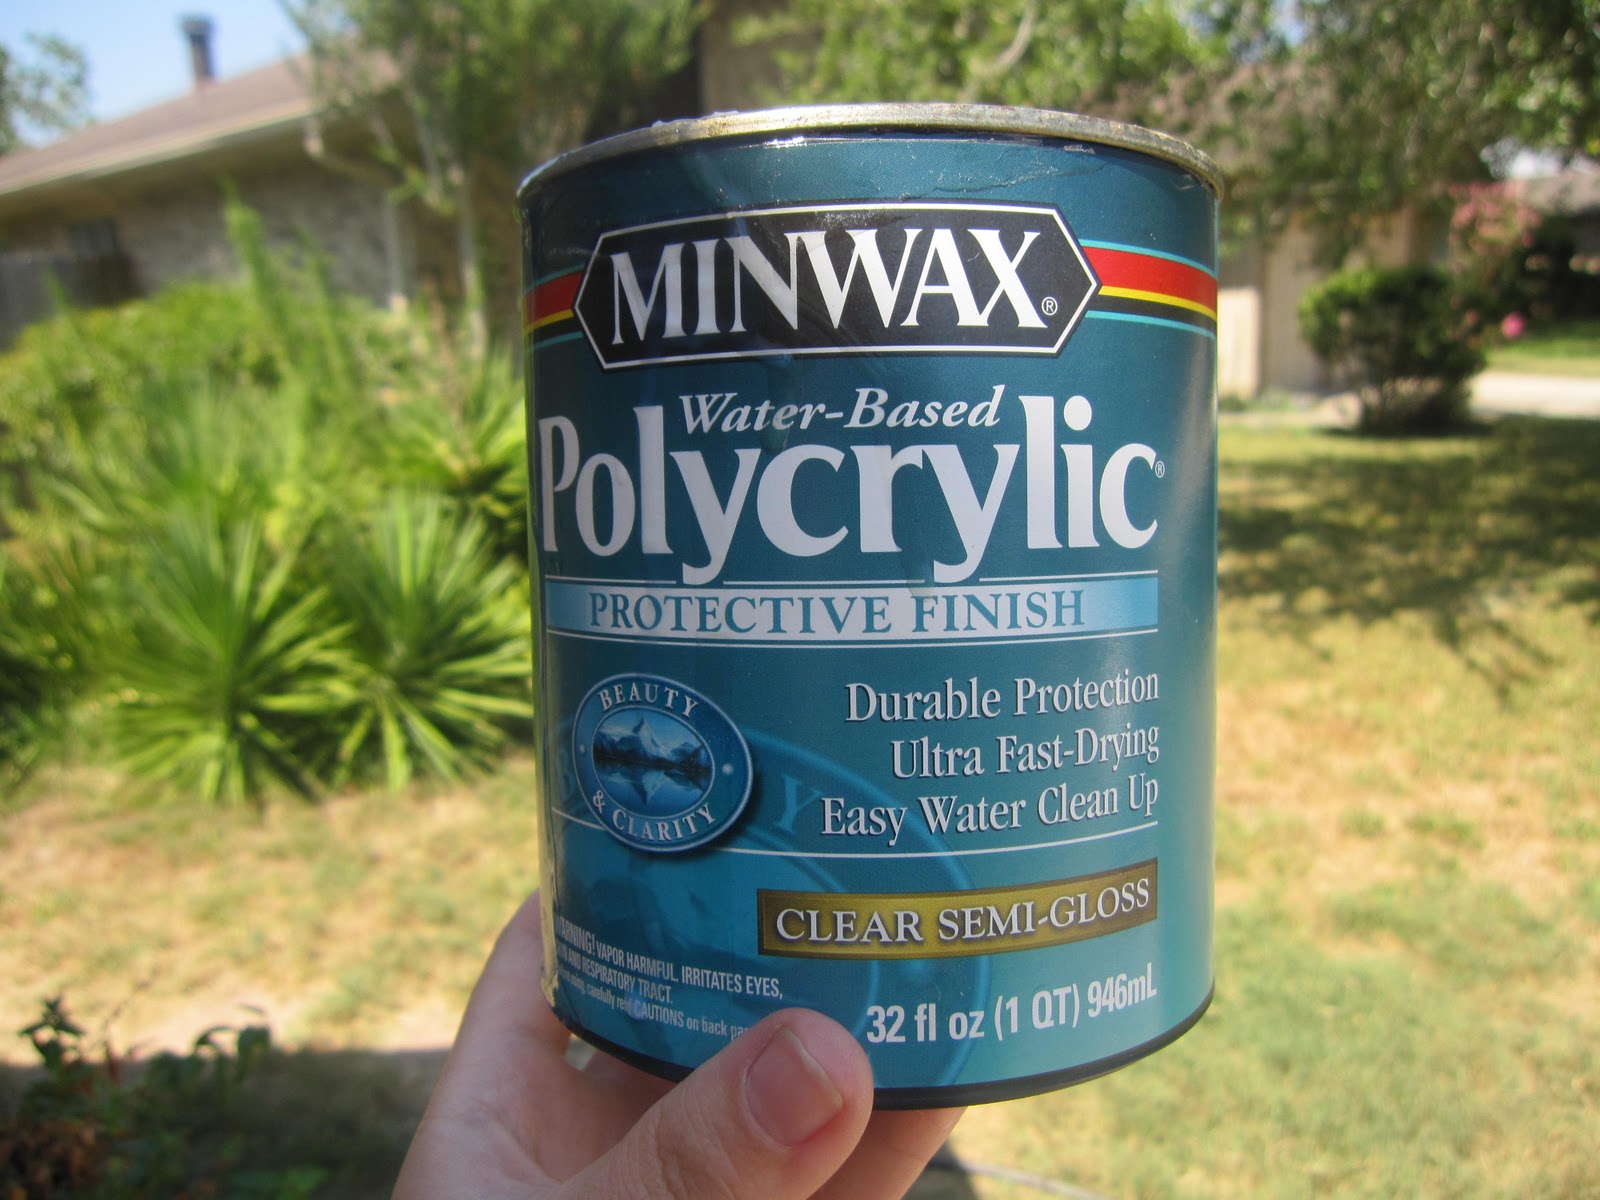
To protect your newly stained countertops and give them a beautiful sheen, follow these steps:
Pro Tip: Be patient during this step, as applying too thick a coat or rushing the drying process can result in uneven surfaces or sticky finishes.
If you want to give your countertops a more finished look, you can consider adding trim along the edges. This step is entirely optional but can enhance the overall appearance of your faux butcher block countertops.
Note: The cost of the trim will vary depending on the type and style you choose.
I spent $56 on wood, poly, and glue.
The trim cost $18.
And there you have it – your very own DIY faux butcher block countertops! I hope this tutorial has been helpful for those who reached out to me seeking more information on how to create this look.
Faux butcher block countertops are a budget-friendly alternative to traditional butcher block countertops. They are designed to resemble the look of real wood butcher block but are typically made from other materials such as laminate or wood veneer.
You can start by removing the old countertops using a hammer. If any screws or nails are holding the countertops in place, make sure to remove those as well. Be careful when removing the old countertops to avoid damaging the cabinets underneath.
The type of wood you choose will depend on your personal preference and budget. Some popular options for faux butcher block countertops include oak, maple, and cherry wood. Make sure to select a wood that is durable and suitable for use in a kitchen environment.
Before assembling the countertops, you’ll need to prepare the wood planks by sanding them down and ensuring they are smooth and free of any imperfections. You may also want to apply a coat of sealant to protect the wood from moisture and stains.
Staining the countertops is a fun way to add color and depth to your faux butcher block. Choose a stain that complements your kitchen decor and apply it evenly to the surface of the wood. Allow the stain to dry completely before moving on to the next step.
Adding trim is optional, but it can give your countertops a more finished look. You can choose from a variety of trim options, such as bullnose or beveled edge trim, to enhance the appearance of your faux butcher block countertops.