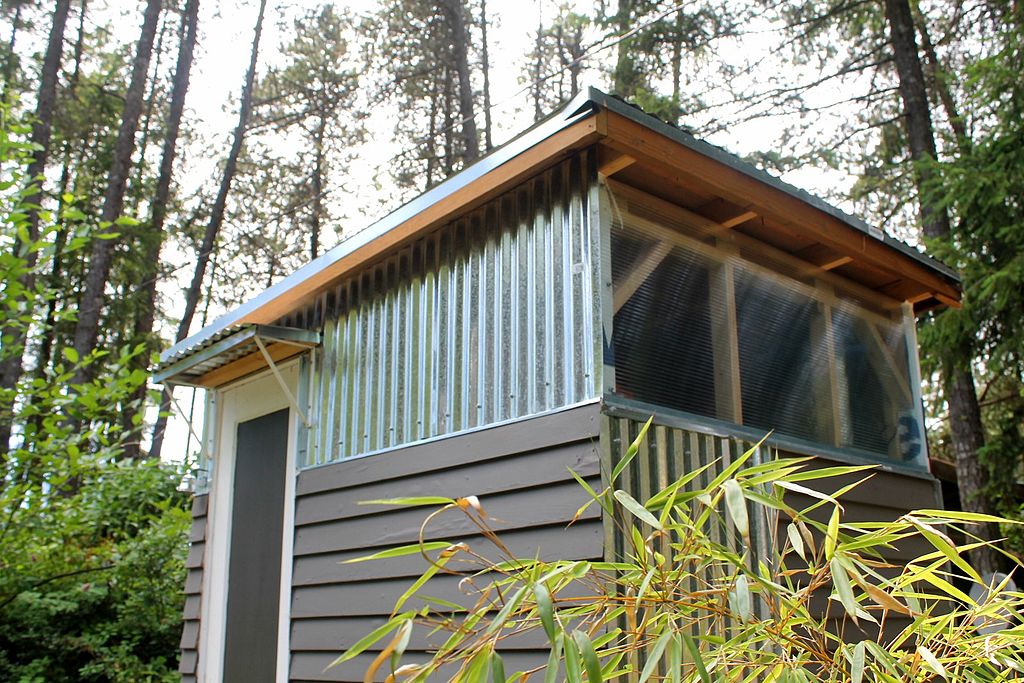
Outdoor sheds are becoming more and more popular projects for Australians. Whether it may be used for a variety of things, such as a tool shed for a lawnmower or garden equipment, as well as a playhouse.
If you’re searching for an interesting DIY project to do on your own, you can consider creating your own shed.

Here’s a rundown on tools, tips, and steps for building your dream shed
Depending on the size and kind of shed you’re building, your checklist will vary but start with a general knowledge of the basic tools and materials you’ll require.
Use a variety of measuring instruments to keep accuracy throughout the construction process. Chalk lines, speed squares, tape measures, and levels are among the most helpful tools available.
Read Also:
To save time, use a nail gun or an electric drill to fasten your shed together.
If you don’t already have one, you’ll need a shovel to dig the trenches for your shed’s foundation.
Make use of framing timber for the structure of your shed. According to Australia’s leading shed kit provider ShedBarn, Plywood is the most common material used for flooring, roofing, and paneling.
Although many hardware stores provide pre-cut wood, you may make your own cuts if yours are distinctive with a circular saw.
A simple shed roofing system can be completed with tarps, nails, and shingles.
Wear safety glasses, a helmet, gloves, and sturdy, closed-toed shoes while constructing a shed.
Follow these step-by-step instructions to construct your own DIY shed.
Check with the local authorities to find out what regulations and restrictions exist in your area. Obtain any required building permits.
Before you begin construction, prepare thorough shed plans to help you understand precise dimensions and material necessities
The foundation of your shed is determined by a number of factors, including regulations, soil type, and level ground. The most basic foundation is formed by two wood beams resting on top of gravel-filled trenches.
Connect the foundation’s wooden beams with two-floor joists for a wood-floor installation. For additional support, add floor joists before covering the plywood on your floor frame. A concrete slab is another option for flooring.
Begin with the front and back walls, as they will either need a gambrel or gable roof framework depending on your shed design. On the front wall, keep track of your door frame.
Assemble the walls on your shed floor as a level surface. You may also utilize a chalk line to assist you in making precise measures. Build two identical stud walls that are appropriate for the size of your shed to form the side walls.
Build a mosaic wall using panels of your choice. Plywood is the most popular and common siding. Standard board (OSB), which is less expensive but more prone to aging, is another alternative.
For your shed roof, use the flat surface of your shed floor to build the framework. Make multiple roof trusses for the frame. For a gable roof design, make a triangular shape or a structure with two slopes on each side for a gambrel design.
Stand one wall at a time, starting with the back wall. Before nailing or screwing them securely, line the bottom plate of each wall stud with the shed floor and adjacent walls.
Remove the trusses from their supports, replace each one with a new one, and secure it to the top plates of the walls. Cover and seal the frame with plywood.
Attach your door to the front wall securely, whether you bought it or built it. Using hinges, attach your door to the door frame. Install a pair of double doors for a more elaborate entryway.
Attach the trim to the walls and corners of your shed. Secure fascia boards along the edges of your roof for further protection. Paint or stain the outside of your shed, if desired.
During the winter, add shingles to protect your plywood from the elements. For water runoff on the edges of your roof, consider putting gutters along the roof’s edges.
Consider these final tips when building your shed.
Use measuring tape for accuracy. Check between each step to ensure that your measurements are still accurate.
Take some time to consider the long-term benefits of building a backyard shed. Your shed isn’t going to be built in an hour, and you’ll probably want to remodel it down the road. The fact that it is permanent means you should build it with care, and it should last you for years to come.
Purchase the smoothest wood available to guarantee that your measurements are as accurate as possible during the building process. Choose the straightest pieces of wood for the door frame and corners, even though they are rarely completely straight.
In conclusion, building a backyard shed can be a fun and rewarding experience, but it’s important to take your time and measure everything as much as possible. Use straight pieces of wood for the door frame and corners, even though they are rarely completely straight. And finally, don’t forget to add some trim and paint for a finishing touch! Also, if everything else fails, then you can always opt for Abunda, where they offer shed financing for you.”