Learn how to measure for vinyl replacement windows in a few easy steps. Your new windows have to fit into the frame of the house.
Taking the measurements is the first step in ordering and purchasing your new windows. Do it right and have your windows fit perfectly when they arrive.
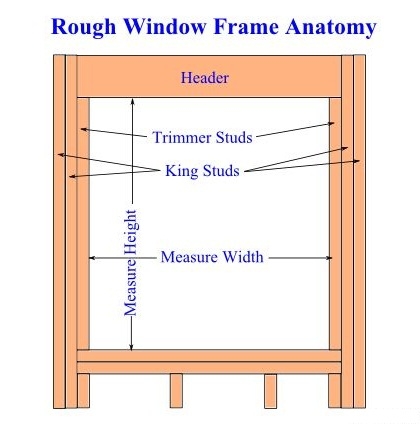
Vinyl replacement windows attach to the house framing. The house framing is specifically built to accept a window and the opening in which it fits is called the rough opening.
In how to measure for vinyl replacement windows, we’ll remove the interior trim, measure the rough opening and also measure the exterior trim so the new window installation fits within the rough opening and the existing siding.
For vinyl window replacement, we’ll remove the interior trim, measure the rough opening and also measure the exterior trim so the new window installation fits within the rough opening and the existing siding. You can consult experts at energyexteriorsnw.com to get a perfect vinyl window replacement for your home.
Cut the seal between the paint or caulk and the interior trim around the window with a utility knife. Push a stiff putty knife behind the casing and gently pry it away from the drywall. You may have to work on the inside and outside of the trim. Work all around the window in this fashion.
Slip a small, flat pry bar under the trim and pry the casing away. Place the putty knife behind the pry bar to prevent the pry bar from damaging the drywall. If the window has an interior sill or ledge along the bottom, that must be removed as well in the same manner.
If you plan to save the trim pieces or reinstall them while you wait for the windows to arrive, remove the nails with pliers and pull them through the back of the trim. It causes less damage to the wood and leaves a smaller hole that can be filled with a little putty or caulk.
With the trim removed, the rough frame is exposed. On both sides of the window and on the bottom, you will see 2-by-4 lumber framing the window. At the top, a header supports the upper structure of the house.
The measurements for the new window are taken from this frame. With a tape measure, measure the distance between the two sides at the top and bottom of the rough opening and between the top and bottom on each side. That’s the basics of measuring, but there is more you can do.
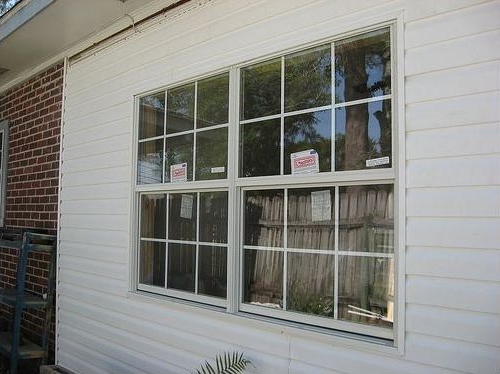
Some manufacturers will add the exterior trim to the window. This speeds and simplifies window installation, however, the opening for the exterior trim must be included with the window order.
On the outside of the house, measure from the outside of the window trim from side to side and top to bottom. These measurements will be larger numbers than the measurements for the rough opening.
Read Also:
Here are some final tips on how to measure for vinyl replacement windows.