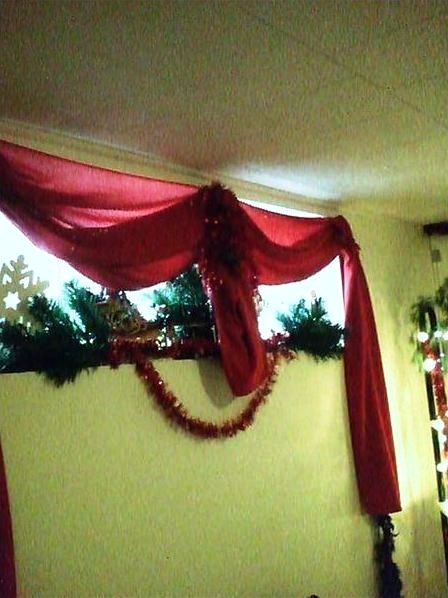
Making Cornices Yourself: How to Make a Cornice — When you want to dress up a window and are tired of the normal drapes and blinds, then you might want to consider making your very own cornice. Find out how to make a cornice that you will be proud of.
There are several ways to learn how to make a cornice look really good. You will find that these tips will give some good starting points to get you started on making your own exciting cornice window treatment. You can also change it whenever you want to, so decorating for the holidays will be possible.

There are many different window treatments that you can put on your windows, but one that is very unique is the cornice. Making your own window treatments can be a lot of fun, so consider making your very own cornice with these easy to follow step by step instructions.
A cornice is a window treatment that is attached to a hard board. Fabric is fastened to the board and then the board is nailed into the wall above the window. It can be extremely extravagant or plain and simple. A good word to describe a cornice window treatment is royal – it has a very grand and regal look to it.
Things to gather before you begin
First you will need to measure your window. So you will need to get your measuring tape and a pen and paper. You want to begin measuring from left to right of the width of the window. You want to leave approximately 6 inches to the left of the window and also to the right. This depends if you have sheers (2 inches, drapes 4 inches, and then your cornice would be at 6 inches.) However, you can just have a cornice and nothing else, so that would be at two inches.
Must Read:
You will need to find a board that is that length or longer. This can be cut to size and does not have to be an expensive board. One that you might have lying around your house will be good, as long as it’s a hard wooden board that is about 2 inches by 4 inches. You will need to make sides for the board too. These should be 2 inches for just a plain cornice. For a cornice over sheers it should be 4 inches and for one that is being installed over sheers and drapes it should be 6 inches. Attach these side pieces to the long part of your board.
When you find your fabric, you need to decide on a style. Don’t worry because you can change it as often as you like.
You can staple your fabric to the board for the easiest maneuvering. You can also tack it. The most permanent way of creating a cornice is to sew it to the board. If you want to be able to change it with different fabrics, then staple it or tack it to the board.
You will want to place the cornice high enough to hide the board from the outside view in the window. The fabric inside can be draped to fall down further over the inner window.
Changing your cornice will be easy. Simply remove the fabric that you have on it currently and replace with a different look.
Learning how to make a cornice will be fun and interesting. Don’t forget to take pictures of the designs that you create on your own. They can be much more intriguing than the kind that you can buy in a store.