When selecting materials for a budget bathroom remodeling, it is important to select the cheapest and pay attention to quality.
It is also worthwhile to be prepared for bathroom remodeling to be tested for durability by constantly increasing humidity and temperature.
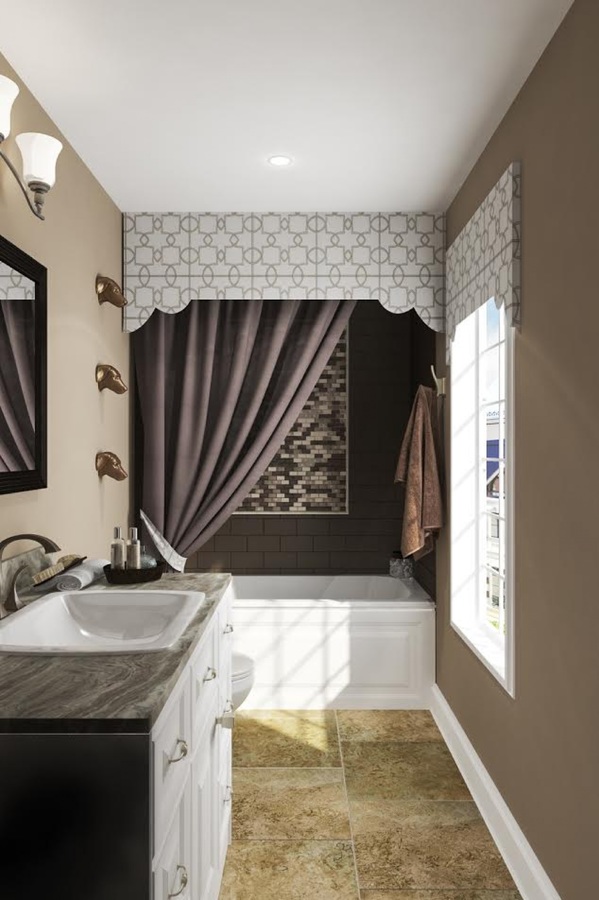
With this room’s arrangement, you will find a difficult choice of plumbing materials and a high-quality finish.
Therefore, it is simply necessary to be as rational and organized as possible when making repairs in the bathroom to observe the correct work sequence.
This will get you to the desired result with minimal loss and cost.
It should be understood that the formulation “cheap or a budget version of the repair” should not affect its quality.
To start, you need to think about exactly what you can really save. By doing a significant part of the bathroom remodeling with your own hands, you do not need to spend a significant amount on the workers.
You can do a lot without having a special construction qualification.
To avoid these and any other problems, make a plan for the proposed bathroom remodeling work.
It is worth considering the project and drawing at least a rough estimate. You can see what you can do for yourself and where you need to turn to professionals.
When drawing up a bathroom remodeling plan, you should consider any unforeseen situations and ways to eliminate them.
So you will not waste time due to a lack of tools or a lack of materials. Here are some nuances to keep in mind:
Read Also:
The first thing to do is to prepare the room for repair. Carefully disconnect all plumbing, even if you don’t plan to change it.
Now you need to take the old cover apart. After removing the tile, wallpaper or paint, clean the previous layer of putty.
Then you have to remove the old cement screed on the floor and the waterproofing debris. When these jobs are completed, thoroughly clean the bathroom of debris, dust, and other debris.
First, when repairing a bathroom, it is necessary to disconnect all the plumbing.
To level the clean surfaces, you will need cement mortar, and the cracks formed can be sealed with a sealant.
This is necessary because, due to condensate formation, constant high humidity, splashing, and repair may be in vain very soon.
For the bathroom floor, you can use waterproofing – it is applied to the concrete screed (at the top in two layers, although it is possible in one).
As for the bathroom ceiling’s budget solution, consider whether you can take the tension structures, which are an expensive option.
Therefore, even a not very smooth surface can simply eliminate the old coating, putty, primer, and then painted with acrylic paint to match the bathroom.
Plastic panels will be the solution if the defects can no longer be hidden by similar treatment.