The summer is hot, and it just started, which means it’s time to get ready for it.
With the COVID 19 (or the Coronavirus) still spreading all around the world, most of us won’t be able to go to a seaside, or at least most of us will try to avoid it. But that doesn’t mean we should avoid the pools!
Almost every house today has a pool in their backyard; Big or small, pools became very popular, and even more, people bought it during the COVID 19 crisis.
Whether you have an inground or above ground pool, you should definitely check the water quality. Typically, there are a few things you can expect to find in the water, and you should check their concentration.
But you can also use a water test kit for drinking water testing, and that’s something even more important.
If you want to test your drinking water, a water test kit will help you determine what contaminants your water has.
We know that the water probably looks absolutely pure when it’s in your glass, but you should be aware that there are microorganisms so small that we can’t see it.
We’ll discuss how to test the water in a few quick steps. It doesn’t matter if it’s the pool water or the drinking water, the process is still the same. In a recent blog post by Water Filters Advisor, they demonstrate using water test kits properly.
Try to test as much as you can in one week, but let’s try to be specific—test for chlorine and pH two to three times a week. As for the acid demand test, do the testing only when pH needs adjustment (you’ll know this because you test pH every week).
Total alkalinity – at least once a week. Calcium, TDS, and Cyanuric should be tested once a month. You can test different water sources such as your tap water or even your indoor water feature.
Now let’s see the process of testing the water. It shouldn’t be too hard, but make sure to recheck this article once you decide to test the water.
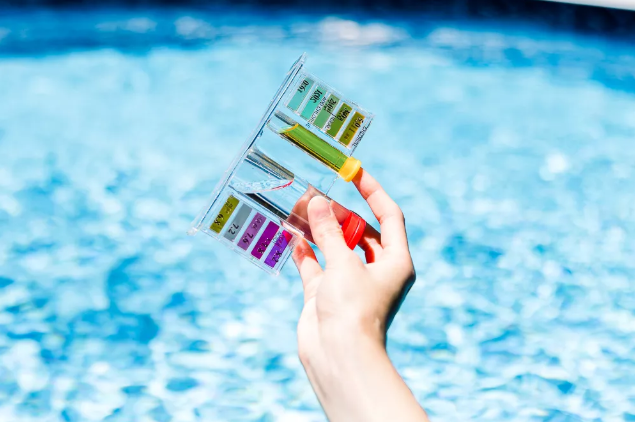
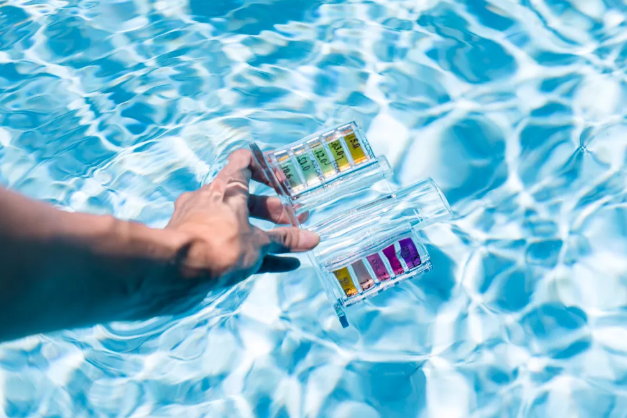
First, you need to dip the testing kit underwater (pool, for example), ensuring that you’re collecting water from 20 in-depth (or more). This is how you’ll make sure that the testing is proper.
On the surface, water doesn’t have that many contaminants as it has in specific depths, so that’s why it’s essential not to take a sample from the top.
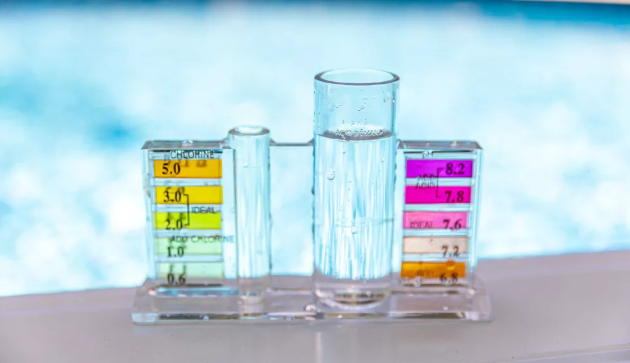
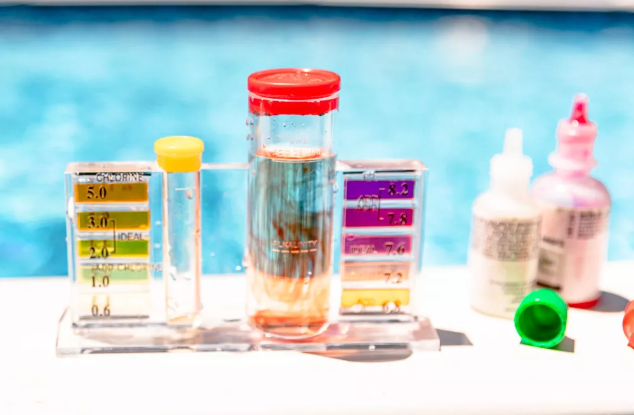
Please ensure that the vials are loaded to the designated “load” line (check the image). For correct results, you’ll need an exact ratio of the water; otherwise, the test may be wrong.
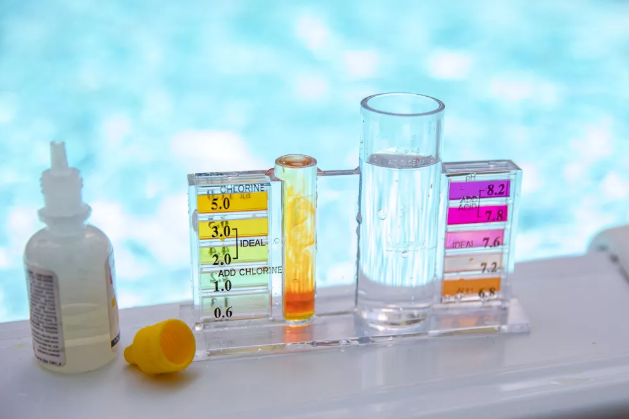
Apply five drops of the first bar on the chlorine test board. Ortho-Toluidine appears to be the chlorine indicator solution in this package.
Note: Many test kits are using disintegration tablets instead of a fluid test.
Caps should be placed on vials. Once they are, you should rotate them upside down, at least a few times, mixing the water you’re testing and solutions.
You should wait for at least 10 s, and after that, check which color your water t. Compare it with the colors on your test. It tells you how much chlorine there is.
Note: Sometimes, the water kit can have two different tests; one for the free chlorine and the second one for the residual chlorine.
If this is the case on your tester, you should wait at least 10 min since the first testing, repeat the process, and compare the colors again to assess the residual chlorine amount.
Only after the tester has been cleaned up, take the water from at least 20 in-depth, and fill up a larger tube. All you need is 1 drop of 4th solution and gentle mixing.
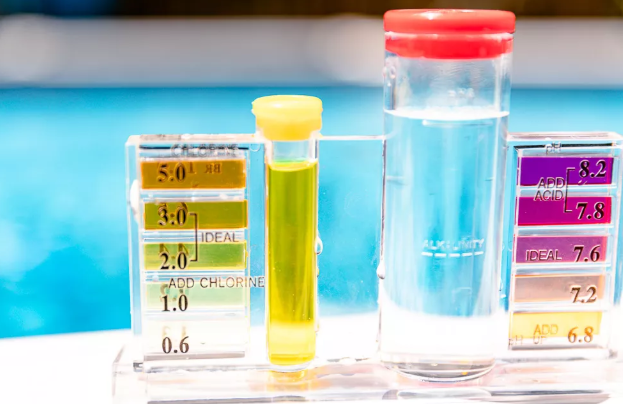
This solution is a chlorine neutralizer. Add 5 drops of the second solution, a red phenol symbol, and mix gently.
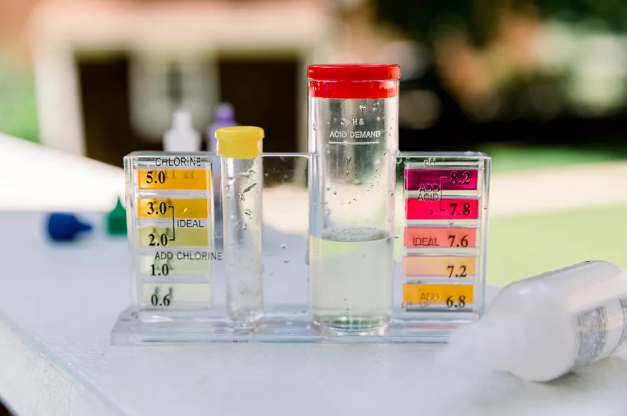
Once you did this, check the tester for the colors to find out easy how much pH there is in your water.
Note: Let’s say that the previous test showed you that residual Chlorine goes even more than 3.0. If that’s the case, you won’t be able to measure pH correctly until your residual Chlorine is back to a reasonable level.
This is the process used to balance the pH. You need to add a few drops (make sure to count how many) until matching the color on 7.4 indicators.
You counted the falls, right? Check the tester and see the amount of acid needed for your pool.
Note: Let’s say that previous tests showed you that residual Chlorine goes even more than 3.0. If Chlorine is normal, but pH goes over 7.5, the same case. If this happens, get it all back to a reasonable level, and then do the testing.
Only after the tester has been cleaned, refill the wide tube to the bottom dash side. Apply 1 drop of 4th solution.
Then, apply 1 drop of 5th solution, a complete alkaline measure, and turn it upside down. Add 3rd solution, counting each drop before the color switches to transparent, green, or yellow.
In the end, you’ll need to multiply the drops count of the 3rd solution by ten, which will give you the result (total alkalinity).
Note: Let’s say that previous tests showed you that residual Chlorine goes even more than 3.0. If this happens, get it all back to a reasonable level, and then do the testing.
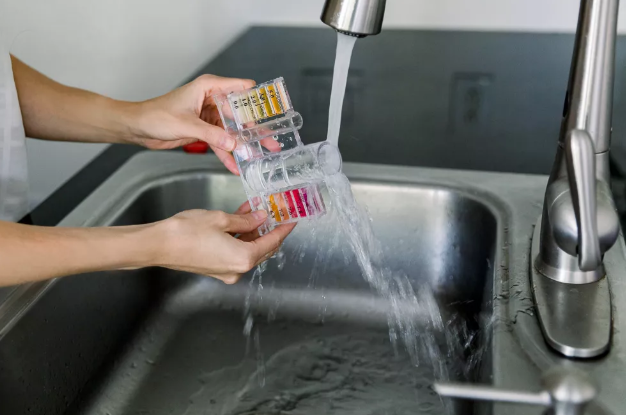
After you finish all the steps above, make sure to rinse your tester with clean water and dry it afterward. Please keep it in a cold, dark place.