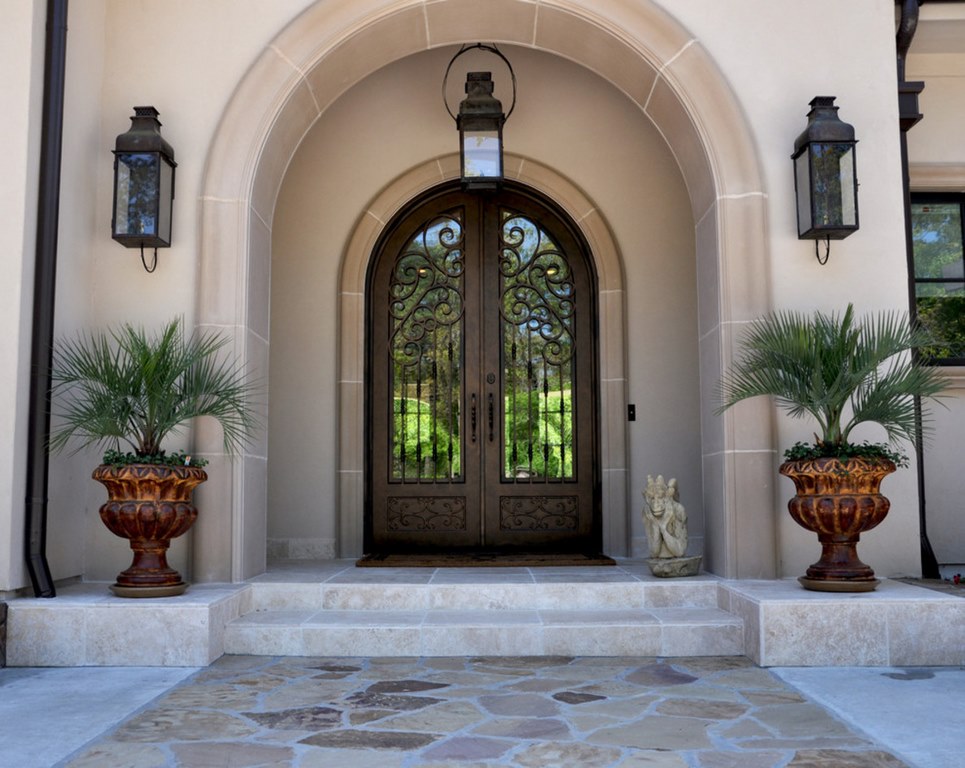
For many people around the world, metal doors are a prime choice as a front door because you get high security, moderate to low cost, and a modern look all in one package.
Many people feel these doors have clear advantages over their fiberglass and wooden counterparts.
They are stronger than wood and fiberglass doors and can last much longer if they are properly maintained, but do most people know how to do that?
It is simple to do so yet if you aren’t applying the proper preventative maintenance than your door will quickly deteriorate and you will lose the modern sleek look, the security, and even the basic functionality of the door.
We all know paint can pretty much bring anything back to life from cars, interior walls of your home, and even your mailbox. With exterior doors or all types and materials, the elements take their toll.
In most cases, this paint is simply for aesthetics, but for a metal door, it is vital.
Oxidation is what causes the metal to rust in humid and moist parts of the world, and it is the death of anything metal if not taken care of.
Paint keeps moisture, water, away from the metal surface. Protecting it from getting rust and keeping the doors integrity firm.
Your front door will take come abuse as the main entryway for your home, getting scuffed up, kicked, and dinged in ways that actually compromise the metal of the door.
Learning how to care for it and what to look for is a vital skill you need as an owner of a home with metal doors.
Read Also:
- Replacing an Old Door into a New and Classic Design? Things to Remember
- How to Make Use of a Visualizer for Choosing the Exterior Colors of Your House
- My Three Suggestions When Choosing Commercial Paint Sprayers
- Painting Paneling: How to Paint Over Paneling
- The Cost to Install an Exterior Basement Door
- Learn How to Paint Doors Like a Pro
- How to Paint Kitchen Cabinets
The process is very simple but you still need to plan for it all as your door will not be on its hinges during this time. While painting and repairing your metal door it may take up to 72 hours to be ready to be re-hung on its hinges.
Plan properly for the right time to do this, for example, if there is a storm coming or you are in the dead of winter, it may not be a good idea to dive into this project.
Choose a time where the weather is decent and the sky stays mostly clear. You can do the restoration at any time but picking the right time is for your own comfort and convenience.
For safety, you may want to lock the screen door or if that isn’t enough, consider boarding up the entryway until the door is finished.
Before you go popping out pins and removing screws, get a workspace ready.
Your workspace should be a clean area where you can sand, paint and let the door dry, in a place where the fumes of paint won’t affect anyone.
You also need it in a place where kids and pets won’t be able to touch it.
It is recommended that you use a plastic sheet or painter’s cloth on the ground where you have decided to work.
Once you remove the door and have your spot selected you may begin. Using a screwdriver remove all door furniture such as the door handle, hinges, knocker and anything else on the door.
Be careful to not mix up the screws, I tend to put them back in the holes of the thing I removed them from and set it all aside.
Anything that may be permanent on the door can be taped off using painter’s tape. Carefully cover it entirely so we can move to the next step.
It is recommended that while sanding anything or using any type of paint or finish you wear safety goggles and a mask to protect your eyes and lungs. Use super-fine grit sandpaper to begin sanding the entire door.
The goal is to remove all the old paint and finish. You can do this by hand or with an electric hand sander. Make sure to remove any weather stripping that may be on the edges of the door and get both sides of your door.
Once completed feel with your hands all over the door to see if there are any rough spots, if so then sand them away. Also, feel for any indentations or deep gouges. If you find some you have two options.
Use Bondo and a putty knife to fill in the imperfection, allow it to dry, and sand it to a smooth finish or you can ignore it. This is solely for the look of the door.
If the scratch is something small or somewhere it isn’t noticeable then it can be left alone. Once finished use a clean dry rag to clean the surface of the door.
For an exterior door, you need to use an exterior paint that will be weather resistant.
Choose the shine and shade that you desire, whatever matches your home and design. Paint both sides of the door, every square inch of the exposed surface, and then after it dries apply a second coat.
Make sure they are even coats and you let them fully dry before handling it. It is vital you cover the entirety of the door because if you miss a portion then this whole process is a waste.
If any moisture gets in then it will spread under the paint you applied and this whole project will need to be restarted.
Carefully put back all the doors hardware you removed from it earlier. Tighten up all the screws and rehang the door where it once was.
If done properly it should hang just as it did before but now last many years to come, protected from the elements and looking brand new. This is all the maintenance you need to keep your metal door lasing for years to come.