Stone raised garden beds to add a touch of elegance to the yard.
Raised garden beds also have many benefits that ground-level gardens do not.
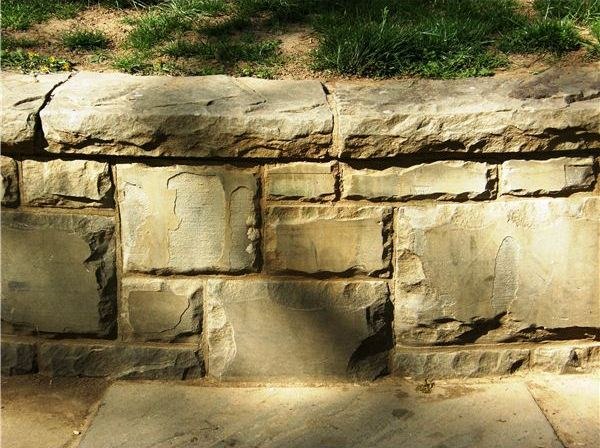
Many gardeners love the look of raised garden beds made of stone. Raised garden beds not only look nice, but they also allow better access to plants and can improve water drainage.
To develop stone raised garden bed plans and create the garden some simple steps should be followed.
How to Build a Stone Raised Garden Bed (Stone Raised Garden Plans)
How to Build a Stone Raised Garden Bed
Developing stone raised garden plans and creating the raised garden bed is easier than most people think.
By following a few simple steps on how to build a stone raised garden bed, anyone can build their ideal stone raised garden bed.
Begin by finding the location where the raised garden bed will be built. Depending on the types of plants going into the garden, different light requirements should be taken into account.
Choose a relatively level spot to build the stone raised garden bed. The level ground will be much easier to work with than unleveled ground.
Determine the size and shape of the bed. Draw out the stone raised garden plans on paper to form an idea of the amount of stone and soil that will be needed to create the garden bed.
Step 2: Prepare the Site
Mark the corners of the garden bed with stones or sticks.
Dig a trench on the borderline of the garden bed. The trench should be 4 to 6 inches deep and wide enough to lay the first layer of stone into.
Spread the sheets of newspaper over-top of the area where the raised garden bed will be. The edges of the plastic should overlap the trench or border.
Lay the first layer of stone along the trench. Interlocking stones can be bought at home improvement stores.
These stones do not require the use of mortar. If using natural stones, simply find the closest and tightest fit. A few inches of stone should be left above ground so the second layer can be added.
Step 3: Lay the Stone
Mix the mortar well before laying any more stones.
Lay stones one at a time, making sure to find the natural stone that fits best. Beginning at one corner, apply mortar to the laid stone and spread.
Set the new stone on top of the mortar. Extra mortar will be needed to fill in any gaps left.
Working around the border in one direction, lay each stone carefully.
Leave small gaps between the first layer of stone and the second every third stone or so. Gaps large enough for a finger to fit through are best. This will help create better drainage.
Build the stone border as high as needed. Most raised garden beds are 2 to 5 feet high.
Perform touch-ups to the stone wall after the mortar has dried. Fill in gaps missed when building and any unwanted holes.
Step 4: Filling the Garden
Fill in the stone border with the potting soil desired. Compost, high-quality topsoil, and peat moss mixed can create the perfect gardening soil for the raised bed.
Rake the soil out level. If the garden bed is not level water will run off in one direction instead of draining evenly down through the bed.
Step 5: Finishing Up
Plant flowers, vegetables, fruits, or any other plants desired in the garden.
Maintain healthy soil by adding compost during dormant seasons. Mulch added to the top of the bed will help retain moisture, as raised garden beds can drain water away quickly.