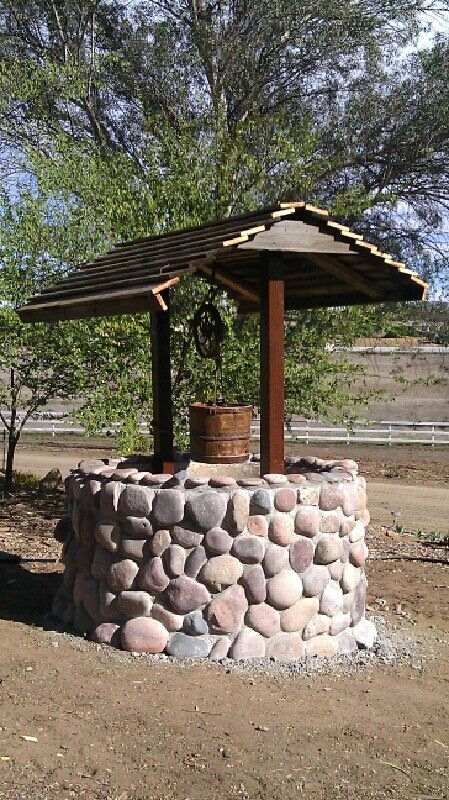
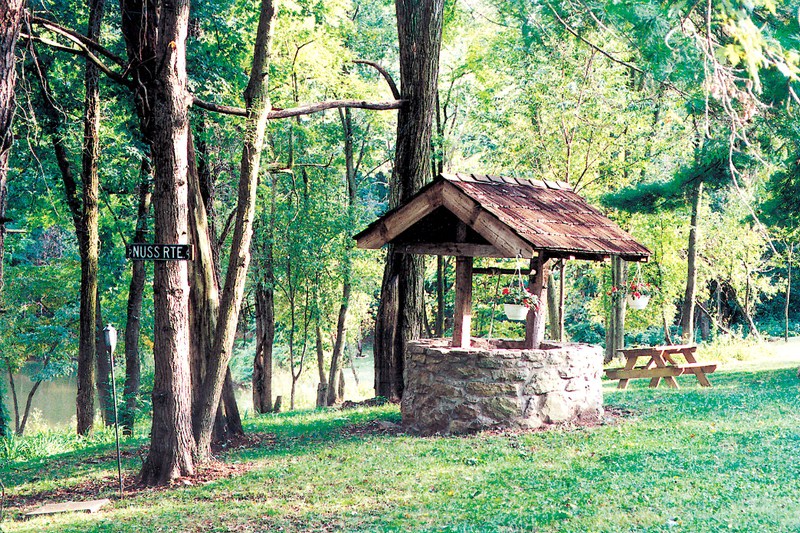
A Do-It-Yourself garden stone wishing well brings many decorative possibilities. Useful for creating a koi pond, a flower well, or a tool shed.
How to Build a Stone Wishing Well: DIY Garden Wishing Well
DIY Garden Wishing Well, How to Build a Stone Wishing Well
Add an interesting garden design accessory to your backyard by building your own stone wishing well. A backyard wishing well is easily used as a flower box or lawn care tool housing due to the large round space in the center of the well.
The fact that the well is for aesthetics rather than drawing water gives the creator the ability to make the wooden roof of the well as elaborately decorative or as humbly simple as they wish.
DIY Garden Wishing Well Materials:
Shovel
Mortar mix
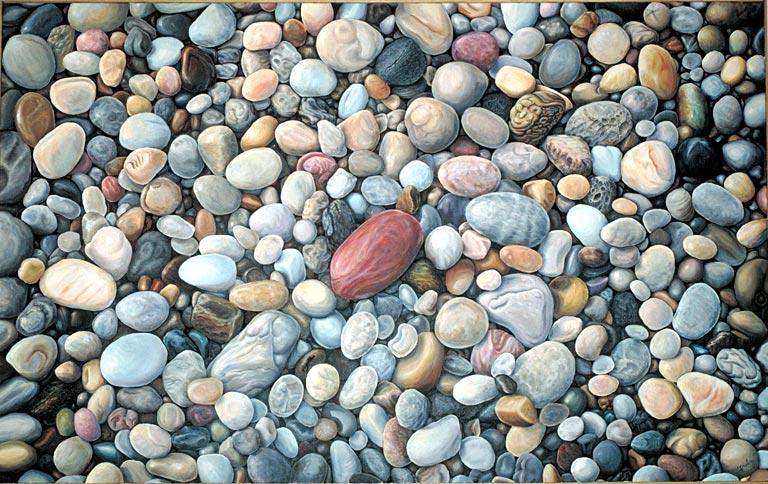
Large stones
Trowel
Two 6-foot long 1-by-4-inch wood boards
Plastic pond liner
Hammer
1-inch nails
Two 3-by-3-foot plywood square
Two 3-foot plywood equilateral triangles
Drill
2-inch wood screws
Stone Base
Mark off the section of the backyard in which the stone wishing well will reside with plastic marker flags set in a 3-foot diameter circle.
Dig a 3-inch deep base in the 3-foot diameter space chosen with a garden spade. Use the tip of the spade to cut the sod into small sections for easy removal from the ground. Use the side of the space to lift dirt in an even pattern across the bottom of the 3-inch well base.
Remove any debris left in the hole such as roots, leaves, or clumps of dirt.
Mix a bag of mortar mix with water to create a thick cement for the paste to hold the well base together.
Pour a thin layer of the mortar onto the bottom of the 3-inch deep hole. Use a trowel to flatten and smooth the mortar layer.
Lay large stones into the mortar around the inner perimeter, the edge of the 3-inch deep hole. The stones must touch end to end lengthwise as you lay them in the mortar. Smooth and flatten the mortar on the bottom of the hole again, as the stones will have displaced mortar causing an uneven bottom.
Apply a layer of mortar to the top of the stones 1 inch thick with the trowel. Pat the layer to remove any lumps.
Set the second layer of stones into the mortar lying on top of the first layer of stones. Remove any mortar that has dribbled down the stones with the trowel. Fill in any holes between the stones with mortar. No light should be seen through the stones in the wall.
Drive a 6-foot long 1-by-4-inch wood board vertically into one inner side of the wishing well base floor along the inside of the stone wall. Position the board up against the stones and one foot deep into the mortar base.
Because this will need to be done when the mortar base is still wet and pliable, the board must be placed into the well within the first 30 minutes of pouring the mortar into the bottom of the good hole.
Drive a second 6-foot long 1-by-4-inch wood board vertically into the mortar floor up against the stone wall on the exact opposite side of the good wall of the first 6-foot longboard. Two tall boards are now sticking out of the well base, vertically, on the inside of the well.
Continue to add layers of mortar and stones to the base of the wishing well building a vertically standing round wall until the stone wall is about 3 feet tall. Set the last layer of stones to the side.
Use decorative stones to add an accent to your wishing well
Optional Plastic Pond Liner for Koi Pond
Set enough plastic pond liner into the well base to snugly cover the entire interior of the well. The amount of liner needed will vary depending on the actual height of the well.
Work the liner into the edges of the mortar base, around the wooden boards, and hold the liner in place at the bottom of the well with rocks.
Affix the liner to cover the top layer of the stone wishing well wall with a thin layer of mortar on the stone and the liner pressed into the mortar.
Place another layer of mortar into the top of the liner that is positioned on the stone wall. Set the last layer of stones into the mortar, filling any gaps between the stones with extra mortar.
If the well is not a future home to fish, skip this section because the liner will catch rainwater and dew. Standing water is a breeding ground for bacteria and mosquitoes.
Allow the wet mortar to dry for 24 hours before adding the roof.
Wood Roof for Your DIY Garden Stone Wishing Well
Drive 1-inch nails through the edges of a 3-by-3-foot plywood square into a 3-foot edge of two equilateral triangles using a hammer. The length of the three edges of the triangles, 3 feet, is the same as the length of the plywood square, therefore they seem created at the edges will be flush.
Nail another 3-by-3-foot plywood square to a connecting side of the equilateral triangles making a V-shaped roof.
Attach the V-shaped roof and the two vertical boards by drilling two 2-inch screws through the bottom center of the open edge of the triangles into the vertical boards.
The vertical boards will sit inside the roof structure because the boards are inside the round well base which has a diameter of 3 feet and the width of the roof is 3 feet.
Paint or stain the wood with the fact that the structure is outside in the weather throughout the year. Plant flowers inside or turn them into a koi pond. Be creative and enjoy your new backyard stone wishing well.