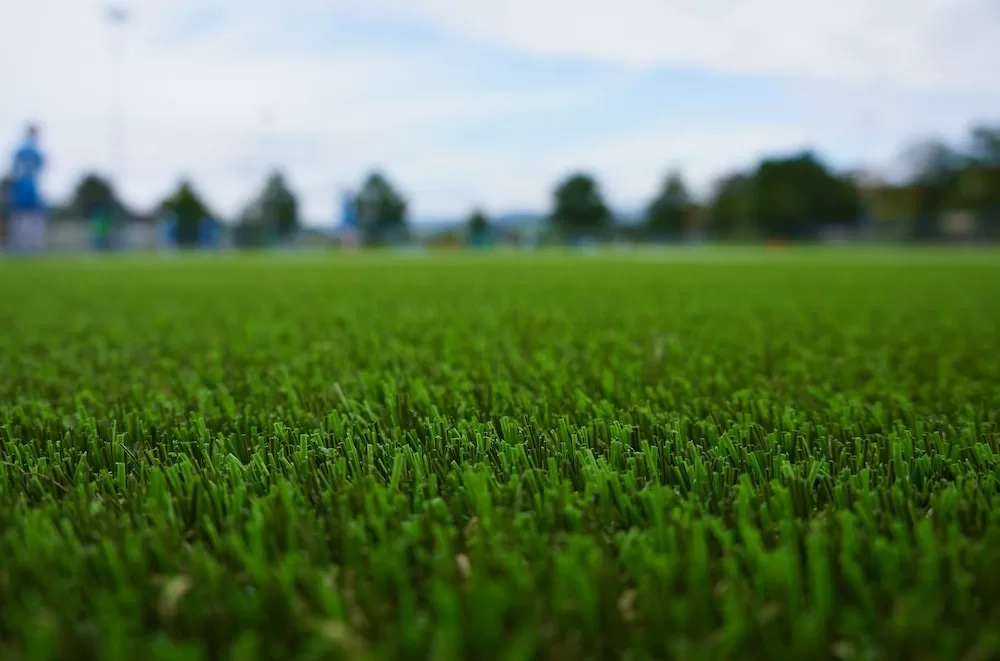
Artificial turf is what you usually think of when you see professional football fields. Did you know that you could use it in your own backyard – or front yard – or both? You can, and many people are doing just that, especially in those areas where drought is prevalent.
There are lots of different turfs that you can use today, and they are all very lifelike in appearance. You can buy fake synthetic grass that looks better and lasts longer than any natural grass.
This allows you to install it and basically forget about it because there is very little maintenance after installation.
This article will go through the simple steps that you must take to install artificial turf. This fake grass can make any yard look beautiful and make your home have a wonderful curb appeal. You will have the installation done in no time if you follow all the steps.
You will want to check out the area that you are planning to put in your artificial grass to make sure that it is clean and ready for you to install it. You also want to make sure that you know what tools you will need and have them already. If you plan in advance, it will make all the other steps easier.
Read Also:
You will want smaller hand tools to excavate in smaller areas during this process. You could use a grass trimmer to clean the area and remove all the roots. You could use larger tools, of course, if you are doing a larger area.
See here for tools that you might need to do your installation: https://www.namgrass.co.uk/10-artificial-grass-tools-you-need-for-installation/. This list can make sure that you have everything necessary.
This might be time to call in those special numbers to find out if you have hidden utilities in your yard. You will want to relocate them from the area that you are covering if that is possible. You should change any irrigation system that might be in the area, as well. These all should be removed from the area if you can do that.
Weed block, or non-woven fabric, needs to be placed down in the area that you want to cover with artificial grass. It will give you enhanced durability and stability in your installation. It should be between 2 millimeters to 6 millimeters thick to do the best job.
This is the perfect thickness to prevent grass from growing through it and to keep rodents from trying to chew through it. You can choose from a wide variety of weed blocks to install.
You will want to start at the back of your project to get the best results. You want to start with a layer of compacted material such as small rocks that are under 2 centimeters thick.
You want your layer to be between 3 – 4 inches thick. You want to put the layers in horizontal rows and will want to avoid placing any heavy loads on them before you compact them.
You want the base to be smooth without any lumps and you want defined edges. You can do this with a hand roller that is filled with water to make it easier. You want the entire area to be free of rocks and other debris. This might take a little while to get things as smooth as you want, but it will be worth the effort.
Make sure your area is clearly defined and clear of any debris. Check your measurements several times before you begin and check your surface many times, as well. You want things to go as smoothly as they can without mistakes.
Roll out your artificial turf onto your flat surface, making sure that there are no wrinkles. If you do see wrinkles, leave them laying flat for several hours to get rid of them.
Measure and cut the largest piece of material that you will need and cut off any fringes off the turf. Reroll your artificial turf so that it stays unwrinkled until you are ready to use it.
You will want to walk carefully over the top of the grass to avoid wrinkling it. You can anchor the material with nails or staples that are 3 – 5 inches long.
You want to make sure that your cutter blades are sharp and are making clean, precise cuts. You want to cut your material so that it is about ¼ inch away from walls and other elements such as sidewalks.
To make sure that the edges stay secure, use nails or staples that are at least 5 inches long. You can anchor it with any flexible material that can edge your artificial grass, bender board is a good material to use.
Then you will need to clean any debris such as extra fibers that might have fallen during your installation process. Finally, you need to brush your turf with a soft rake or broom to restore the fibers to their upright shapes and then clean your area.
As the final step, you will want to make sure that you have your infill, your tools, and a drop spreader. The drop spreader is your most important tool so that you can be sure that your infill is spread out evenly.
You will want to go slowly in rows and try not to overlap the rolls to make sure the infill is even. After you have done that, you will want to use a stiff push broom or carpet rake to comb out your fibers and distribute any other infill evenly. You can do all the finishing touches, especially around the edges, by hand.
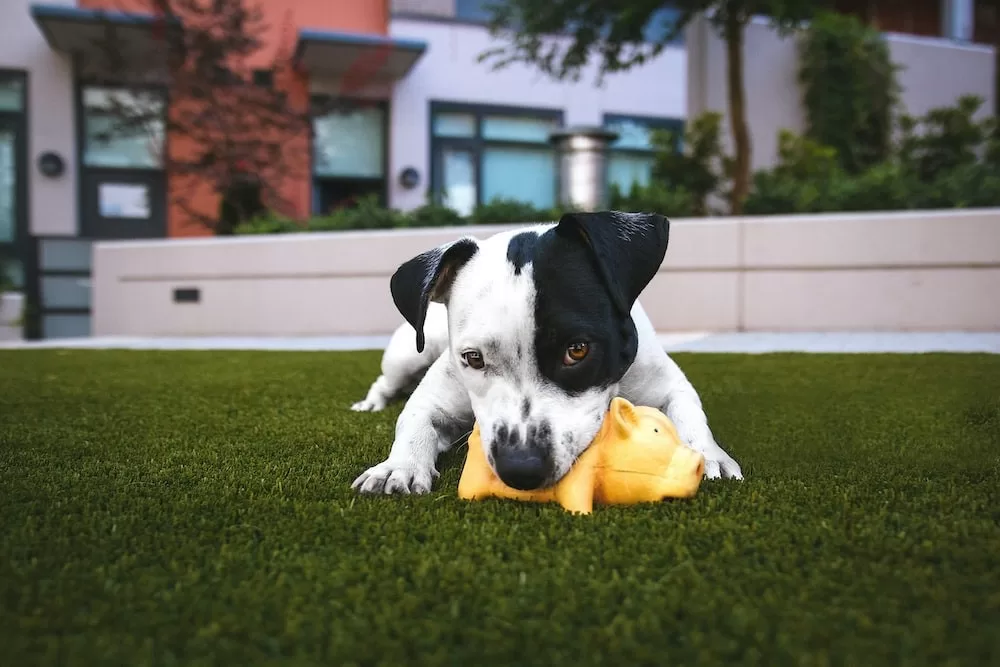
If you follow these steps, you will have a beautiful yard of artificial grass. It will look natural and no one will know that your grass is fake until they step on it in bare feet. Installing artificial grass is not a difficult job, but you could hire a professional to do it if you are unsure of yourself.