Starting Seeds for Spring Planting — You can grow your own plants right at home with little time or effort Teach you children how to grow plants and they will develop a life long habit.
Have you noticed how expensive nursery – bought plants are these days? You can avoid spending your hard earned money. With a little planning and some small effort you can grow your own plants from seed. It’s simple and fun.
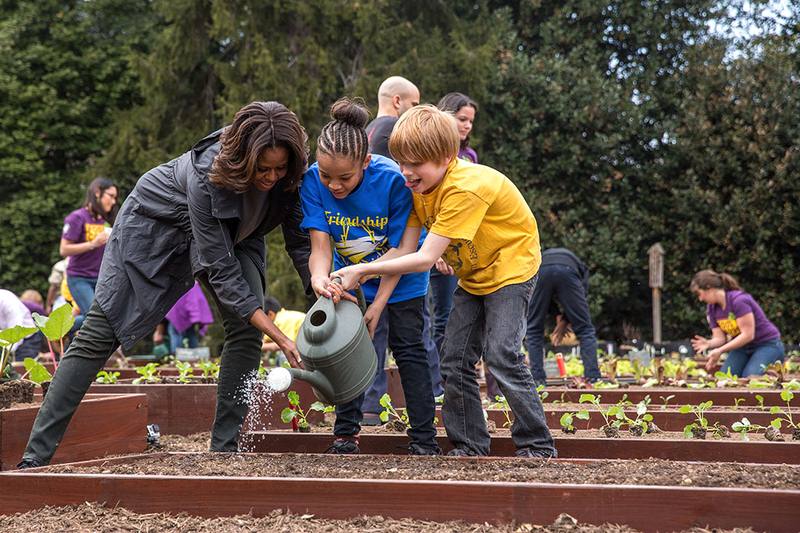
Spring is here – now is the time to get started. If you have children here is an excellent way to pique their interest in gardening. Kids do love learning new things and you will be cultivating a life long habit.
First, plan your garden. Determine what kind and how many of each plant you want to grow. Take into account such factors as sun, soil, and the length of the growing season in your area. Not all plants are suitable for all areas. Most seed packs will have charts on them to provide advice as to suitability for your region. Plant some extras – not every seed will sprout.
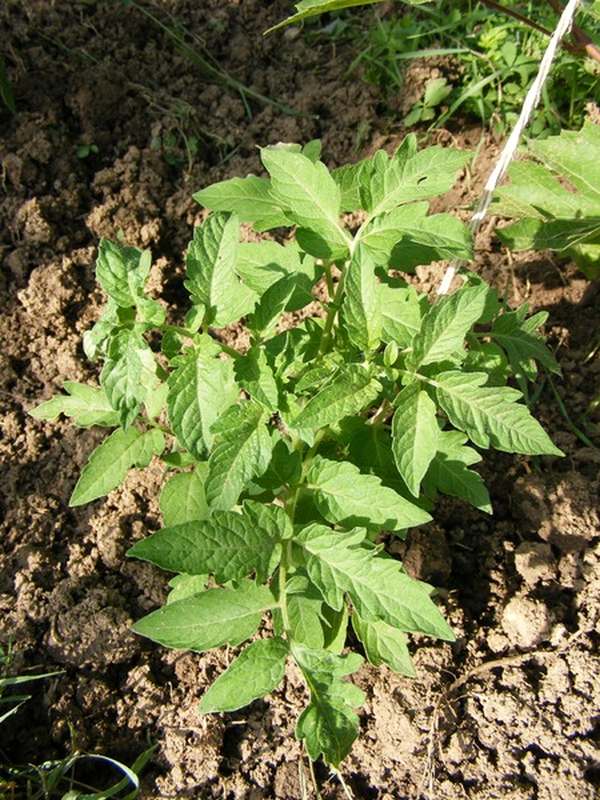
Will you be growing your own vegetables this year? Consider doing so organically. Want some fresh tomatoes all summer? How about some herbs or peppers? These and others can be started now to plant in a month or so in your garden. I like to start my own tomatoes as I can pick the varieties I want to stagger the yields throughout the summer and into the fall.
I start my summer flowers now to ensure I have plenty to transplant in hanging baskets and in the garden; I always have a few spares in case I need to replace any plant that dies or is eaten by a wayward rabbit or voracious caterpillar.
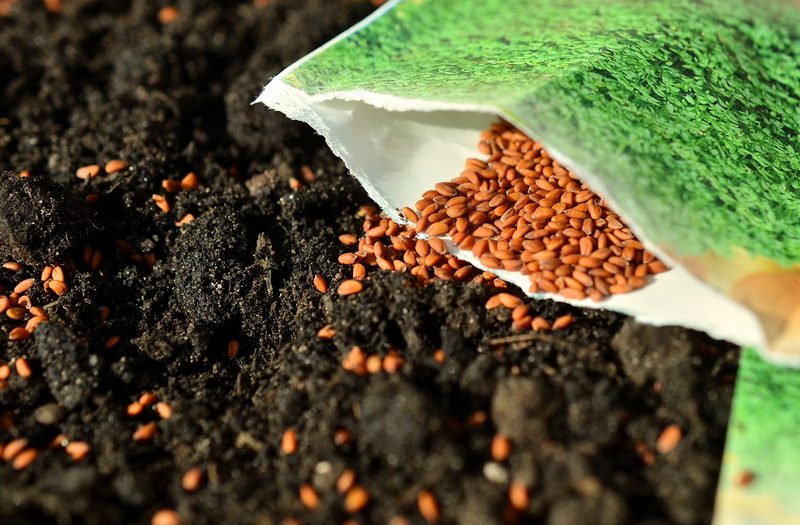
When you purchase your seeds, don’t buy the cheapest ones as they may not be as good as those costing a few dimes more. There are good seed companies out there such as Burpee, Park, and others. Buy a reputable company’s seeds. Check the dates on the seed packs to be sure they have not expired although I have successfully grown seeds from packages I’ve kept from the past year.
To begin you will need a good quality planting mix. Most nurseries carry a seed starting mix which is ideal. The soil should be light and somewhat fine. Don’t use composted manures as they are too nitrogen rich for your seeds at this point and will burn them. I add dry worm castings to the mix to provide organic, slow release, gentle food for the seeds as they germinate.
You will need small individual pots to plant your seeds. You can buy these reasonably priced at nurseries or garden centers. There are even biodegradable pots made from cow manure and even worm castings which allow you to plant them directly into the ground when your seedlings have grown enough and the outdoor temperatures will allow it.
However, I am forever saving little pots such as yogurt containers and the like from my own home and reusing them. See, you can recycle this way and save yourself money, too. Great lesson for your kids to observe. Not everything goes into the garbage!
When you are ready to go, soak your seeds over night in a solution of liquid worm castings (worm tea). You might even warm the solution to just above room temperature. I use an organic product containing yucca extract because yucca is a wetting agent. It makes water ‘wetter’ and will soften the seed pods and allow the seed embryos to absorb some nutrients while still in their pod. This procedure will speed up the germination period of the seed by sometimes half. (For instance, I’ve soaked pansy seeds with a 14 – 17 day germination period; they were up in 5 days.)
Fill your planting pots about ¾ full with your planting mix moistening the soil generously but not to the point it is soggy. (Be sure your pots have ample drainage holes in them.) Tap them lightly to settle the soil removing any air pockets.
Once your seeds have soaked for at least eight hours, and not much longer, you are ready to plant them. Pay close attention to the planting instructions on the package and follow them. Don’t plant too deeply nor too shallow. You needn’t be exact to the point of worry, but try to be within a reasonable measure of what’s suggested. Plant up to three seeds per container as you can cull out the excess plants later keeping the biggest and healthiest.
Once you’ve planted your seeds, cover the containers with a clear plastic baggie such as any zip lock freezer bag. Put the baggie on from the top with the opening at the bottom of the pot. You needn’t seal it as you will need to allow for some circulation. Doing this creates your own ‘green house’ for each individual pot. Moisture stays in and condenses on the baggie dripping back into the soil. Also, this ensures the temperature is kept warm and the air moist inside the bag.
Place the planted pots outside, if possible, into a well lit area though be careful of direct sunlight as you do not want the little ‘green house’ you have created to overheat. If you are in a cold climate and the outside temperature dips at night, keep your little ‘babies’ inside perhaps near a window for light. I like to put mine on a window sill, but not one where the exposure to sun is excessive. Some use grow lights, but this is unnecessary and defeats the purpose of saving you money.
Must Read:
Keep a close eye on your efforts. You will shortly see your seeds peek up from the soil – an exhilarating moment. You have created life! You will notice droplets of water on the inside of the baggies; this is good. If not, check the soil moisture. If it is drying, use a hand held spray bottle and spray with water until moist. I dilute a liquid worm castings solution and spray with that. It will not burn the seedlings and will give them a slight , gentle feeding at a young age.
You will be amazed at how fast your seedlings grow. Within weeks they will be ready to plant outside in your garden. You have done it – you are now a master gardener. Happy gardening and enjoy the money you have saved. (Now, remember to limit the use of polluting toxic chemicals by using organic fertilizers in your garden!)