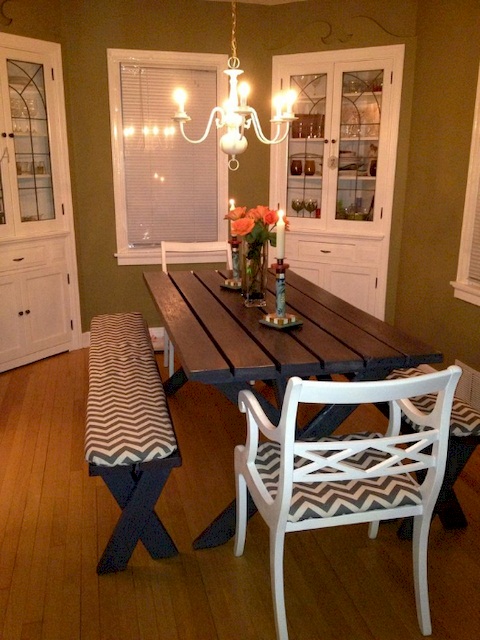
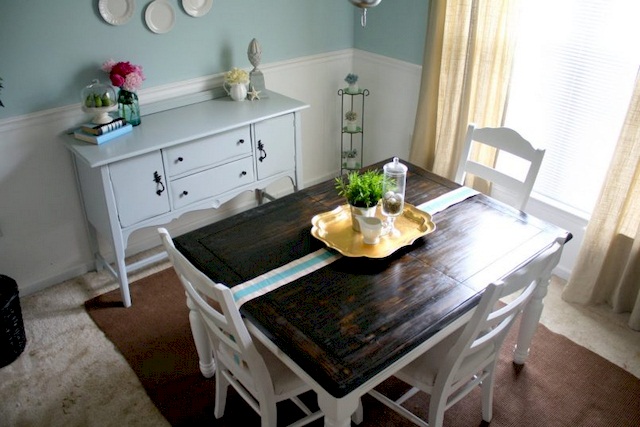
If your dining room needs updating, give that dining set a second chance, a few changes may be all that is needed for a fresh look.
Maybe you have a piece of furniture lurking in the attic that is patiently waiting to be showcased or a dining set that has some loving wear and tear and looks like it is on its last leg.
There is probably some sentimental value tied to the piece and getting rid of it seems like banishing a member of the family.
The embarrassment of keeping the eyesore around can be alleviated. With a little attention, the aesthetics can change from out-dated and abused to classic and brand new.
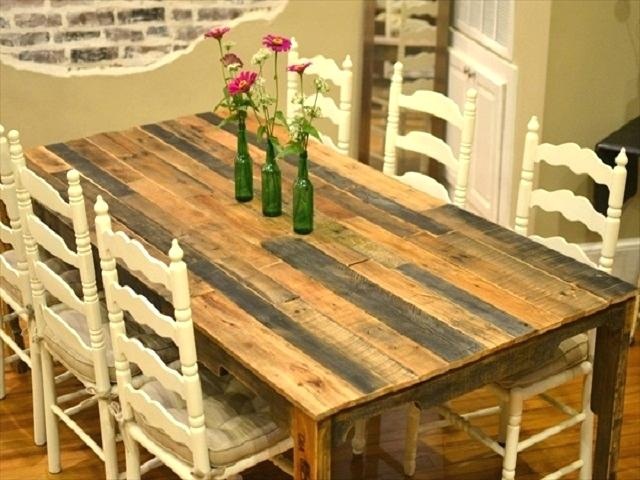
Or else you can get rustic tables at affordable prices.
Take a good look at the piece in question. Study the elements and put them through a style test to see if it is a worthy piece for refinishing. Ask a few questions before proceeding, is the piece overused and damage repair too costly to even entertain the idea?
Items made of solid wood and those pieces that have a veneer in good condition are a shoo-in candidate for the pro side of the list.
Pieces with extreme damage and ones that may fall under the category of an antique are on the con side of the list. If you feel the items in question may be antique contact your local antique dealer on how to proceed, if at all.
Understand the time commitment involved. An ambitious person may be able to achieve results in a few days. The beginner should allow enough time to keep the process an enjoyable one.
Read Also:
Removing the old finish is a necessary step. This can be accomplished by dipping the entire piece or hand stripping in a well-ventilated area.
Dipping can be more costly but jumpstarts the project, larger items should be considered for this procedure.
Hand stripping involves chemicals, proper safety gear, and lots of fine-tuned detail sanding. Curves and ornamentation may need some extra tools to make sure all the nicks and crannies are free of the old finish.
An old toothbrush comes in handy to scrub the old finish away without leaving scratch marks behind. Stripping is messy so prepare the area for easy clean-up.
Sanding is required, this step helps removes leftover residue from the stripping agent and prepares the grain for accepting the new finish.
The feel of the wood will help determine the grade of sandpaper needed for the job; if the wood feels rough courser sandpaper may be best to start with.
The sanding job is finished when you can run your hand over all the surfaces and they feel smooth to the palm of the hand. Make sure and wipe the furniture with a dust cloth before applying a finish.
Now that the piece is bare and in its original form, the beatification process can begin. One must only choose what looks best suits their style.
Stains, waxes, and paints are like window shopping; all offer a variety and achieve different looks. The application process is like a candy shop, you can rub, dab, brush and spray these products.
The decision process is like buying new clothes, which outfit makes you feel best. Just don’t seal the wood before you apply the finish, it is like putting the undergarments on the outside of the outfit.
The product you choose will have detailed information on a proper application.
Upholstering the dining chairs can be a do-it-yourself project. Choosing the proper pad and fabric can be accomplished at your local fabric store.
This requires a heavy-duty stapler and steady fabric corner folding and stretching techniques.
To protect the hard-earned look, a protective finish should be applied. Finishes also come in many forms; shellac, varnish, oil, and water-based to name a few.
Furniture that is used often needs a strong finish such as polyurethane. A clear protective finish also keeps the stain from seeping through and acts as a seal that eliminates potential damage to items placed on the surface. Protecting the final product will keep it looking great for years to come.
Now that the makeover has come to an end, sit down and enjoy a meal with the family as you boast about your resourcefulness and the beauty you created with your own hands.