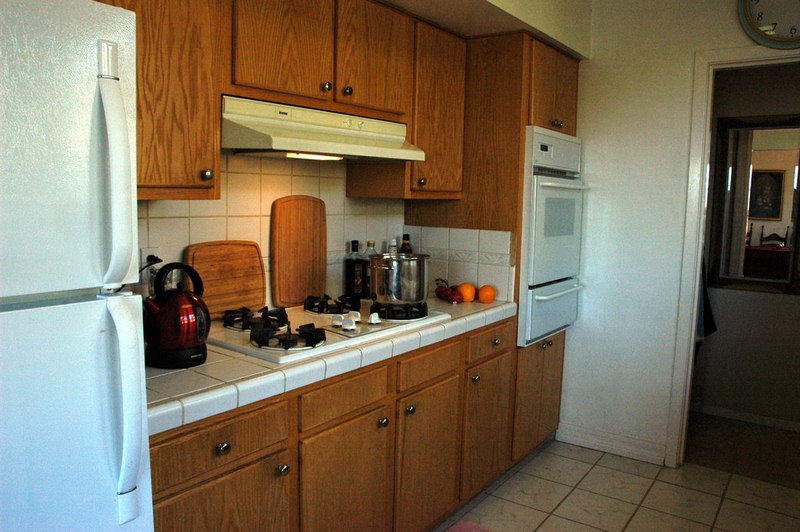
When starting a DIY project in your kitchen, range hoods installation is a great place to start.
You’ll be able to install your very own range hood; updating your kitchen’s look and functionality. Not only will you save time but you’ll save money by doing it yourself.
Learn how to do it yourself when it comes to range hoods installation for your kitchen. Not only will you be able to say that you installed it yourself, but you’ll also save money on costly electricians and home improvement professionals.
It only takes a few simple tools and a little bit of know-how and you’ll be on your way to do-it-yourself range wall hoods installation.
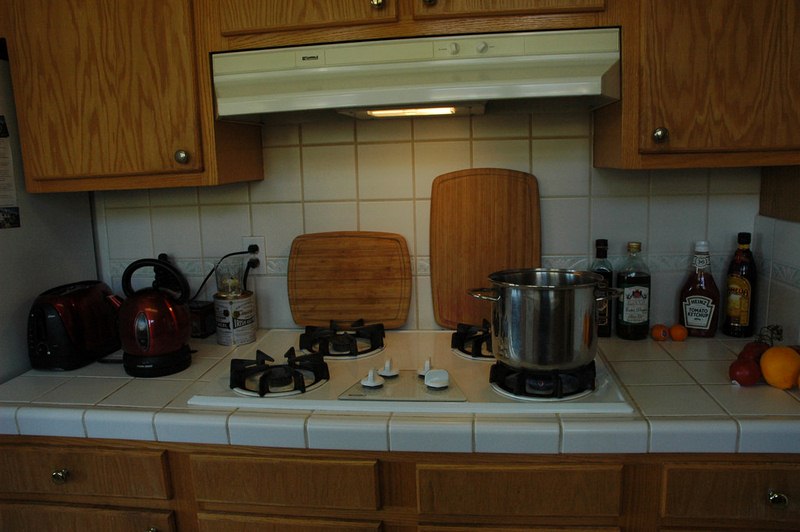
Range hoods are a necessary item for any kitchen remodel because they remove the smoke and odors associated with cooking.
How it works is that the fan and filter within the range hood circulate the bad air to take out the odors and smoke before it can infiltrate the rest of the house.
Range hoods can be found in a variety of colors, functions, and styles so you can match it to your kitchen’s decor or try something different for a new look.
Range hood installation isn’t that difficult with the proper tools and knowledge. In fact, you can do it yourself and save on the cost of hiring a professional.
Read Also:
There are a few basic items you will need to start a DIY range hoods installation in your kitchen.
These items can be found at the hardware store where you purchased your range hood or if you bought it elsewhere, grab these items before you start.
When working on your new range wall hoods installation there are a few things to keep in mind. If you are not comfortable working with electrical wiring you can always contact an electrician. However, these simple steps make it easy to do this project.
Just be sure that your breaker to the kitchen is always turned off when working with any type of wiring or electricity. Always test it before proceeding and use an electrical tester (voltage meter) to be sure.
Once you have your new range hood in you can rest in the comfort of knowing that you did it yourself, saving time and money.
There are a few simple steps in your new DIY kitchen range hoods installation.
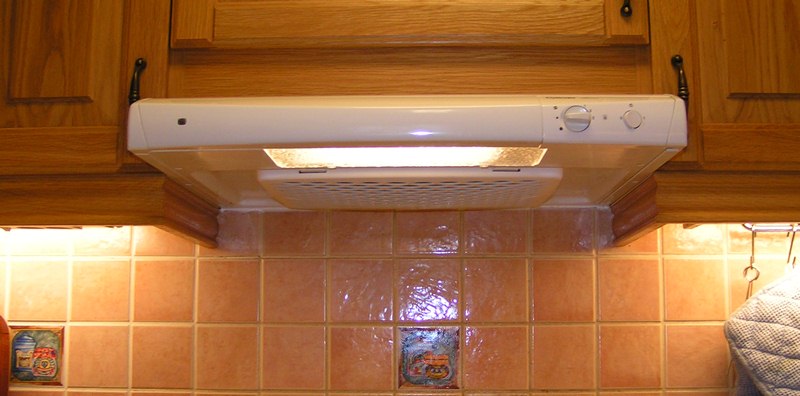
You can use a template or create one of the stovetop range hoods and tape to the bottom of the cabinet.
Test it for power and turn off the breaker to the kitchen area. Use an electrical tester to make sure the power is off.