Hinged doors take up quite a bit of space when open. This is especially true for large doors, such as those on workshops.
If your barn doesn’t have enough space around it for a hinged door, you’re going to need a sliding door of some type.
Included below are some concise and easy to follow directions, with a list of tools and materials you’ll need, so you can learn how to build a sliding barn door.
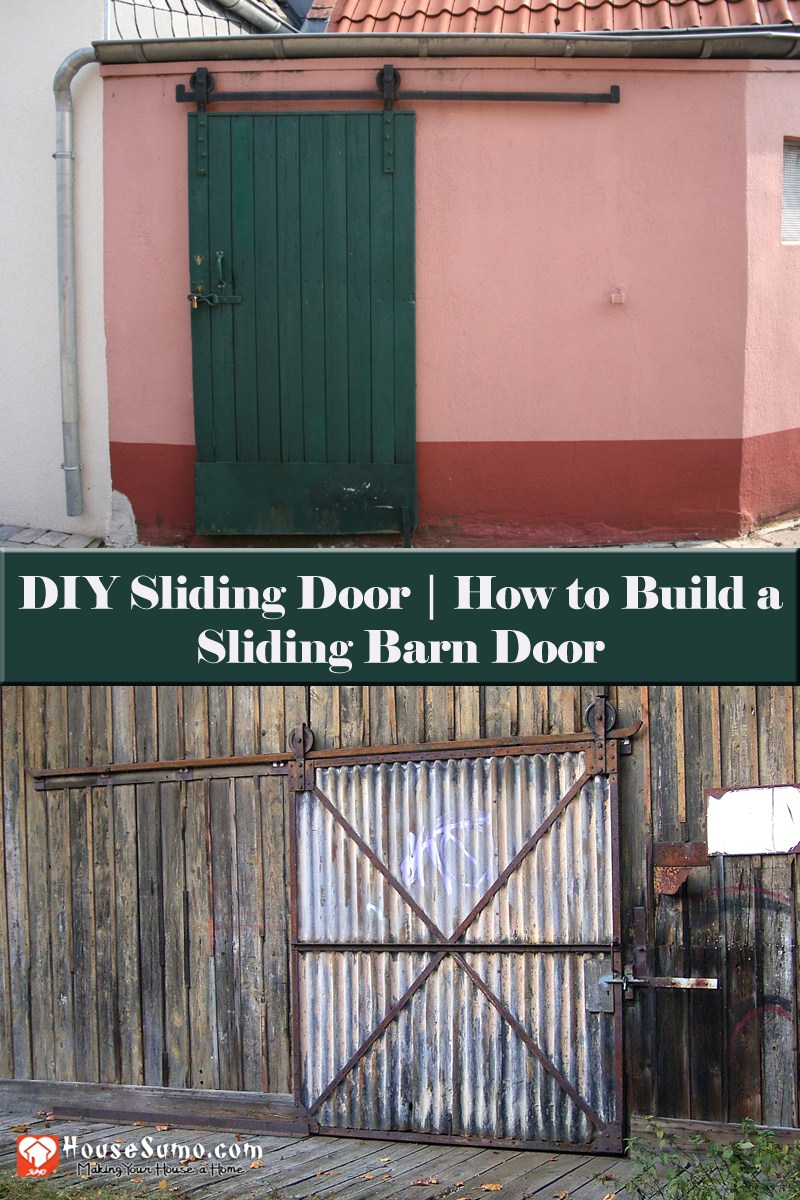
A sliding door for your barn can provide easy access to the barn for large projects when other kinds of large doors are impractical. The instructions for how to build a sliding barn door included below are concise, easy to follow, and contain a full list of tools and materials that you’ll need.
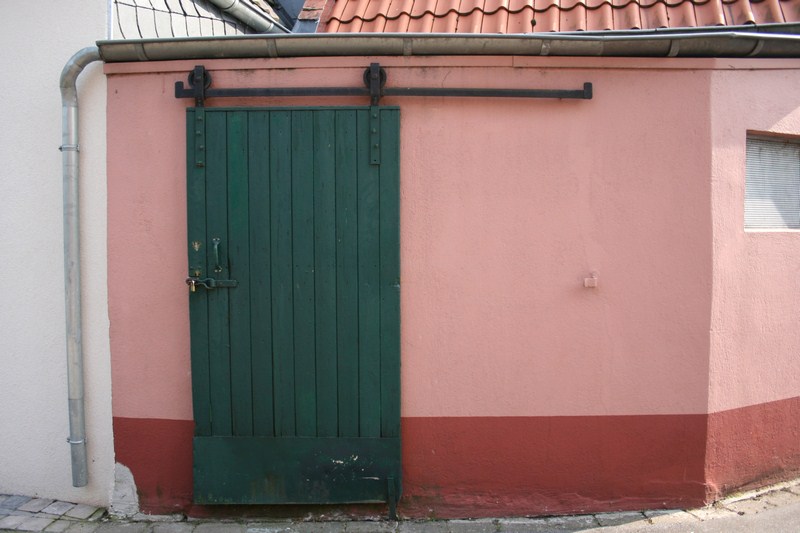
A sliding barn door has a number of benefits over hinged doors. They don’t require a large cleared space around the door to open, just a wall to slide along. Large ones are much easier to open and close than similarly sized hinged doors and don’t require extra support structures. Adding a sliding door over a hinged door also adds an extra level of security.
The instructions for how to build a sliding barn door listed below will walk you through this afternoon project and give you a couple of options for how to build this type of door.
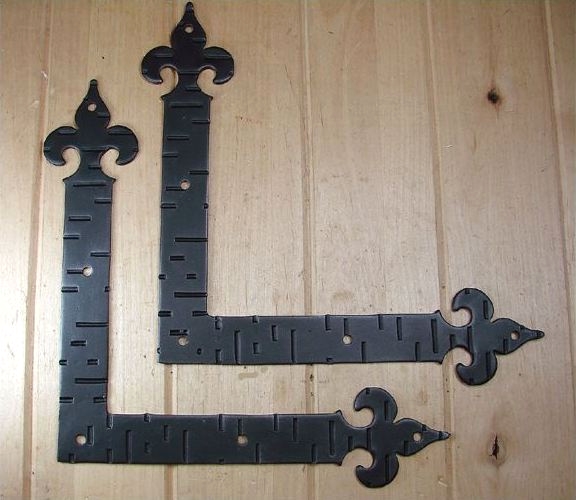
Before showing you a list of tools and materials you’ll need for this project, I need to let you know about the different ways you can build a horizontally sliding barn door. The first is with wheels at the top and bottom, with a track or rail at the top. The second is with wheels top and bottom and tracks or rails top and bottom. The third method is with wheels and a track or rail only at the top.
Measure the width of the door opening using the tape measure. Add between 12 and 24 inches for overlap. Measure the height of the door opening and add between six and 12 inches. You will need two lengths of wood the same length as the width of the door, plus the desired overlap.
You will need one length of wood at least six inches longer. Overlap, combined with the weather strip, keeps the weather out of your barn. The minimum should be approximately six inches per side and at the top.
You will need two lengths of wood the desired height (door height plus desired overlap) minus 5 1/2 inches. Next, you will need one length of board the same length as the width of the door, again, minus 5 1/2 inches.
Finally, you will need one length of width the height of the door, minus the requisite 5 1/2 inches, cut exactly in half. Whatever wood you desire for the fronting of the door will need to fit the dimensions of the width and height plus overlaps.
As an example, if you choose to use six-inch fence planking, have a door six feet wide and eight feet tall and want a six-inch overlap, the door will be 78 inches wide and 102 inches tall.
Your upper track will be 84 inches long. You will need five 2X4 at eight feet long and three that are ten feet long. You will need 13 1X6 fence boards. Going the sheet route, you will need three four-foot by eight foot sheets.
Must Read:
Lay the pieces of wood out as if constructing the door uncut. Measure and cut the wood the required lengths. In the above example, you will need one 84 inch 2X4, two 78 inch lengths, two 96 ½ inch lengths, one 72 ½ inch length and two 48 ¾ inch lengths.
You will need to cut the fence boards at 102 inches. Apply an ample coating of the termite prep to the wood and allow it to dry. Apply two coats of primer, giving thirty minutes drying time between coats. Lastly, two coats of the desired color with thirty minutes between coats. Allow to dry at least two hours.
Lay the 2X4 lengths for the door out and lay the fence boards over the completed structure. Drill the fence boards two per board at top and bottom, and every foot along the length. Drill the fence boards every foot for the two cross beams.
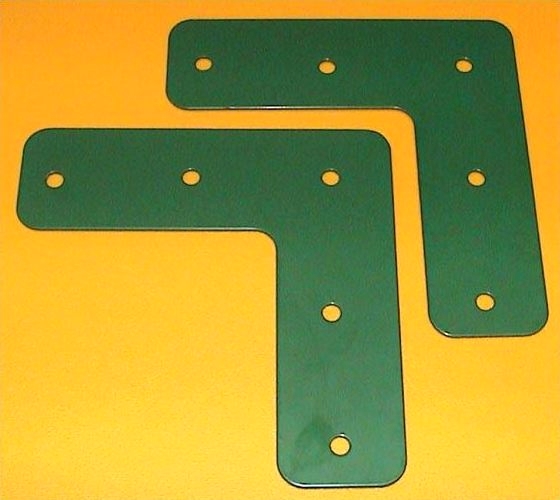
Then, drill the joints to fit the L- and T-brackets. Use the short drywall screws and drill with screw tip to secure the hardware and fence boards to the 2X4 boards. With your helper, hold the upper rail board (84 inches) in place above the door opening at the required height and use the level to level it.
Drill holes three inches in from both ends and every foot along the length through the 2X4 and wall facing. If the facing is masonry, install the required anchors and attach accordingly.
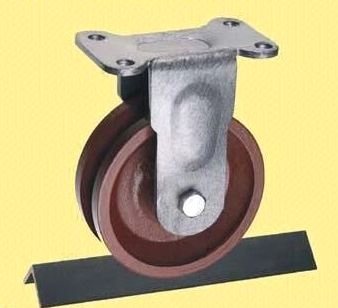
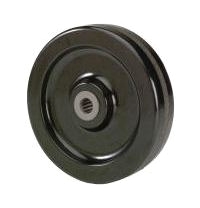
For wood facing, drill both 2X4 and wall to a depth of two inches each and use the drill with screw tip to install the long drywall screws. If using Fig 5 wheels, install a second rail board halfway up the height of the board to create a wheel channel. Attach the angle iron using epoxy for Fig 4 wheels.
Attach the L-brackets from Fig 3 at both ends of the door and in the middle, at the top. Insert a carriage bolt through an L-bracket per wheel and tighten the bracket to the bolt with a nut and washers.
Thread a nut onto the carriage bolt and add a door lock and flat washer. Insert the bolt into the bracket on the door and add another washers and nut set. Leave this loose and repeat for all wheels.
Lift the door upright and set the wheels into the track. Adjust the door so that it rolls easily and is level. If using lower wheels, attach and adjust them in the same way as the upper wheels.


View Comments
love all of these doors! Thanks for the mention #33!!
Article writing is also a fun, if you know after that you can write or else it is complicated
to write.
Awesome post.