Sanding hardwood timber floors and polishing them is an excellent way to restore tired, scratched, dull-looking timber floors.
It’s an excellent way to have amazing-looking floors and transform the entire look and feel of your home.
Fortunately, sanding hardwood timber floors is something you can do DIY. With these floor sanding tips, you’ll be ready to tackle your floor restoration project like a pro!
Although you can get away with using handheld floor sanders, it’s definitely worth the extra cost to hire the same tools the professional floor sanding companies use.
Your local tool hire shop should have drum sanders and edgers. These two commercial-grade sanders are highly recommended for a smooth floor sanding experience.
Your local tool shop will also be able to give you specific advice on how to use their floor sanders.
Read Also:
Remove everything from the rooms/spaces you intend to sand. The room should be completely empty, and the floor should be completely clear.
Clear all countertops and move all items into another room. The only things that should be in your workspace are your tools and personal protective equipment and items mentioned above in the list.
If you are only sanding a section of the house, it’s absolutely imperative that you section off the work area with plastic wrap and tape.
The sectioned-off area must be as close as airtight as practically possible. This is because hardwood floor sanding is a messy job, and it creates an incredible amount of dust that becomes airborne.
This airborne dust goes everywhere and eventually settles on everything! If you want to save yourself hours of cleaning dust, then do yourself a favor and section off your workspace with plastic sheeting and tape making it as close to airtight as you can.
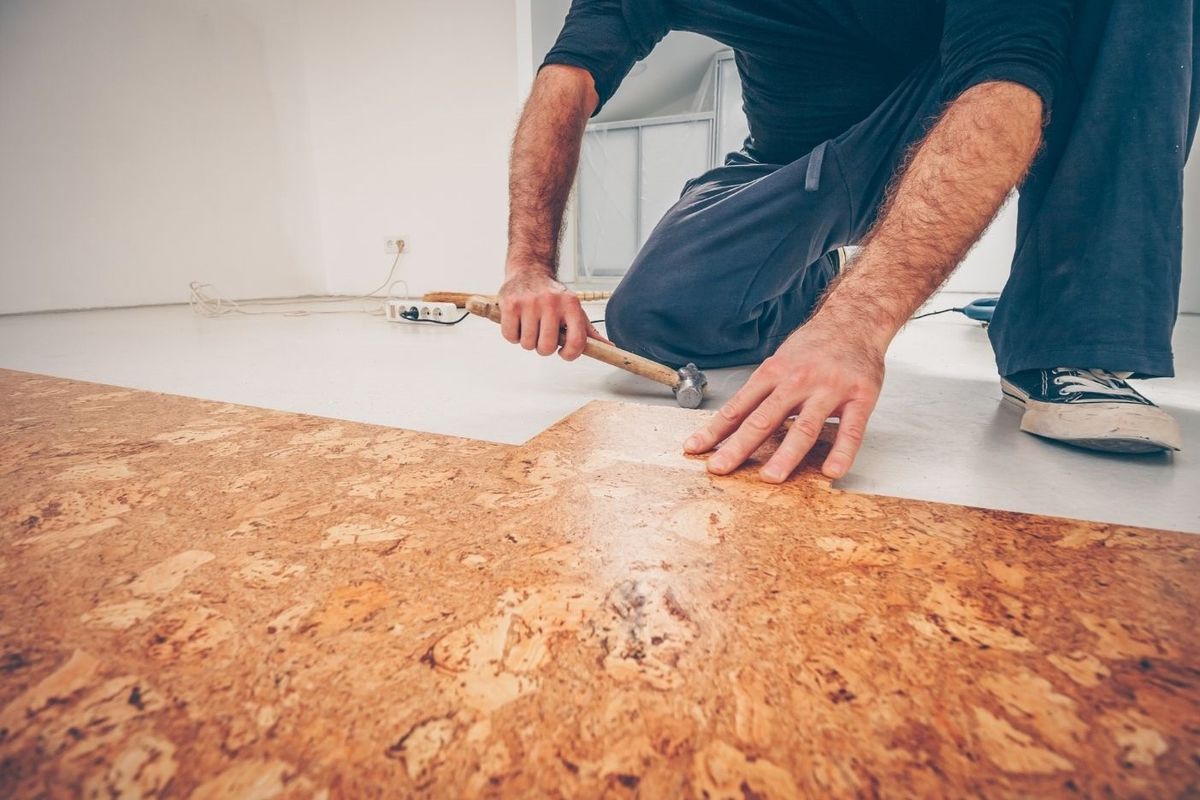
Once your workspace is ready to go it’s time to punch those nails into the hardwood timber floors. This is an important step.
Failure to do this will result in your sandpaper wearing down quickly and possibly even causing damage to the machinery.
You do also risk sanding the head of the nail completely off resulting in insecure floorboards. To do this simply go around the room and place the nail punch on the head of the nail and strike it firmly a couple of times with the hammer.
Once you’ve done a row of nails you can apply putty in the holes using your putty knife. Wait for the putty to dry then continue onto step 4.
Start the timber hardwood floor sanding project off by sanding the edges of the room using the edge sander or edger.
If your hardwood timber floors are deeply scratched and grooved, start off by using coarse grit sandpaper (40 grit).
If your floors are only lightly scuffed, then you can probably skip the coarse grit and use medium grit sandpaper (80 grit).
There are no hard and fast rules here. It all depends on the condition of the timber hardwood floors before you begin.
If in doubt, then start off by using the finer grit sandpaper as you don’t want to cause unnecessary scratches to your hardwood timber floors.
If you find that progress is slow and there are still visible scratches and marks, then stop and switch over to coarser grit sandpaper.
Once you’ve chosen the appropriate grit of sandpaper continue sanding the edges of the entire room or rooms in which you are working.
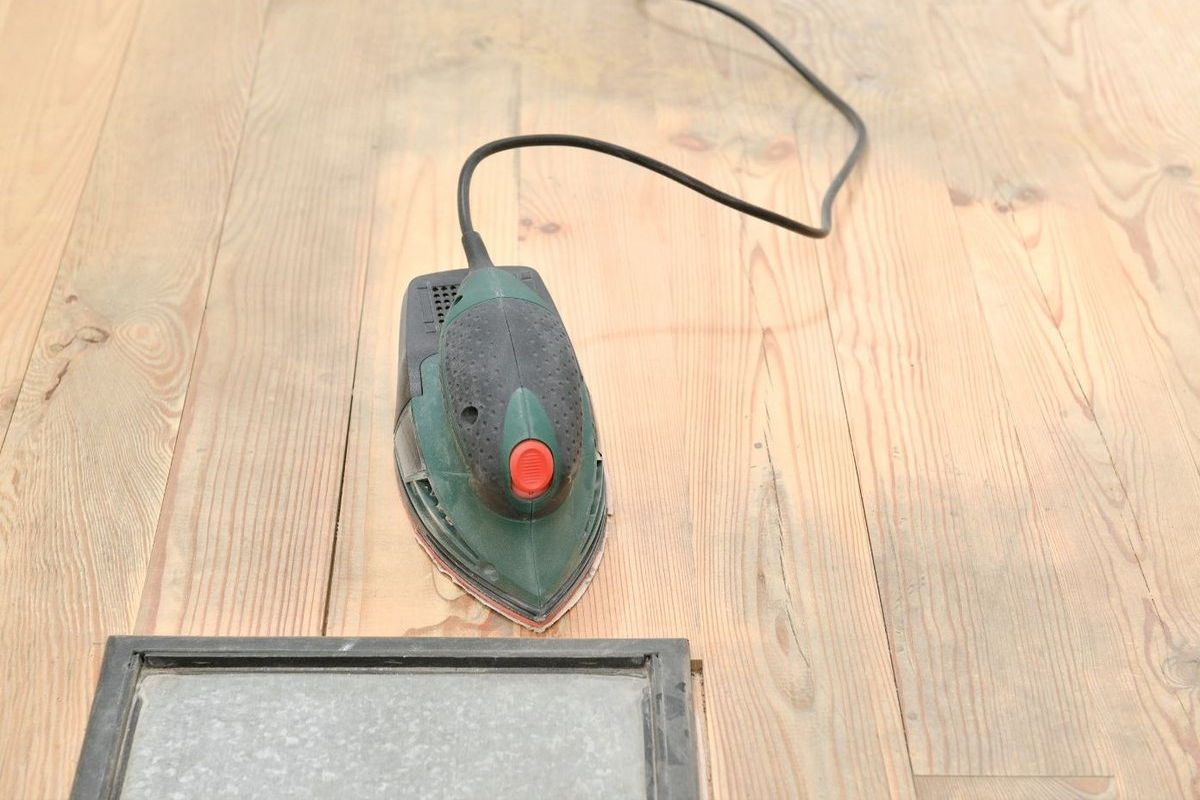
Unfortunately, the edger will not be able to reach deep into the corners of the room. That’s where the mouse sander comes in. Using the same grit sandpaper as you used on the edger and the corners of the room.
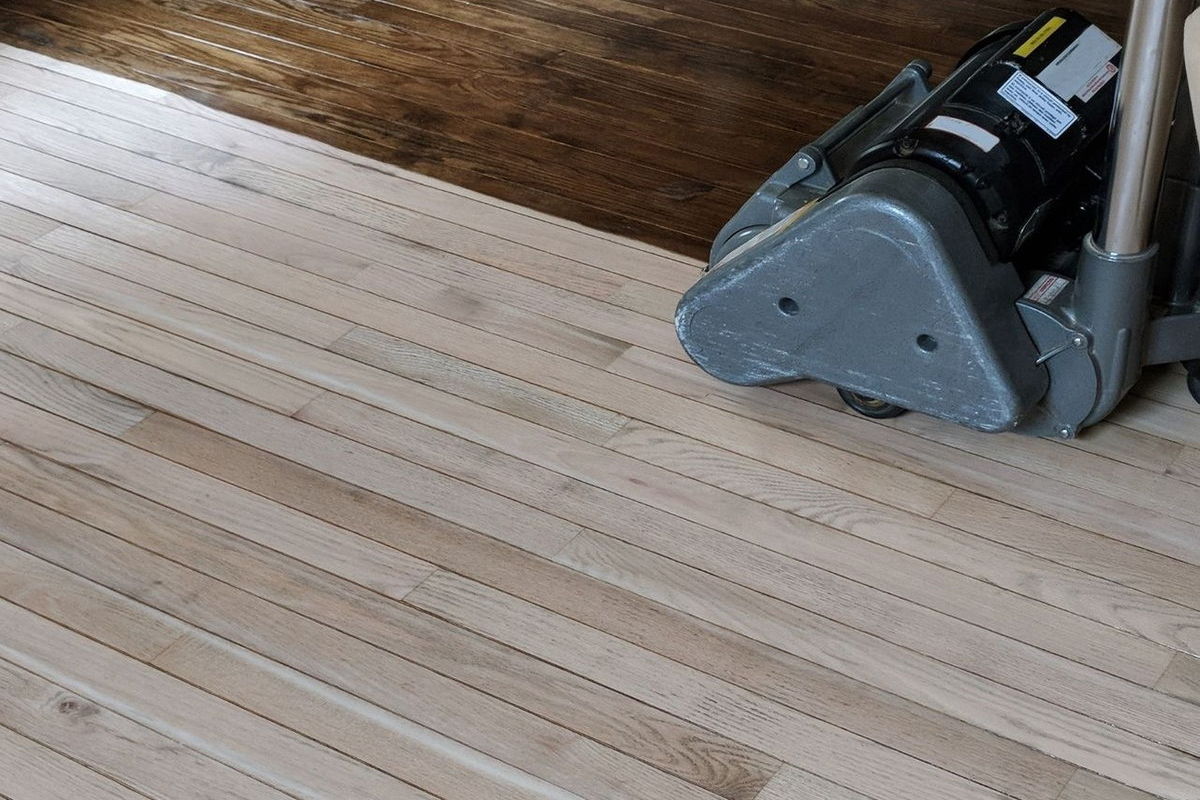
Once the edges and corners of the room have been sanded. Use the drum sander to sand the middle of the room.
Use the same grit sandpaper as you used on the edges. For heavily scratched and grooved floors it’s a good idea to start the sanding process by running the drum sander diagonally across the grains.
Note this will create scratch marks that go across the grain of the timber, so if your floors are only likely scuffed and scratched then this step won’t be necessary.
When using the drum sander make sure that you are always moving whilst the sander is in operation.
Standing still whilst the sander is running can lead to the sander creating a large groove in your floor!
Next, it’s time to remove the diagonal lines created from running the drum sander diagonally by running the drum sander in the direction of the floorboards or with the natural grain of the hardwood timber floorboards.
Run the drum sander back and forth until the diagonal lines, scratch marks, grooves have been removed.
Congratulations you’ve just completed the lengthiest, time-consuming, and tiring step in the whole process. It only gets easier from here.
Repeat steps 4-6 three more times using a finer grit of sandpaper each time.
80-120 medium grit
150-180 fine grit
220-240 super fine grit
Congratulations if you made it to step 8. Your hardwood timber floorboards should be super smooth and look incredible.
Ready for varnishing. Now all you have to do is clean up the dust and have a shower, rest up and recuperate.
Use the broom and dustpan to collect the majority of the dust and finish it off with a vacuum cleaner.
Depending on the quality of the dust collectors on the machines you hired you may also need to vacuum skirting boards, walls, and windowsills, and other surfaces where dust can collect.
There you have it. Sanding hardwood timber floors is not as complex as you may have thought. By following the steps outlined you’ll be equipped with the knowledge you need to successfully sand your hardwood timber floors.