In case you’re an avid gardener who enjoys maintaining a flowerbed all year long, an outdoor faucet is a must-have.
But if you’re tired of carrying a long and heavy garden hose around, you may have some plumbing to do.
Sounds somewhat like your problem? Then let us teach you how to attach pex to garden faucet.
We’ll discover the pros and cons of PEX plumbing. From there, we’ll see what tools we need to assemble and then, everything from installing to giving it a test run.
Just a heads up, you don’t need to be an experienced plumber for this. So, read on and surprise yourself at how easy this task is. Let’s go, shall we?
Before we delve into the steps on how to attach PEX, let’s first see the good and not so good facts about PEX or cross-linked polyethylene piping.
Read Also:
Here are some cool advantages you get, when you choose PEX plumbing.
First of all, PEX plumbing is way cheaper than traditional copper ones. It’s flexible, and maintenance cost is also reduced by half since it’s less prone to cracks.
We haven’t finished yet. PEX plumbing also takes much less work to install. That’s because they can easily bend around corners and you won’t need extra fittings for them.
Another amazing advantage that comes with flexibility, is the ability to expand. During the winter months, traditional copper pipes often burst when the hot water travels through them.
With PEX pipes, you won’t have to bother about such things.
Last but not the least, you won’t have to bother about wear and tear. These pipes are way more durable than copper because of their resistance against minerals in the water.
If you live in an area where the water is quite acidic, you might find your copper pipes corroding. In such cases, PEX is the way to go.
Those were some unbeatable advantages that we just saw. But is the PEX pipe absolutely invincible? Well, not really.
If you live in a country with extreme weather conditions, then you may want to avoid PEX pipes outdoors.
That’s because even if they’re more durable in the short run, they’re quite vulnerable to direct scorching sunlight.
Even if they’re great for indoor use, refrain from using them outside unless you live in a place with a moderate climate.
Now that we’ve seen the good and bad about PEX pipes, let’s get to how we can attach them to a garden faucet.
To do the task, you’ll need a few basic tools. Here’s a list we’ve compiled for you so that you don’t have trouble finding any.
You get to buy PEX pipes in either coils or sticks. Even if it may seem like a better option to go for the coil, it’s a lot of trouble storing. Instead, go for the 10 feet straight pipes.
Cut 2 pieces according to the size that you need. Always make sure that you cut the pipe carefully, to avoid any slanted edges.
If you don’t cut the pipe in straight lines, you’ll find that the pipe is leaking water, since it won’t be fitted properly.
Once you have a PEX pipe installed, there’s nothing stopping you from making your big organic garden.
Now it’s time to set the fittings on the PEX pipe. First, take a crimp ring and fit it loosely on the pipes. Then, put the jagged end of the faucet connectors into them.
Insert this snugly and make sure that the jagged end is all the way through the pipe.
Make sure that the crimp ring is directly over the rough end of the faucet connector.
After that’s done, take a crimping device and crimp the ring over the faucet connector. Ensure that everything is fitted properly or else, you’ll have to deal with pesky leaks later.
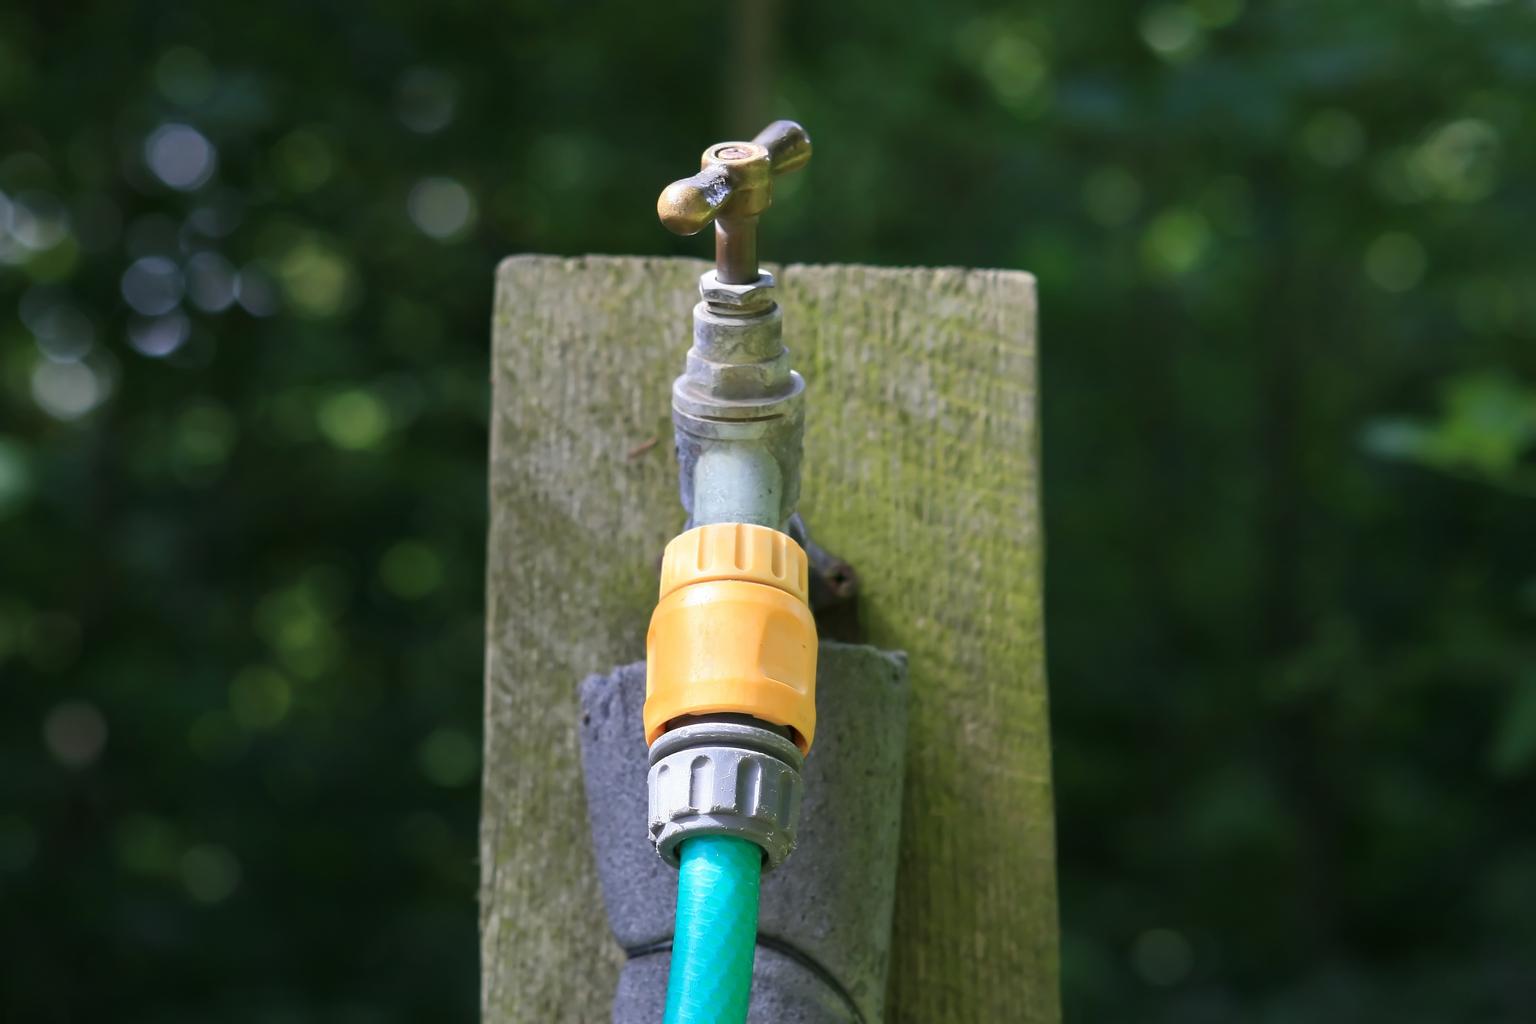
Time to attach the pipe to the faucet. To do this, twist the screws in the faucet connector anti-clockwise and fit it with the faucet stem.
You don’t need any extra adhesive on the faucet stem threads, since the fitting already comes with an inbuilt seal.
Now twist the bolts until they’re tight. Then use a basin wrench to fit it perfectly and that’s it! It’s connected to the faucet.
Too early to celebrate! Even if it looks like the PEX pipe is attached to the faucet, the real test begins when you turn on the water.
It’s time to say some prayers and then turn the faucet on. If it works fine, you can breathe a sigh of relief.
In case you find some pipe leaks immediately, it’s time to troubleshoot and discover where you may have gone wrong. Most of the time, the problem lies in the fitting.
If that’s the case, then turn off the water and tighten the pipe fittings. Avoid using your bare hands since you won’t get a good grip, and use the basin wrench we previously mentioned.
Then turn the water on and hopefully, the problem should be fixed.
So that was our take on this topic.
Before you go, remember to not get confused with blue and red colored PEX pipes. Although they’re meant to set cold water from hot, you can use a standard white one.
If you have any more questions on how to attach PEX to the garden faucet, don’t forget to drop your questions in the comments.
Until then, goodbye and happy plumbing!