Crafting jewellery is a fun and great hobby to relax and reduce stress. It provides you with an outlet to express your creativity and showcase your individuality. Additionally, jewellery enables a person to convey their feelings, status, and personal style in an artistic way.
It might be exciting to come up with ideas and designs of jewellery, but the process of making one can be overwhelming. Initially, you might get swamped by the different techniques and tools used in tying knots and stringing beads. But with enough patience and practice, anyone can master the art of jewellery making.
As with learning any new type of craft, you have to start with the fundamentals of how to make jewellery. Continue reading to learn more about the said subject matter.
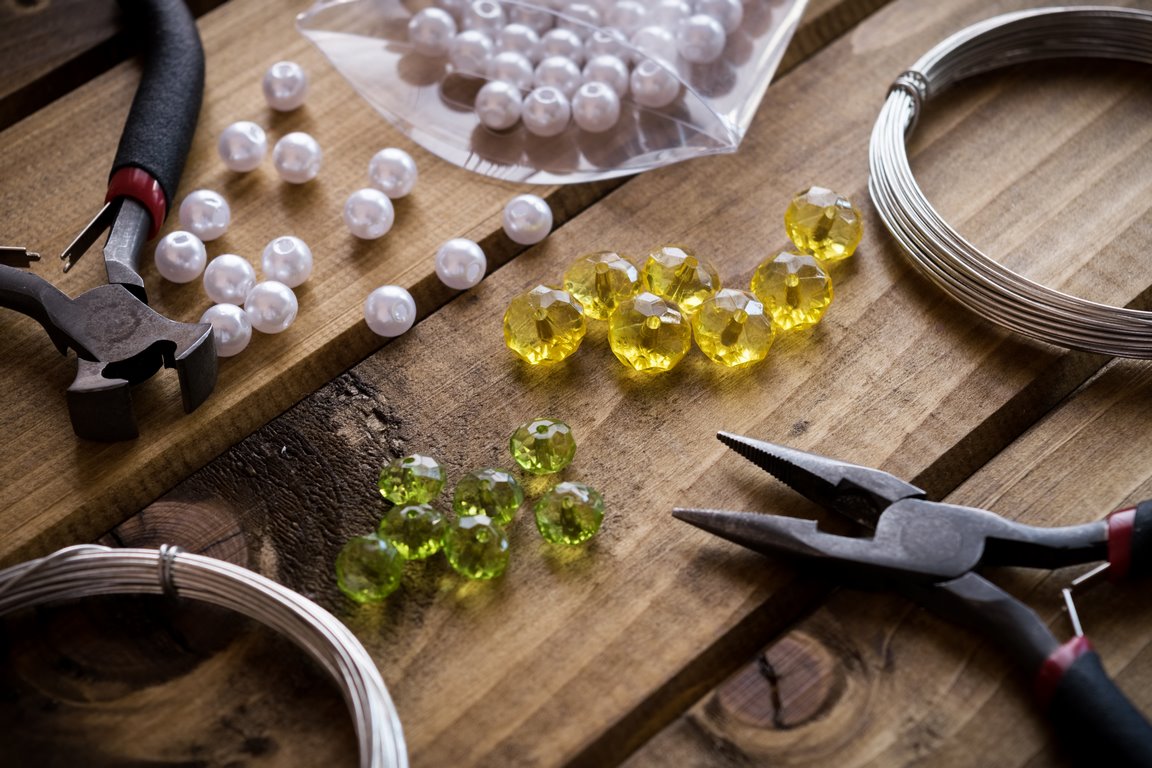
The basic tools in jewellery making usually depend on what type of jewellery you intend to make. Beginners must consider having these types of pliers in crafting their jewellery:
Round nose pliers are ideal for creating precise loops and bends for your jewellery. While you can sometimes make do with a normal DIY tool set, if you’re serious about making jewellery, then you should consider investing in high quality jewellery tools, such as the range from Maun.
You may also check out similar equipment pieces from different manufacturers.
“Smooth Jaws Flat Nose from Maun”
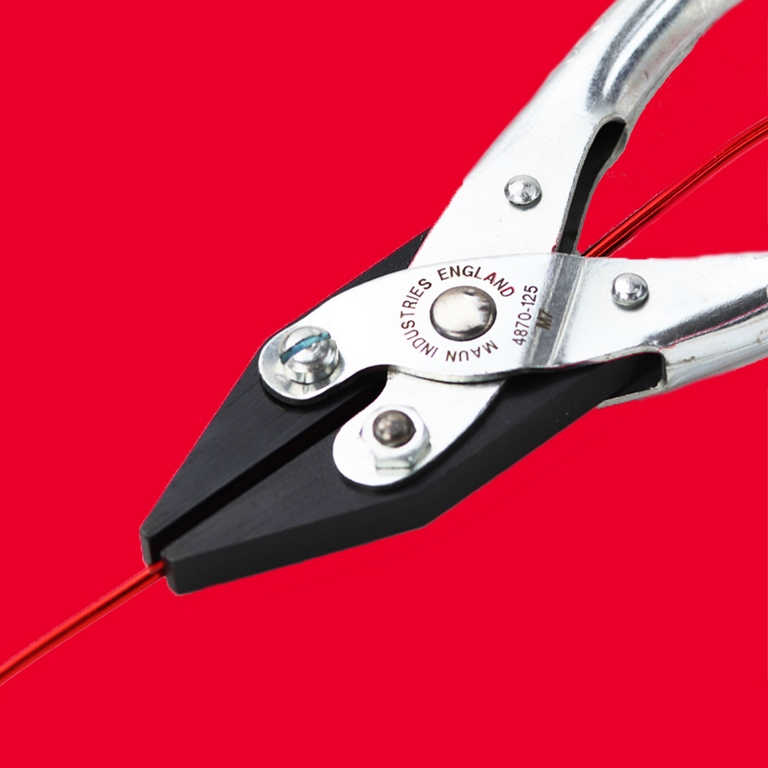
Wire cutters are one tool that beginners must have in their toolsets. A pair of wire cutters allow you to perform a clean cut on metal wire, pins, and beading wires. They can be found mostly in bead shops or DIY stores.
Hardware stores might have wire cutters but they usually have the bigger type which might not be suitable for crafting jewellery.
Flat-jawed chain nose pliers allow crafters to easily get into small areas and openings. This tool is suited for gripping small beads, stones, and wires since it doesn’t leave scratch marks. This type of plier also bends thin wires without breaking or damaging them.
Another tool to consider is the bent nose pliers. Similar to the chain nose pliers, this tool is convenient when it comes to tightening wire ends.
Needle nose pliers also fall under the same category as the aforementioned items. This tool has a long nose and serrated jaw that has a strong grip. Unfortunately, because of its serrated jaw feature, this plier can damage and abrade metal pieces.
It’s equally important to note that when choosing your tools, make sure that you’re comfortable in using them.
Read Also:
When making your jewellery, you have to decide if you’ll be designing and crafting necklaces, bracelets, rings, or earrings. You have to trim down your choice as trying to create every type of jewellery is time-consuming and unrealistic.
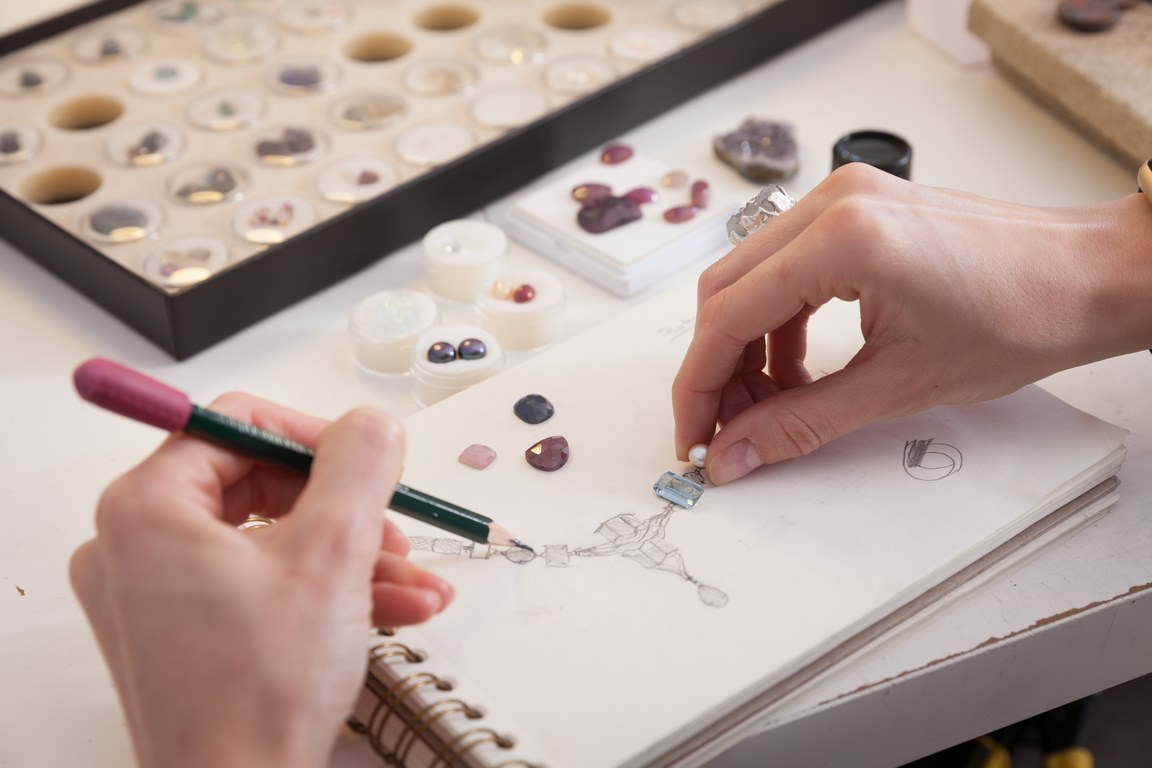
Start by picking one jewellery type, practice on it, and from there you get to pinpoint effective methods on how to conveniently make jewellery pieces. You might also want to check out jewellery shops, crafts stores, and social media sites to get inspiration for your design.
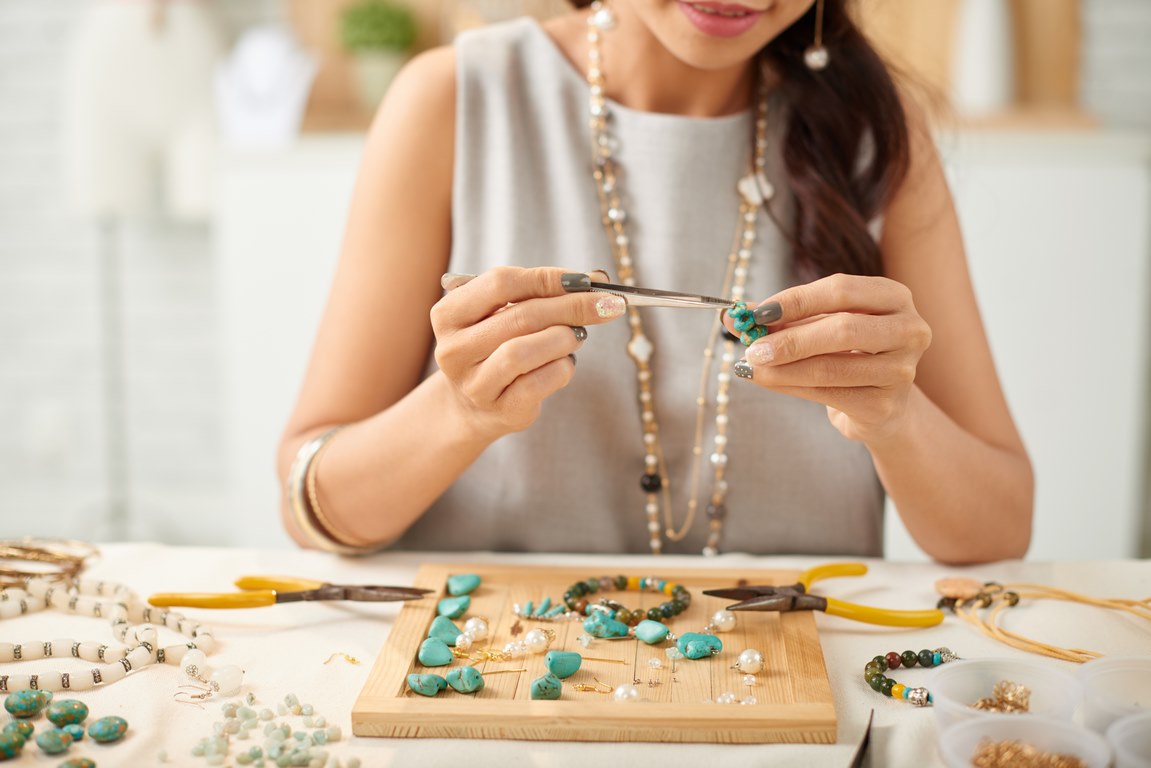
There are plenty of materials that you can choose from when creating your jewellery. The most common and affordable types are:
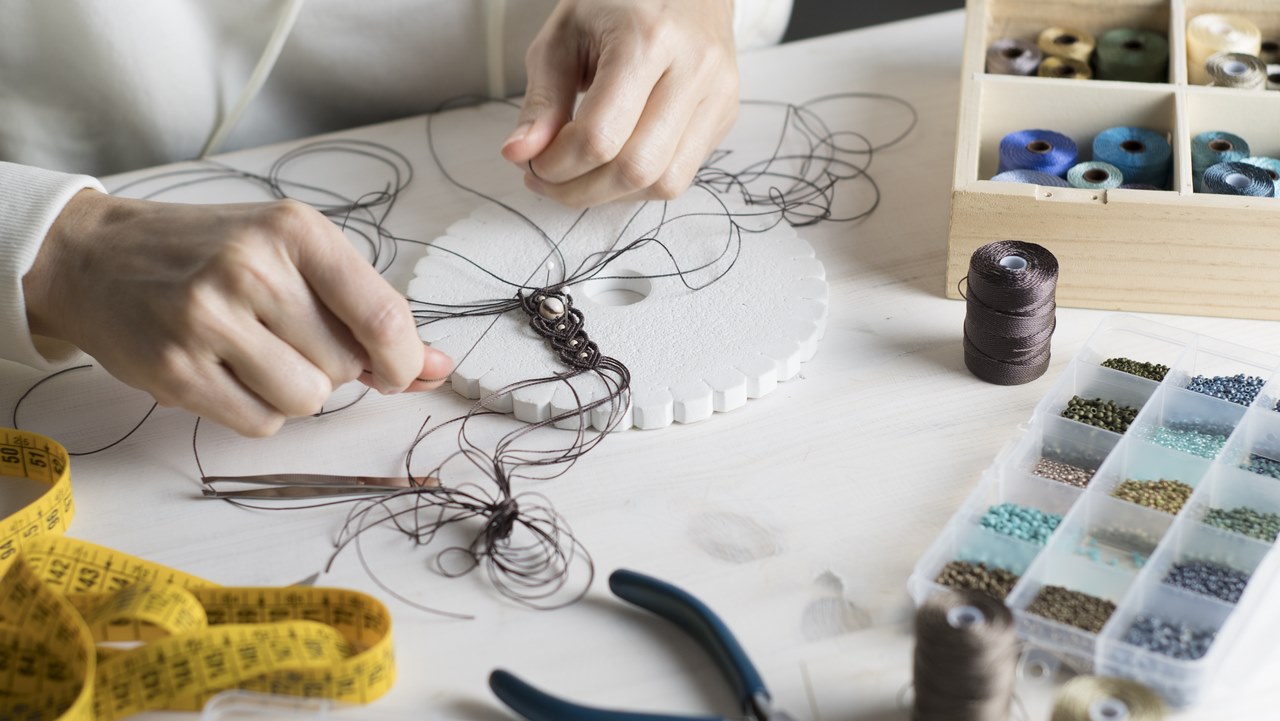
Once you’ve decided on what jewellery you’ll create, then the following step you should do is to put together all your tools and materials. You might want to create a checklist on what to include such as clasps, jump rings, measuring tapes, and jewellery glue. Furthermore, you have to check if your local suppliers provide different types of strings, cords, and wires.
One convenient way of assembling all your tools and materials is by purchasing a jewellery making kit. It’d usually contain all the essential materials and basic tools you will need to answer your concern on how to make jewellery.
You have to be familiar with the basic measurements so that your jewellery wouldn’t end up too long or too short for your preference. Also, knowing the variety of jewellery making standards can make your finished products store-ready. Listed below are the common measurements you might want to follow:
The techniques used in jewellery making might vary depending on the type of jewellery you make, materials you use, shape you want to achieve, and preferred size. Basic jewellery making methods include knotting, stringing, and looming.
You can research online for instructional videos on how to properly connect and assemble your jewellery. Self-directed or do-it-yourself (DIY) videos are readily available online, plus they’re easier to understand for those who don’t like reading through long instructional texts.
Tutorials on making simple to eco-friendly jewellery are easily accessible with just a single click over the web.
You may also consider taking classes on jewellery making. The advantage of having an instructor is that they can guide you throughout the whole manufacturing process. You’re able to see up-close how basic techniques are performed by a seasoned expert. In addition, you get the chance to ask questions and clarify certain techniques that you find hard to do.
As a beginner in this type of craft, it’s completely normal that you might not produce stunning pieces on your first attempts at jewellery crafting. It might be wise to use inexpensive materials at the beginning of your journey so that when you make mistakes, it’d be easier to correct or discard the used material.
Once you get the hang of all the basic techniques and procedures, you may now move on to using more expensive materials.
When practicing and creating your jewellery, make sure that you’re in an area or room with a wide desk or table and ample lighting. This space must create a conducive environment for you to constantly practice your new skills on how to make jewellery.
Your techniques on knotting, cutting, and looping might initially look messy but with constant practice, you’ll eventually get to produce high-quality and good-looking jewellery pieces.
The art of jewellery making might take a while to master for the process is long and meticulous. You might make mistakes along the way but remember to enjoy it, learn from it, and be consistent in practicing your new skills in jewellery making for you to reap the rewards of your hard labor later on.