If you’re a do-it-yourself homeowner, you can quickly and easily install a wood fence if you take advantage of the wide variety of prefabricated fencing panels on the market today.
With our 7 step guide to do-it-yourself wood fence installation, you’ll have a new fence up in no time. Learn how to put up a fence with prefabricated fence panels.
Installing a fence is one job a do-it-yourself-minded homeowner can do. Prefabricated fence panels make the job go quickly, once you install the fence posts. If you’re installing a fence that covers a lot of ground, you may find it makes sense to rent a mechanical fence post digger.
If your fence is rather short and needs just a few posts, you can easily dig them manually using a post-hole digger, a hand tool available at home improvement and gardening centers.
Dig holes for the fence post along the fence line, using a manual or mechanical post hole digger. Make the holes at least 18 inches deep, so they are secure enough to hold the fence rigid. Since prefabricated fence panels are 8 feet long, space the fence posts 8 feet apart, measuring from the vertical center of one post to the vertical center of the next post.
Mix the concrete for setting the posts into the holes directly in the individual holes, one at a time as you set the posts. Pour the contents of one bag of quick-set concrete into the post hole, then add the amount of water recommended by the concrete manufacturer. Working quickly, use a stick to mix the concrete in the hole immediately before inserting the post.
Must Read:
Insert the post into the concrete-filled hole. Lay a carpenter’s level vertically alongside the post, to ensure it is set vertically “plumb” and straight up and down. Hold onto the post until the quick-set concrete hardens enough to keep the post from shifting.
String a chalk marking line from corner post to corner post to mark the desired final height of the fence posts. Make the chalk line taut by pulling it a few inches away from the fence posts with your finger, then let the line snap against the posts. Use a saw to cut off the posts along the chalk line. This will ensure that all the fence posts are the same height.
Hold a fence panel in position at the desired height next to a post. Mark the height of the top and bottom edges of the prefabricated panel on the fence post. Use a chalk line and a level to snap guidelines on the remaining fence posts corresponding to the top and bottom of the fence panels, so you install the panels at a uniform height.
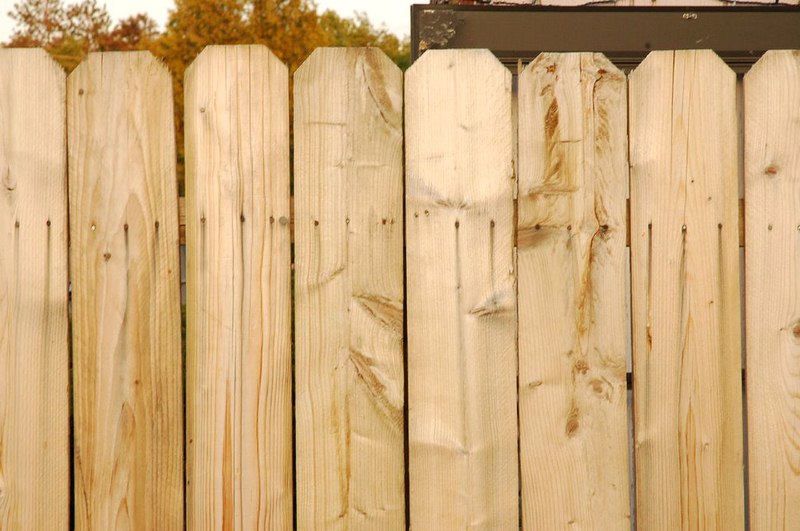
Position the fence panels so each end falls at the vertical center of the post you will secure it to, at either end of the prefabricated fence panel. Secure them to the posts using hot dipped galvanized nail fasteners, or such other special fastener that is mandated by your local building code. Depending on the hardness of the wood, it may be necessary to pre-drill holes, even when using nails as a fastener.
Place decorative post caps atop each fence post. These caps are usually beveled to allow water to run off the tops of the posts, rather than seeping in and inviting rot, decay and fungal diseases. They are available in several styles and materials, including copper and plastic designed to look like wood or metal.