It is a common goal of homeowners everywhere to grow their own plants, vegetables, flowers, and fruits. But before any of that can begin, first comes the testing of the viability of the garden soil at hand.
While most gardens require some boosting through different types of fertilizer that boost can only do so much. This is why you need to know if your soil is viable. Here are 8 methods by which you can test the viability of your soil.
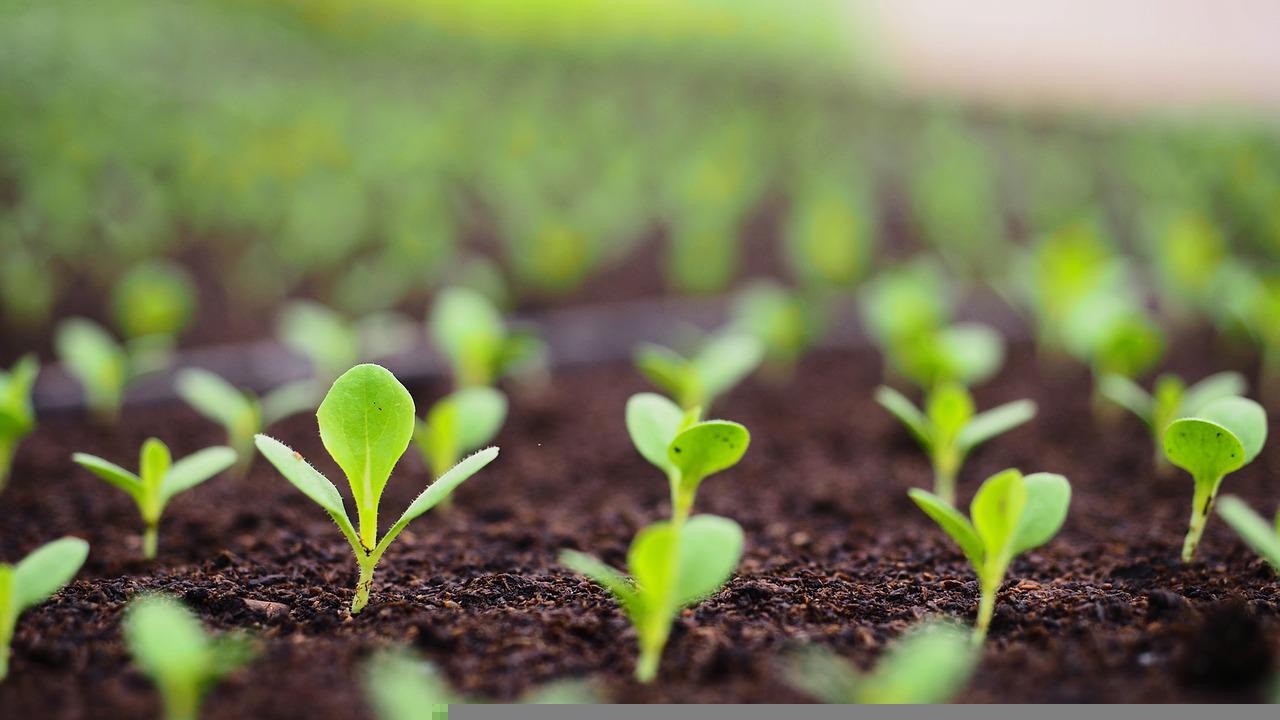
No matter what kind of growth you plan to do, there has to be the ability to develop healthy root systems. Having a healthy root system means that both the soil and the plants will be healthy and can accommodate the growth of that plant.
Dig up a weed if one is available, and look at its root development. If they are white, it means that the soil is healthy. Brown roots mean potential issues with drainage and short roots mean disease or pest infestation.
When roots are now allowed to properly expand and take hold, it can lead to instability in the plant and impact its growth as well. Soil that isn’t accommodating can damage those roots and make your plants far less likely to grow as well.
Water is crucial to the growth and development of any plant. Having well-aerated soil means being more resistant to evaporation, robbing your plants of the water that they need to grow in a healthy manner. Aerated soil is necessary for providing adequate water to plants between waterings.
After a soaking rain, keep track between that rain and when plants show signs of thirst. If there is a need for increased watering frequency compared to usual results in the area, then the soil is almost definitely compacted and needs to be changed out.
This can vary greatly from climate to climate, though you should check to make sure that the plants in question are suitable for your climate. Planting something that requires a lot of water in an area prone to droughts, for example, would not be a good idea.
Read Also:
This is where the water moves through the soil and into the root of the plant. To test this, grab a coffee can, removing the bottom. Push it into the soil and leave about 3 inches above the ground, filling that portion with water. Make sure to mark the height.
Keep track of how long it takes for the soil to absorb all of the water in the can. Keep doing this under the rate slows and you notice that the time is consistent. If you notice that it is slower than roughly an inch per hour, then it means that the soil is probably compacted.
When you are checking out your garden soil, checking compaction – which is how hard or compressed the soil is can be vital to the growth of the plants. To test this, grab some wire and stick it into the soil. Make sure to mark the depth where the wire first starts to bend.
In an ideal situation, the wire won’t start to bend until at least a foot or so into the soil. When the soil is compacted, it can make it far more difficult for nutrients and water to get down into the roots. It can also keep away beneficial critters from being able to move around as well.
Hard soil is going to be the enemy of growth in more ways than one. If you notice that the soil is hard to till or work, or you get clods from all of that work, then it means that the soil itself has a low workability rating.
Soil that is workable is not only much less likely to compact, but also allows for water and nutrients to better circulate through the soil and into the roots. The soil has to be kept loose and free.
There are some critters that you want to hang out around your garden because they can do beneficial things for your plants.
Earthworms help to aerate the soil, which allows for better air and water circulation on the whole. They eat organic material as well, which means that the soil will be richer in nutrients.
Look for burrows of earthworms. Dig six or so inches under the soil and see how many you find. If you notice that there are 3-5 earthworms in that area, then that is a good sign for the overall quality of your soil and its ability for growing.
Soil tilth is basically the condition of the soil that has been tilled. Start by digging out a 6-10-inch-deep hole in the soil that has been damped, removing a section the size of a soup that can still be intact. When you have it separated, break it apart and inspect it.
Healthy soil will have differently sized chunks that keep their shape when even slight pressure is applied. Soil that is rich tends to have rounder chunks, which allows for air and water to circulate through the soil and to the plants.
All of which results in far healthier plants. When those aggregates of soil are tougher to break apart, then the soil is a bit harder than necessary and needs to be tilled or replaced.
Like the earthworm, there are more than a few things that you want to hang about your soil. Whenever you have healthy soil, you can tell it is healthy by the number of organisms that make their home in the soil.
Dig out a hole that is 6 inches deep and keep a watchful eye on it for 4 or 5 minutes. Count the number of critters as well as the different species that you notice.
This includes things like centipedes, ground beetles, spiders, and more. Anything less than 10 means that the soil isn’t suitable for proper life.