Usually, the more you pay for something, the more you want to take care of, and look after that investment. If you buy a new car, you’ll make sure to keep it clean, serviced, and in great condition.
The same usually goes for owning a house compared to renting one. You’ll want to proactively stay on top of issues rather than landing yourself in hot water.

When investing in a steel water tank, this shouldn’t be any different, as there are several ways to ensure that your rainwater stays clean and healthy, and your new rainwater tank remains as easy to look after as possible.
With water tank cleaning often being expensive and often needing to flush the tank out or use chemicals such as chlorine bleach, the prevention is in this case better than the cure.
Removing overhanging branches is not just important for helping you maintain a clean water tank, and keeping any gutters free from dirt, leaves, and other debris, but is also important for the safety of your home.
Overhanging branches can become dangerous in a storm, either by clashing or scraping against the home or by falling and causing damage to the home.
However what we’re most concerned about today is the quality of your tank water, and how overhanging branches can impact that.
Anywhere you are collecting rainwater from – be it a home, barn, shed or water tank roof – should be included in the areas you are looking to prune.
These branches can lead to not only leaves ending up in your gutters, and gathering dirt or causing mold, they also provide a place for birds to perch, which can result in bird droppings and feathers ending up in the gutter, leaving harmful bacteria in the water that leaf filters will not catch.
This extends to any unnecessary structures that birds can perch on overhanging the home or any areas where tank water is collected from.
Read Also:
Removing overhanging branches and nearby trees will help reduce leaf litter falling on your home, but it isn’t a one-stop shop. Ensuring that your home or shed has clean gutters is crucial to maintaining the quality of your tank water.
Over time, leaves, dirt, and other organic matter will build upon the roof of your home, and it’s important to stay on top of this, especially after any long stretches without rain.
A poorly maintained guttering system will result in sludge and accumulated sediment entering the tank, which can result in the contamination of your tank water.
Regular cleaning of gutters is the best way to prevent this from happening and to keep your drinking water fresh and healthy. Cleaning the gutters as often as possible is ideal, but four times a year is recommended.
After any prolonged dry periods and after fall it may also be a good idea to disconnect the gutters from your tank, and hose down any catchment areas to clear off any dust.
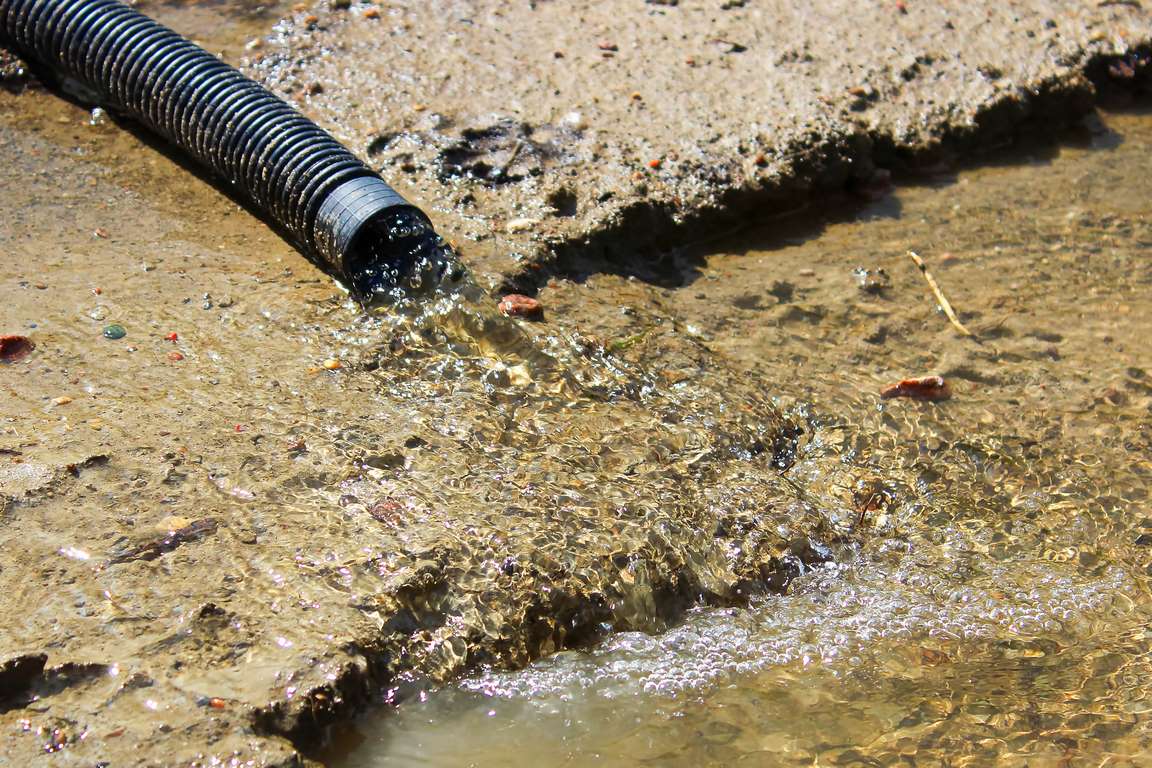
Every good superhero needs a sidekick, and the best sidekick to regular gutter cleaning is a first flush diverter.
First, flush diversion systems are designed to prevent the first small amount of rainwater after a dry spell from entering your water storage, cleaning your roof and gutters, and carrying with it any dirt debris that could impair the quality of your potable water.
There are a number of first flush diversion systems on the market, some automatic, and some manual, but they all serve the same purpose – to divert the first designated amount of rainwater away from the tank, flushing away any harmful bacteria, ensuring that the only water that enters your rainwater tank is freshwater.
It is important to correctly size your first flush diverter as if the first flush is too big, you will lose valuable clean water from entering your water supply, however, if the first flush is too small, your stored water may end up full of dirt and other sediments.
Getting your first flush diverter just right will result in minimal water loss, while ensuring that your water storage tanks are topped up with clean, safe water.
This may seem like a common and obvious part of any water tank, but the leaf filter basket is one of the most important parts of your rainwater harvesting system.
Your inlet pipe is the final frontier of defense for your water tank, and it is important to ensure that this is also an active working part of your water filtration system, ensuring that you continue to have clean drinking water.
All inlet pipes running into your rainwater tank should be fitted with a leaf filter basket, which you should check once a month during the winter months to check for any build-up of leaf litter and other organic matter, and cleaning if it has caught any of these items.
This basket effectively serves as a giant strainer at the entry point of your rainwater tank and serves to catch anything that may have been missed by other prevention methods.
Once you’ve done your best to ensure that the water entering your rainwater tank is free of debris, sludge, and any other harmful bacteria, it would only make sense to ensure it remains that way.
Polywater tanks are always made from food grade and UV stabilized plastic, as are the liners from steel water tanks, ensuring that your drinking water doesn’t absorb any compounds.
Some steel rainwater tank liners are even fitted with antimicrobial technology, helping to prevent the growth of algae and other bacteria from building up in the rainwater.
However, quite often with steel rainwater tanks, there is a small gap between the corrugated roof sheets and the wall panels where mosquitos, spiders, and other vermin can get in, as well as dirt and other debris.
Many water tank companies, such as Pioneer Water Tanks in Wollongong offer a foam seal around this rim, which prevents these unwanted contaminants, potentially saving you money with expensive water tank cleaning costs down the line.
For most people, taking these steps will ensure that the water in your tank is clean enough to use around the home for potable water, cleaning, showering, and for the garden, and no tank cleaning will be required, at least not regular cleaning.
If you want to take extra steps to ensure that your drinking water is clean and healthy for consumption and say goodbye to bottled water, you can simply fit the taps in your kitchen with water filters.
If a water filtration system isn’t your go, you can try a range of other water cleaning methods to ensure the quality of your drinking water.
If these methods don’t work, your water tank may still require cleaning to skim off any sludge or sediment from the bottom of the tank, or cleaning or replacement of the liner.
Most water tank companies will recommend that your water tank cleaning be undertaken by a professional so that you don’t do any damage to your water storage systems while cleaning your tank.
In many plastic tanks and steel tanks with plastic liners, using bleaches such as calcium hypochlorite or sodium hypochlorite for disinfection and cleaning – or even home solutions such as vinegar or kerosene – can destabilize the plastic, potentially rendering the liner or tank unusable.